Magnified Image Display
- Setting the Initial Magnification Ratio
- Setting the Initial Magnification Position
- Magnification for Subsequent Images
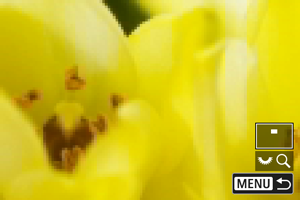
You can magnify display of your captured images.
-
Magnify the image.

- Turn the
 dial clockwise.
- Turn the
-
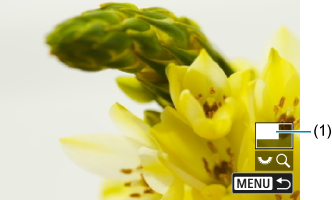
Scroll the image.
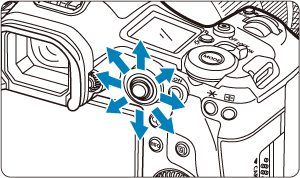
- Use
 to scroll around the magnified image.
 - Press the
 or
or  button to exit magnified view.
- Use
Note
- To switch to other images while maintaining magnified view, turn the
 dial.
dial. - Magnification is not available for movies.
- You can also magnify images by pressing straight in, which has the same effect as the button.
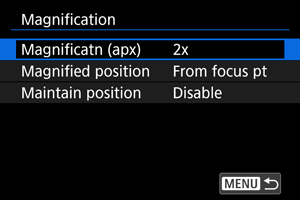
Setting the Initial Magnification Ratio
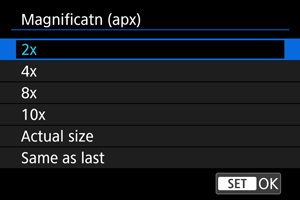
You can set the initial magnification ratio.
-
Select [Magnificatn (apx)].
-
Select an option.
-
2x, 4x, 8x, 10x
Magnified view starts at the selected magnification ratio.
-
Actual size
Displays images essentially full-size, based on their pixels.
-
Same as last
Magnified view resumes from the same ratio as the last time you exited magnified view with the
 or button.
-
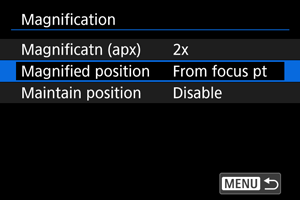
Setting the Initial Magnification Position
You can set the initial magnification position.
-
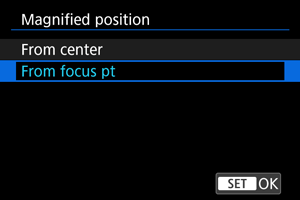
Select [Magnified position].
-
Select an option.
-
From center
Magnified view starts from the center of the screen.
-
From focus pt
Magnified view starts from the AF point in focus. If the photo is taken with manual focus, the magnified view starts from the center of the screen.
-
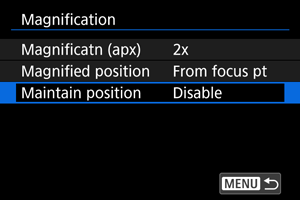
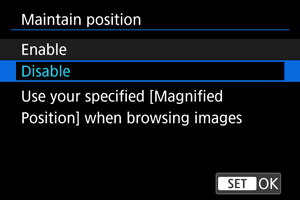
Magnification for Subsequent Images
You can specify whether to maintain the same position for magnified view or to use the position set in [Magnified position] when displaying subsequent images.