Using Camera Control API (CCAPI)
Before using an application or other product applying the Camera Control API (CCAPI),* prepare the camera for CCAPI control by connecting it to the smartphone, tablet, or computer you will use.
Camera Control API is an HTTP-based application programming interface for controlling Canon cameras over a network.
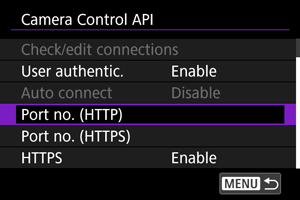
Setting a Port Number
-
Select [
 :
:  Camera Control API] ().
- Enter the camera name after the camera displays [Register a nickname to identify the camera. This nickname will be used for Wi-Fi and Bluetooth connections.].
-
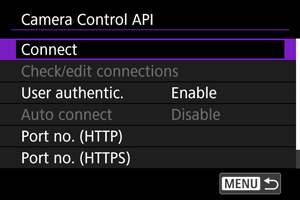
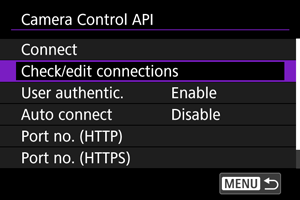
Select an option.
-
Port no. (HTTP)
The HTTP port number can be changed as needed.
-
Port no. (HTTPS)
The HTTPS port number can be changed as needed.
-
HTTPS
Set to [Disable] when using HTTP.
-
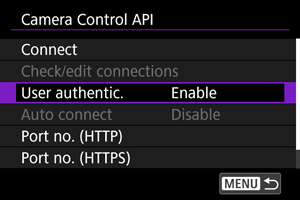
Configuring User Authentication
-
Select [
: Camera Control API] ().- Enter the camera name after the camera displays [Register a nickname to identify the camera. This nickname will be used for Wi-Fi and Bluetooth connections.].
-
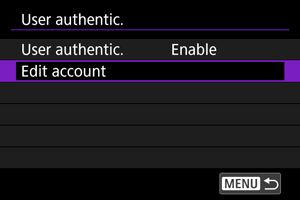
Select [User authentic.].
-
Select use of user authentication.
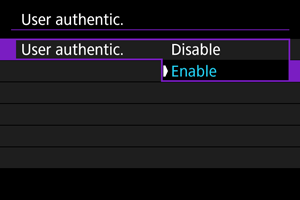
- If you have selected [Enable], enter the [User name] and [Password] in [Edit account].
-
Select [Edit account].
-
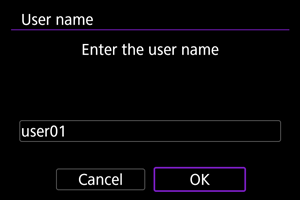
Set the user name.
-
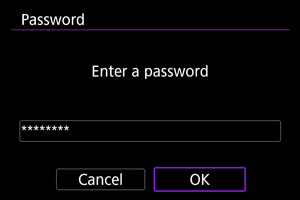
Set the password.
Configuring the Connection
-
Select [Connect].
-
Select [Add with wizard].
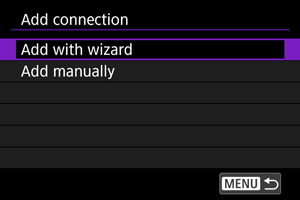
- To configure connection details, select [Add manually].
-
Select an option.
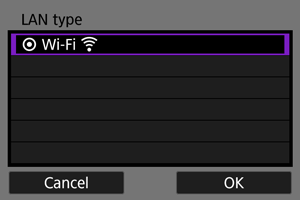
- [Wired
 ] is displayed when a wired LAN is available.
 - Select [OK] to go to the next screen.
- For instructions on configuring communication functions, see Basic Communication Settings.
- [Wired
-
Set the user name.

-
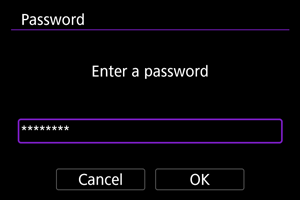
Set the password.
-
Establish a Wi-Fi connection.
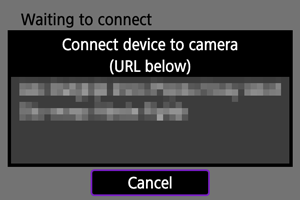
- When the screen above appears on the camera, use the smartphone, computer, or other device to access the indicated URL from the application developed for camera control.
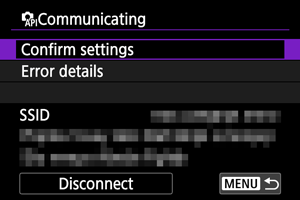
- Display of the screen above on the camera indicates that a connection has been established.
- To end the connection, select [Disconnect].
[Communicating] screen
The following operations are available from the [![]() Communicating] screen.
Communicating] screen.
Changing Settings
You can change the settings when the camera is not connected.
Check/edit connections
Check or edit connection settings.
-
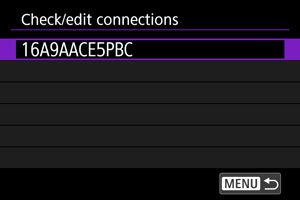
Select [Check/edit connections].
-
Select the intended device.
-
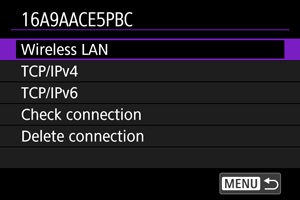
Select items to check or change.
-
Wireless LAN (or Wired)
When wireless LAN settings have been configured, you can change the SSID (network name) and details such as the connection method, security, and type of encryption.
-
TCP/IPv4
You can change the TCP/IPv4 settings.
-
TCP/IPv6
You can change the TCP/IPv6 settings.
-
Check connection
You can review connection settings.
-
Delete connection
You can clear the connection settings.
-
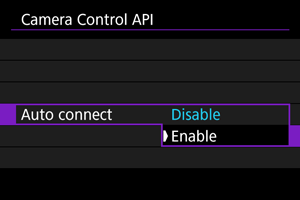
Auto connect
Selecting [Enable] will automatically establish a connection the next time the camera starts up after you turn it off.