Basic Communication Settings
- Connecting via Wired LAN
- Connecting via WPS
- Connecting to Detected Networks
- Connecting by Entering a Network Name
- Connecting in Camera Access Point Mode
- Setting the IP Address Manually
- Configuring IPv6
- Registering Sets of Communication Settings as Connection Settings
This section describes how to configure communication settings and register them in [Comm settings].
If communication settings are displayed when you are configuring network features, choose a connection method in the links above and follow the steps on the screen displayed ([Comm settings] or [LAN type] screen).
Connecting via Wired LAN
Register communication settings that involve a wired LAN as follows. Use of wired LAN with the camera requires Battery Grip BG-R20EP or Cooling Fan CF-R20EP (both sold separately).
Adding the connection with the wizard
-
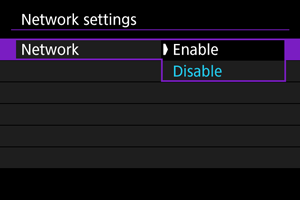
In [Network], select [Enable].
-
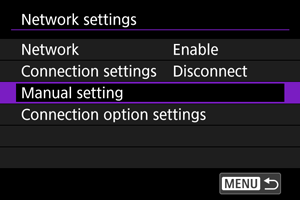
Select [Manual setting].
-
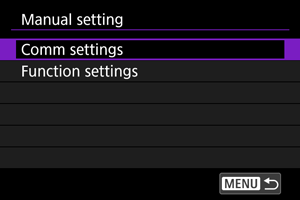
Select [Comm settings].
-
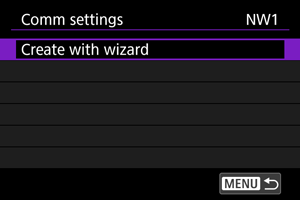
Select [NW*].

-
Select [Create with wizard].
-
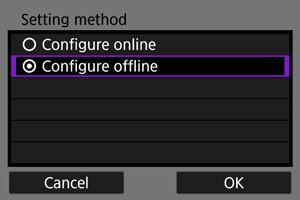
Select an option.
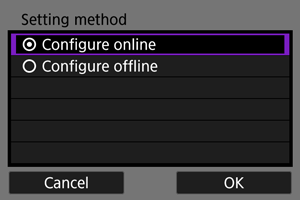
- Select [OK] to go to the next screen.
- Selecting [Configure offline] will keep the camera disconnected from the network after configuration.
-
Select [Wired
 ].
].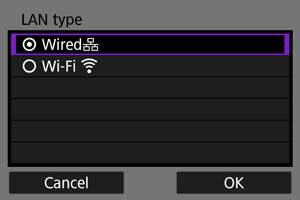
- Select [OK] to go to the next screen.
-
Select an option.
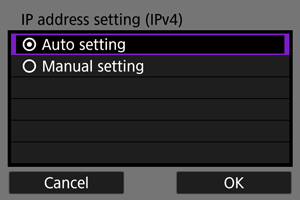
- Select [OK] to go to the next screen.
- If you have selected [Manual setting], also see Setting the IP Address Manually.
-
Select use of IPv6.
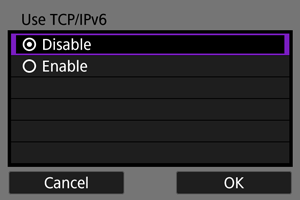
-
Press
 .
.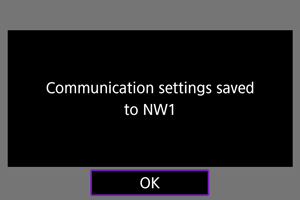
- The communication settings are saved.
Connecting via WPS
Register communication settings with WPS (Wi-Fi Protected Setup) as follows.
WPS connections
Options for connection methods include push-button configuration (PBC) and personal identification number (PIN). When establishing a connection, check the method supported by your access point.
PBC
The camera and access point can be connected simply by pressing the WPS button on the access point.
- Connecting may be more difficult if multiple access points are active nearby. If so, try to connect with [WPS (PIN mode)].
- Check the position of the WPS button on the access point in advance.
- It may take approx. 1 min. to establish a connection.
PIN
An 8-digit identification number indicated on the camera is entered on the access point to establish a connection.
- Even if multiple access points are active nearby, connecting by using this shared identification number is relatively reliable.
- It may take approx. 1 min. to establish a connection.
Adding the connection with the wizard
-
In [Network], select [Enable].
-
Select [Manual setting].
-
Select [Comm settings].
-
Select [NW*].
-
Select [Create with wizard].
-
Select [Configure online].
- Select [OK] to go to the next screen.
-
Select [Wi-Fi
 ].
].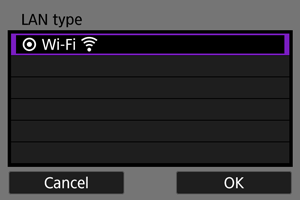
- Select [OK] to go to the next screen.
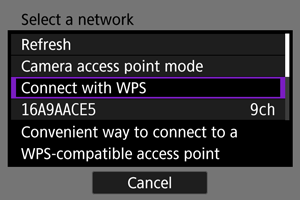
-
Select [Connect with WPS].
-
Select an option.
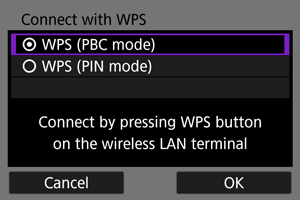
- Select [OK] to go to the next screen.
For [WPS (PBC mode)]
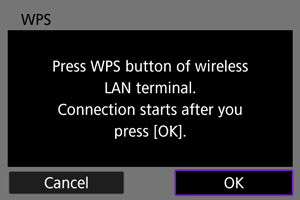
- Press the access point's WPS button. For details on where the button is and how long to press it, refer to the access point user manual.
- Select [OK] to initiate connection with the access point.
- Go to step 12 after the camera is connected to the access point.
For [WPS (PIN mode)]
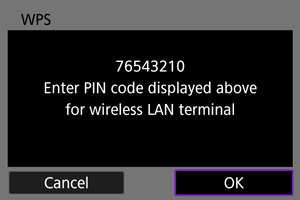
- On the access point, enter the 8-digit PIN code displayed on the camera screen. For instructions on entering PIN codes on the access point, refer to the access point's Instruction Manual.
- Select [OK] to go to the next screen.
-
Connect to the access point.
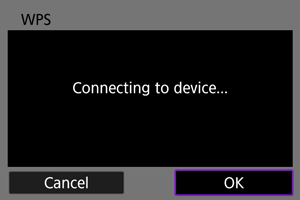
- Select [OK] to initiate connection with the access point.
- The following screen is displayed once the camera is connected to the access point.
-
Select [Auto setting].
- Select [OK] to go to the next screen.
- If you have selected [Manual setting], also see Setting the IP Address Manually.
-
Select use of IPv6.
-
Press
.- The communication settings are saved.
Connecting to Detected Networks
Register communication settings by choosing the network name from a list of detected access points.
Adding the connection with the wizard
-
In [Network], select [Enable].
-
Select [Manual setting].
-
Select [Comm settings].
-
Select [NW*].
-
Select [Create with wizard].
-
Select [Configure online].
- Select [OK] to go to the next screen.
-
Select [Wi-Fi
].- Select [OK] to go to the next screen.
-
Select the network name.
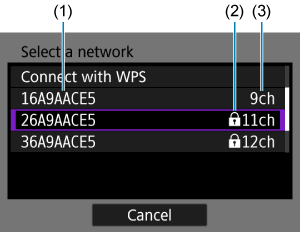
- (1) Network names (SSIDs)
- (2) Security icon (for access points with encryption)
- (3) Channel
- Use the
 dial to select the name of the network for the connection.
 - [
 ] in the list indicates that the access point supports the 6 GHz band.
Note
-
[Refresh]
- To display [Refresh], scroll down the screen in step 9.
- Select [Refresh] to search for access points again.
-
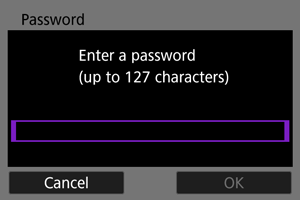
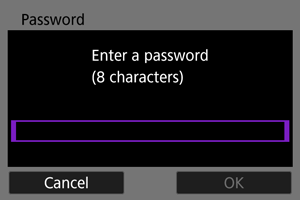
Enter the password.

-
Select [Auto setting].
- Select [OK] to go to the next screen.
- If you have selected [Manual setting], also see Setting the IP Address Manually.
-
Select use of IPv6.
-
Press
.- The communication settings are saved.
Connecting by Entering a Network Name
Connect to an access point by selecting its SSID (or ESS-ID) in a list of active access points nearby.
Adding the connection with the wizard
-
In [Network], select [Enable].
-
Select [Manual setting].
-
Select [Comm settings].
-
Select [NW*].
-
Select [Create with wizard].
-
Select [Configure offline].
- Select [OK] to go to the next screen.
-
Select [Wi-Fi
].- Select [OK] to go to the next screen.
-
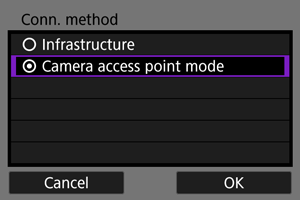
Select [Infrastructure].
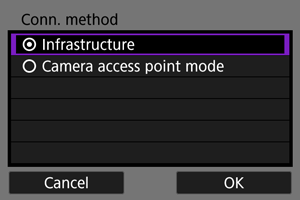
- Select [OK] to go to the next screen.
-
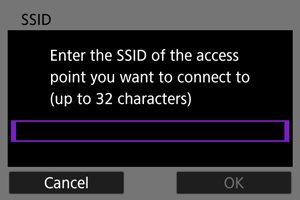
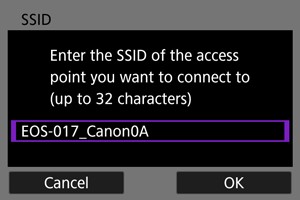
Enter the SSID (network name).
-
Select the type of security.
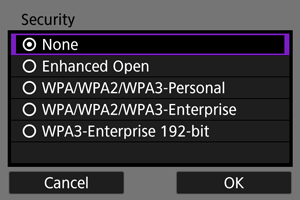
- Select [OK] to go to the next screen.
- The same type of security must be set on both the other device and the camera. See Authentication and data encryption methods for details on types of authentication and encryption.
-
Enter the password.
-
Select an option.
- Select [OK] to go to the next screen.
- If you have selected [Manual setting], also see Setting the IP Address Manually.
-
Select use of IPv6.
-
Press
.- The communication settings are saved.
Connecting in Camera Access Point Mode
Register communication settings for direct connections between the camera and other devices.
Adding the connection with the wizard
-
In [Network], select [Enable].
-
Select [Manual setting].
-
Select [Comm settings].
-
Select [NW*].
-
Select [Create with wizard].
-
Select an option.
- Select [OK] to go to the next screen.
- Selecting [Configure offline] will keep the camera disconnected from the network after configuration.
-
Select [Wi-Fi
].- Select [OK] to go to the next screen.
-
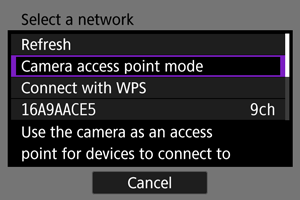
Select [Camera access point mode].
[Configure online] options
[Configure offline] options
-
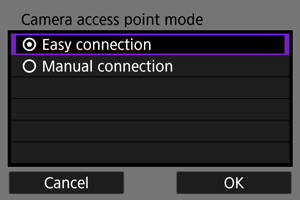
Select an option.
-
Enter the SSID (network name).
-
Select a channel setting option.
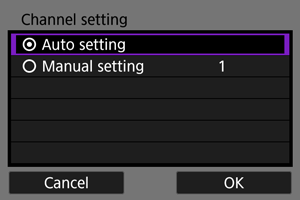
- To specify the settings manually, select [Manual setting], then turn the
 dial.
dial. - Select [OK] to go to the next screen.
- To specify the settings manually, select [Manual setting], then turn the
-
Select the type of security.
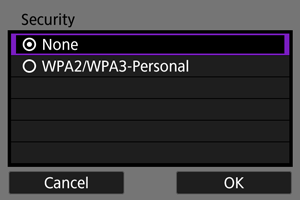
- Select [OK] to go to the next screen.
- If you have selected [None], the [IP address setting (IPv4)] screen is displayed ().
- Available options vary depending on the [Channel setting] option you chose.
- The same type of security must be set on both the other device and the camera. See Authentication and data encryption methods for details on types of authentication and encryption.
-
Enter the password.
-
Select how to set the IP address.
- Select [OK] to go to the next screen.
- If you have selected [Manual setting], also see Setting the IP Address Manually.
-
Check the SSID and password.

- Select [OK] to go to the next screen.
-
Press
.- The communication settings are saved.
Setting the IP Address Manually
Set the IP address as follows if you have selected [Manual setting] on the [IP address setting (IPv4)] screen.
-
Select [Manual setting].
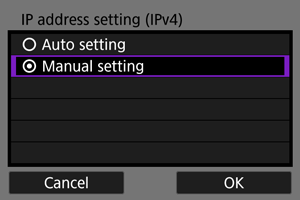
- Select [OK] to go to the next screen.
-
Select an option to configure.
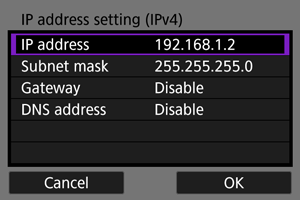
- The items displayed vary depending on the communication function.
-
Select an option to access the screen for numerical input.
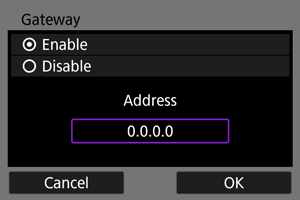
-
To use a gateway, select [Enable], then select [Address].
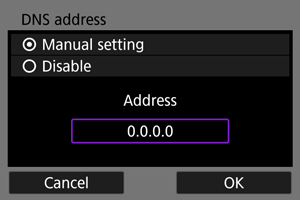
- To use a DNS address, select [Manual setting], then select [Address].
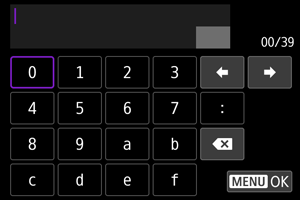
-
Enter the number.
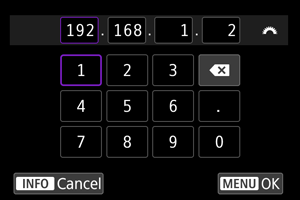
- To set the entered numbers and return to the screen for step 2, press the
 button.
- To set the entered numbers and return to the screen for step 2, press the
-
Select [OK].

- When you have completed setting the necessary items, select [OK].
- If you are unsure what to enter, see Checking Network Settings or ask the network administrator or other person in charge of the network.
-
Select use of IPv6.
-
Press
.- The communication settings are saved.
Configuring IPv6
To use IPv6, configure the settings manually.
Note
- If you are unsure what to enter, ask the network administrator or other person in charge of the network.
-
Select [Manual setting].
-
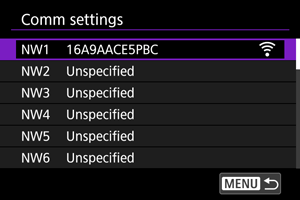
Select [Comm settings].
-
Select the communication settings that will use IPv6.
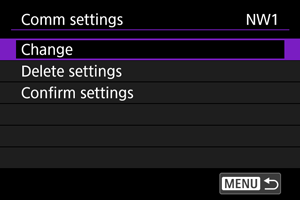
-
Select [Change].
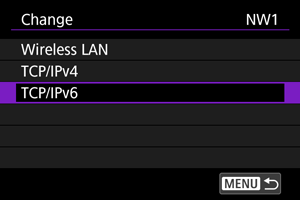
-
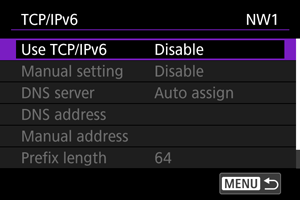
Select [TCP/IPv6].
-
Select an option to configure.
-
Use TCP/IPv6
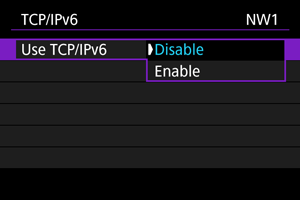
- Select [Enable] or [Disable] for IPv6.
-
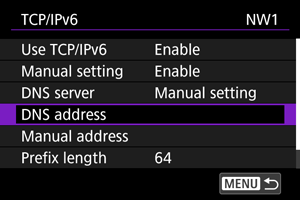
Manual setting

- To set the IP address manually, select [Enable]. [DNS server] is set to [Manual setting], and you can configure [DNS address], [Manual address], [Prefix length], and [Gateway].
-
DNS server
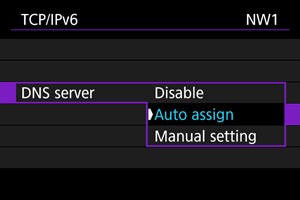
- To set the DNS server IP address manually, select [Manual setting].
- Select [Disable] if you will not use a DNS server.
- If the setting is currently [Auto assign], setting [Manual setting] to [Enable] changes it to [Manual setting].
-
DNS address/Manual address/Gateway
-
Select an option and enter the IP address.
-
-
Prefix length
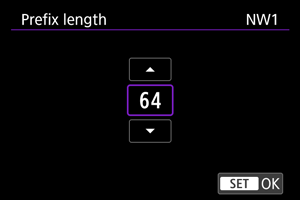
- To set the prefix length, turn the dial to select a value (1–128).
- To set the prefix length, turn the
-
Registering Sets of Communication Settings as Connection Settings
You can register multiple communication settings (multiple Wi-Fi settings, or combinations of wired LAN and Wi-Fi settings) as a single set of connection settings.
With a combination of wired LAN and Wi-Fi settings, communication is restricted to the wired LAN when it is available but otherwise switches to the Wi-Fi connection. When the wired LAN becomes available again, communication is restricted to it.
This section explains how to register connection settings using function and communication settings that are already configured.
Caution
- Settings for multiple networks cannot be configured in camera access point mode settings.
Note
-
Use of wired LAN with the camera requires Battery Grip BG-R20EP or Cooling Fan CF-R20EP (both sold separately).
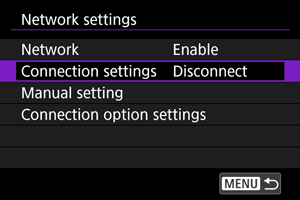
-
Select [Connection settings].
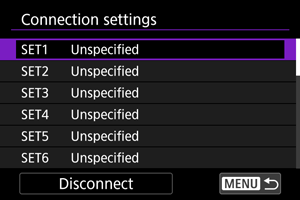
-
Select [SET*].
-
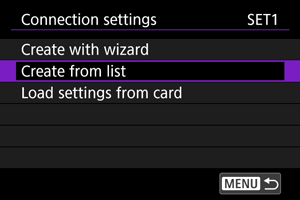
Select [Create from list].
-
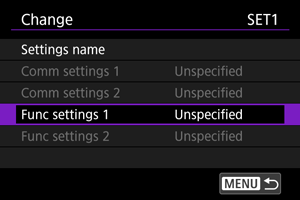
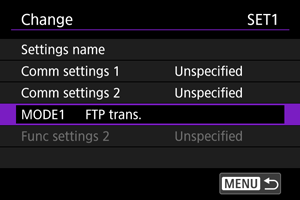
Select [Func settings *].
-
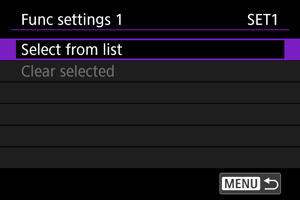
Select [Select from list].
-
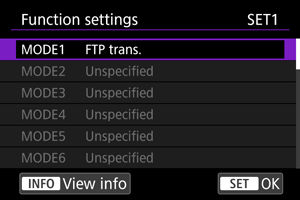
Select function settings.
-
The function settings are registered, and display returns to the [Change] screen.
-
-
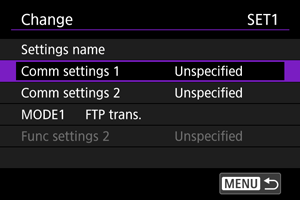
Select [Comm settings 1].
-
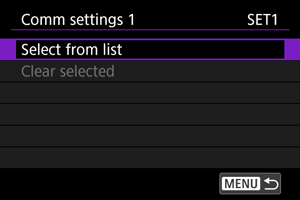
Select [Select from list].
-
Select communication settings.
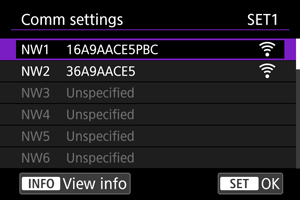
- The first communication settings are registered, and display returns to the [Change] screen.
- You can register wired LAN or Wi-Fi settings in any order.
-
Select [Comm settings 2].
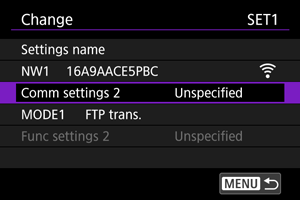
-
Select [Select from list].

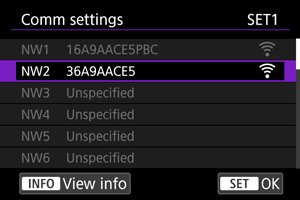
-
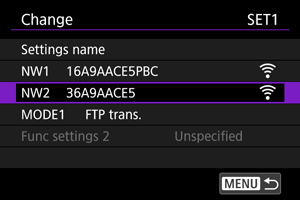
Select communication settings.
Note
- Select Wi-Fi settings if wired LAN settings are already registered in [Comm settings 1], or select wired LAN settings if Wi-Fi settings are already registered in [Comm settings 1].
-
Exit the screen for changing settings.
- Press the button.
- Press the
-
Select [Connect].
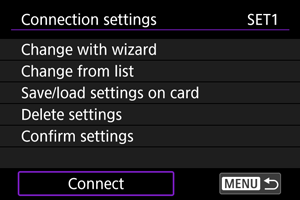
-
Select [OK].
- The connection is initiated.