Linked Shooting
In linked shooting over wireless LAN, you can coordinate shooting by up to 10 receiver cameras with a sender camera that you shoot from.
Note that there is a slight delay in the shutter release timing between the sender and receiver cameras. Moreover, movie recording is not supported.
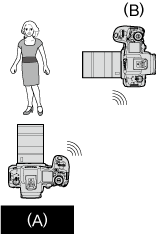
- (A) Sender camera
- (B) Receiver camera
Note
- For details on cameras or combinations of cameras and accessories you can use in linked shooting, see Preparing to Use Communication Functions.
Basic Linked Shooting
Link the sender and receiver cameras for basic linked shooting.
Preparing the sender camera
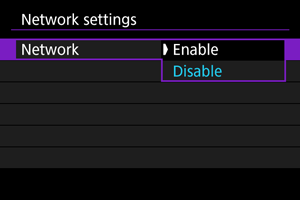
First, set up the camera to use as a sender.
-
Select [Enable].
-
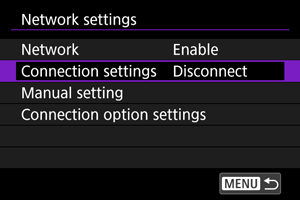
Select [Connection settings].
-
Select [LinkedShot].
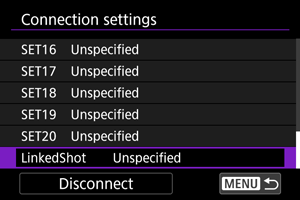
- Use the
 dial to select [LinkedShot] at the bottom.
- Use the
-
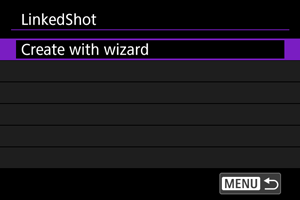
Select [Create with wizard].
-
Select [Sender].
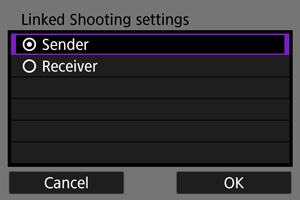
- Select [OK].
-
Select [Auto connect].
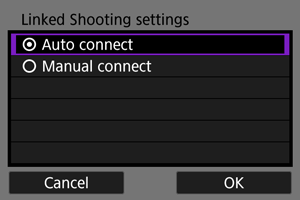
- Select [OK].
- After the screen is displayed, the camera is ready.
- Up to nine compatible receiver cameras can be linked when you select [Manual connect].
Preparing receiver cameras
Set up cameras to use as receivers.
-
Follow steps 1–5 in Preparing the sender camera.
-
Select [Receiver].
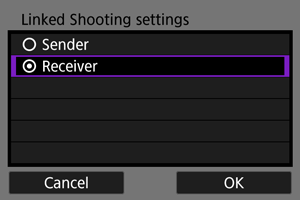
- Select [OK] to go to the next screen.
-
Select [OK].

-
The following screen is displayed.
- When using multiple receiver cameras, repeat steps 1–3 on each receiver camera.
- More receivers cannot be added after setup is complete. In that case, you will need to configure the settings again from step 1.
- The number of receiver cameras detected is displayed on the sender camera screen.
-
Connecting the sender and receiver cameras
Use the sender and receiver cameras to establish a connection.
-
Follow steps 1–7 in Preparing the sender camera and steps 1–3 in Preparing receiver cameras.
-
On the sender camera, select [OK].
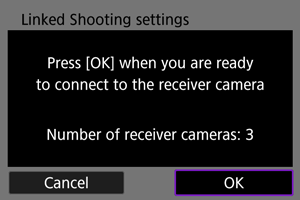
- Check the number of receiver cameras that are connected, then select [OK].
- Once the cameras are connected, the following screen is displayed.
-
Press
 on all of the cameras.
Sender camera
Receiver camera
- Display returns to the [Network settings] screen.
Positioning the Cameras
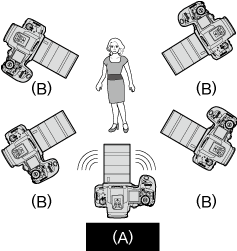
(A) Sender camera
(B) Receiver camera
- Position receiver cameras where there is an unobstructed line of sight to them from the sender camera.
- Receiver cameras can be positioned up to approx. 50 m from the sender camera. However, the effective range for linked shooting may be shorter depending on wireless communication conditions, which are affected by factors such as camera positioning, the environment of use, and weather conditions.
- Pressing the sender camera shutter button halfway also has the effect of pressing the receiver camera shutter buttons halfway. Similarly, pressing the sender camera shutter button completely has the same effect on receiver cameras, which also shoot.
- There is a slight delay in the shutter release timing between the sender and receiver cameras, and simultaneous shooting is not possible.
Caution
- Do not use multiple flash units. Although slight, the difference in shutter release timing may cause out-of-sync flash firing and inadequate exposure.
Note
- In linked shooting, pressing the AE lock or depth-of-field preview button executes focusing and metering just as pressing the shutter button halfway does.
- Once you have established a connection between sender and receiver cameras, the settings are retained even after changes such as replacing the batteries.
- If you will no longer use a receiver camera in linked shooting, set [LinkedShot] in [Connection settings] on the receiver camera to [Disconnect].