In-Camera Upscaling
This deep-learning processing can double the vertical and horizontal pixel counts and quadruple the total pixel count of your JPEG or HEIF images. Upscaling is available for images captured as JPEGs or HEIFs with an image size of .
Caution
- Image processing may take some time.
- Shooting is not possible until processing is finished.
-
These images cannot be upscaled.
- Images captured with [
:
Cropping/aspect ratio] set to an option other than [Full-frame]
- RAW images
- Images from cameras other than an EOS R5 Mark II
- Images already upscaled
- Images processed on a camera or in editing software (resized, cropped, or extracted)
- Images captured with [
- The effect may not look as expected for images from some shooting situations.
Note
- Upscaled images are labeled [
].
- Upscaled images are saved in the same format (JPEG or HEIF) as the original image.
Converting Individual Images
-
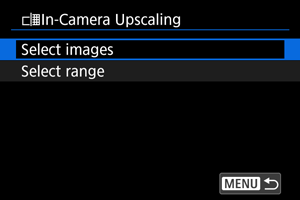
Select [Select images].
-
Select an image.
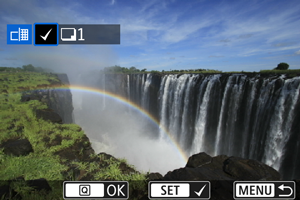
- Turn the
dial to select an image to upscale, then press
.
- To select another image to upscale, repeat step 3.
- Press the
button to execute upscaling.
- Turn the
-
Save.
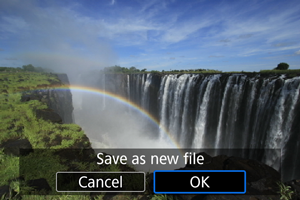
- Select [OK] to save the upscaled image.
- If there are other images for conversion, select [Yes].
-
Select the image to display.
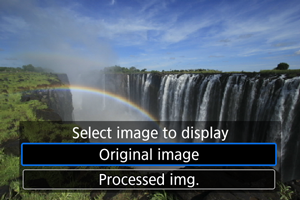
- Select [Original image] or [Processed img.].
- Your selected image is displayed.
Specifying the Range of Images to Convert
-
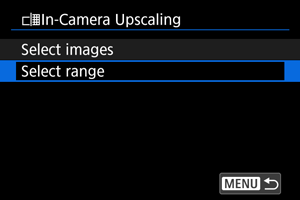
Select [Select range].
-
Specify the range of images.
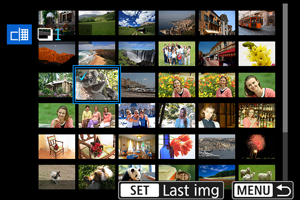
- Select the first image (start point).
- Next, select the last image (end point). A checkmark [
] will be appended to all the images within the range between first and last images.
- To select other images, repeat step 2.
-
Press the
button.
-
Save.
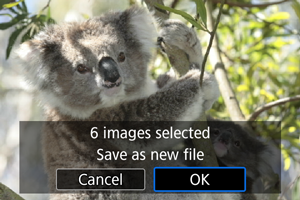
- Select [OK] to save the upscaled image.
- If there are other images for conversion, select [Yes].
-
Select the image to display.
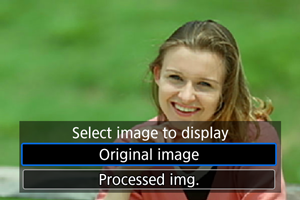
- Select [Original image] or [Processed img.].
- Your selected image is displayed.