Magnified Image Display
You can magnify captured images by approx. 1.5× to 10×.
-
Magnify the image.
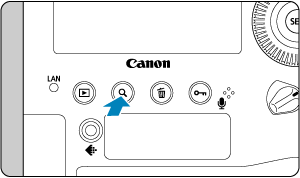
- Magnification is possible at these times: 1. During image playback (single-image display), 2. During image review after shooting, and 3. When the camera is ready to shoot.
- Press the
 button.
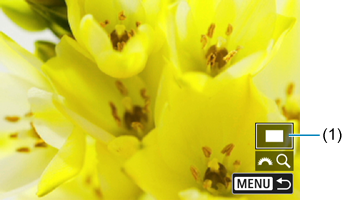
 - The magnified view will appear. The position of the magnified area (1) is displayed in the lower right of the screen, along with [
 ].
]. - To magnify images, turn the dial clockwise. You can magnify images up to approx. 10×.
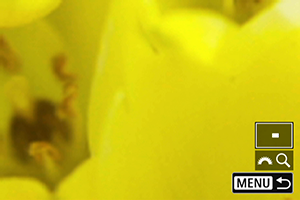
- To reduce magnification, turn the dial counterclockwise. Index display () can be accessed by turning the dial further (at the times of 1. and 3. only).
-
Scroll the image.
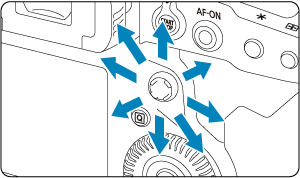
- Use
 to scroll around the magnified image.
 - With the Smart controller, you can also move the magnified area itself.
- Press the or
 button to exit magnified view.
- Use
Note
- To switch to other images while maintaining magnified view, turn the
 dial (at the times of 1. and 3. only).
 - Magnification is not available for movies.
Setting the Initial Magnification Ratio and Position
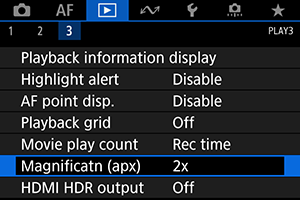
You can set the initial magnification ratio and magnified position by selecting [![]() : Magnificatn (apx)].
: Magnificatn (apx)].
-
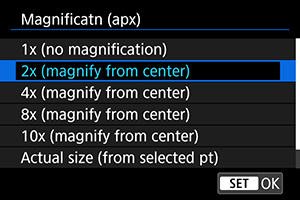
1x (no magnification)
The image is not magnified. The magnified view will start with the single-image display.
-
2x, 4x, 8x, 10x (magnify from center)
The magnified view starts at the image center at the selected magnification ratio.
-
Actual size (from selected pt)
The recorded image's pixels will be displayed at approx. 100%. The magnified view starts at the AF point that achieved focus. If the photo is taken with manual focus, the magnified view starts at the image center.
-
Same as last magnif. (from ctr)
The magnification will be the same as the last time you exited the magnified view with the
or button. The magnified view starts at the image center.