Dust Delete Data Acquisition
Dust Delete Data used to erase dust spots can be appended to images in case sensor cleaning leaves dust on the sensor. The Dust Delete Data is used by Digital Photo Professional (EOS software) to erase the dust spots automatically.
Preparation
- Prepare a solid white object such as a sheet of paper.
- Set the lens focal length to 50 mm or longer.
- Set the lens's focus mode switch to
and set the focus to infinity (∞). If the lens has no distance scale, rotate the camera to face toward you and turn the focusing ring clockwise all the way.
-
Select [
: Dust Delete Data].
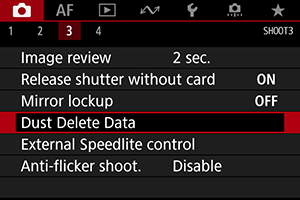
-
Select [OK].
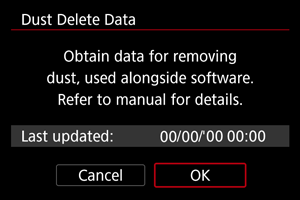
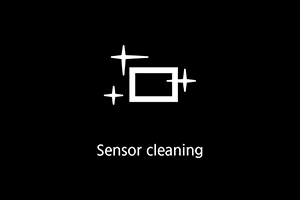
- After the automatic self-cleaning of the sensor is performed, a message will appear. Although there will be a mechanical sound of the shutter during the cleaning, no picture is taken.
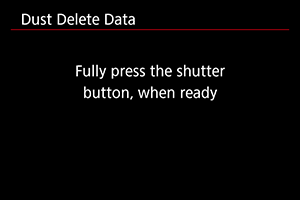
-
Shoot a plain white object.
- Shoot with a plain white object (such as a new sheet of white paper) filling the screen, at a distance of 20–30 cm (0.7–1.0 ft.).
- Since the image will not be saved, the data can still be obtained even if there is no card in the camera.
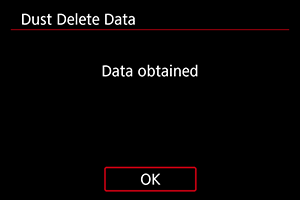
- When the picture is taken, the camera will start collecting the Dust Delete Data. When the Dust Delete Data is obtained, a message will appear.
- If the data is not obtained successfully, an error message will appear. Check the information in Preparation, select [OK], and shoot again.
Dust Delete Data Appending
The camera will append the Dust Delete Data obtained to all shots from now on. Acquiring Dust Delete Data before shooting is recommended.
For details about using Digital Photo Professional (EOS software) to erase dust spots automatically, refer to the Digital Photo Professional Instruction Manual.
File size is essentially unaffected by Dust Delete Data appended to images.
Caution
- If the object has any pattern or design, it may be recognized as dust data and affect the accuracy of the dust deletion with the Digital Photo Professional (EOS software).