Quick Start Guide
-
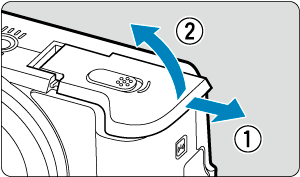
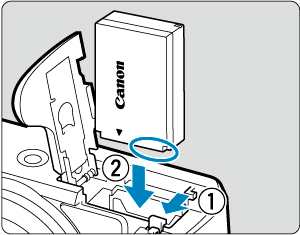
-
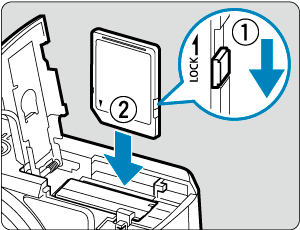
- Insert the card with the label facing the front of the camera until it clicks into place.
-
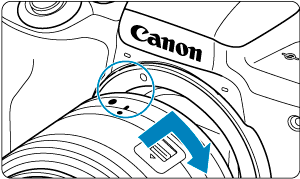
- Align the lens mount indexes (white) on the lens and camera to attach the lens.
-
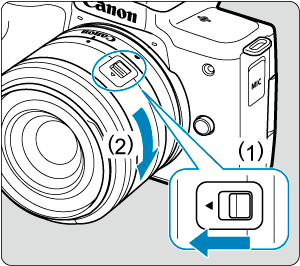
- Press (1) as you turn (2) slightly, then release (1).
- Turn (2) a little more until it clicks.
-
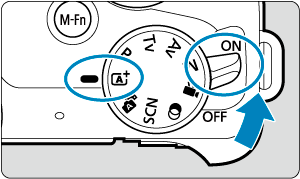
Set the power switch to
 , then set the Mode dial to
  (, ).
(, ).
- All the necessary camera settings will be set automatically.
-
- If the [Date/Time/Zone] setting screen is displayed, see Date/Time/Zone.
-
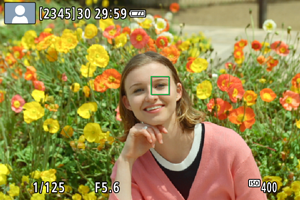
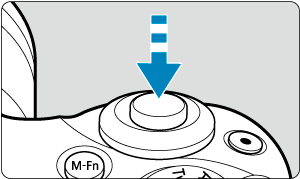
- Center the subject on the screen.
- Press the shutter button halfway, and the camera will focus on the subject.
- If
 blinks on the screen, manually raise the built-in flash.
-
- Press the shutter button completely to take the picture.
-
Review the picture.