Other Menu Functions
[ 1]
1]
-
Shooting mode
Available options include autoexposure and manual exposure movie recording.
[2]
-
Exposure comp.
Exposure compensation can be adjusted in a range of ±3 stops, in 1/3-stop increments. For details on exposure compensation, see Exposure Compensation.
-
 ISO speed settings
-
ISO speed
In [
 ] mode, you can set the ISO speed manually. You can also select ISO Auto.
 -
Max for Auto
You can set the maximum limit for ISO Auto in movie recording in [
] mode or in [] mode with ISO Auto.[H(25600)] is added as an option in [Max for Auto] when [1: ISO expansion] in [
 : Custom Functions(C.Fn)] is set to [1:Enable].
-
-
Auto Lighting Optimizer
Brightness and contrast can be corrected automatically. For details on Auto Lighting Optimizer, see Auto Lighting Optimizer.
-
Highlight tone priority
You can reduce overexposed, clipped highlights as you record movies. For details on Highlight tone priority, see Highlight Tone Priority.
Caution
- [Enhanced] is not available (not displayed) when recording movies with [: Highlight tone priority] set.
- [Enhanced] is not available (not displayed) when recording movies with [
-
Auto slow shutter
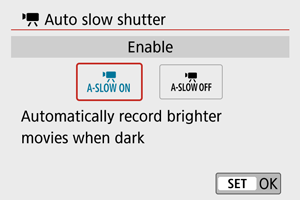
You can choose whether to record movies that are brighter than when set to [Disable] by automatically slowing the shutter speed under low light.
Available in [
] recording mode. Applies when the frame rate of the movie recording size is  or
or  .
.-
Disable
Enables you to record movies with smoother, more natural movement, less affected by subject shake than when set to [Enable]. Note that under low light, movies may be darker than when set to [Enable].
-
Enable
Enables you to record brighter movies than when set to [Disable] by automatically reducing the shutter speed to 1/30 sec. (NTSC) or 1/25 sec. (PAL) under low light.
Note
- Setting to [Disable] is recommended when recording moving subjects under low light, or when afterimages such as trails may occur.
-
[3]
-
White balance
For details on white balance, see White Balance Settings.
-
Custom White Balance
For details on custom white balance, see [
 ] Custom White Balance.
 -
WB correction
For details on white balance correction, see White Balance Correction.
-
Picture Style
For details on Picture Styles, see Picture Style Selection.
-
Lens aberration correction
For details on lens aberration correction, see Lens Aberration Correction.
[5]
-
AF method
For details on AF methods, see AF Method.
-
Eye detection
For details on eye detection, see Eye Detection.
-
Touch & drag AF settings
For details on touch & drag AF settings, see Touch & Drag AF Settings.
-
Focus mode
For details on focus modes, see Focus Mode.
-
MF peaking settings
For details on MF peaking settings, see MF Peaking Settings (Outline Emphasis).
[6]
-
Lens electronic MF
For details on lens electronic MF, see Lens Electronic MF.
[7]
-
Remote control
By setting to [Enable], you can start or stop movie recording using Wireless Remote Control BR-E1 (sold separately). First, pair the BR-E1 with the camera ().
With Wireless Remote Control BR-E1
For normal movie recording, set the release timing/movie shooting switch to
, then press the release button.For time-lapse movie recording, see Time-Lapse Movies.
[8]
-
IS (Image Stabilizer) mode
For details on image stabilization settings, see Image Stabilization.
-
Metering timer
For details on the metering timer, see Metering Timer.
-
Shooting info. disp.
For details on configuring shooting information display, see Shooting Information Display.
[9]
-
Reverse display
For details on reverse display, see Reverse Display.
-
VF display format
For details on the viewfinder display format, see Viewfinder Display Format.
-
HDMI info disp
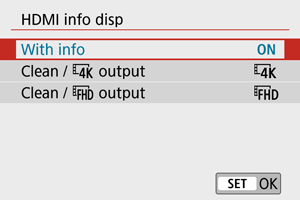
You can configure information display for image output via an HDMI cable.
-
With info
The image, shooting information, AF points, and other information is shown on the other device via HDMI. Note that the camera screen goes off. Recorded movies are saved to the card.
-
Clean /
 output
HDMI output consists solely of 4K movies. Shooting information and AF points are also displayed on the camera, but no image is recorded to the card. Note that Wi-Fi communication is not available.
-
Clean /
 output
HDMI output consists solely of Full HD movies. Shooting information and AF points are also displayed on the camera, but no image is recorded to the card. Note that Wi-Fi communication is not available.
-