Printing
All operations in direct printing are performed on the camera, as you view instructions on the camera.
-
Prepare the printer.
- For details, refer to the printer instruction manual.
-
Connect the camera to the printer with an interface cable (sold separately).
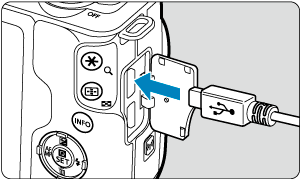
- As an interface cable, you can use an IFC-600PCU cable (sold separately).
- Insert the cord’s plug into the camera’s digital terminal (USB Micro-B).
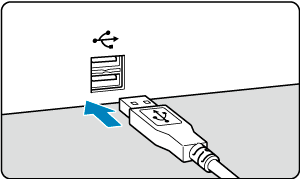
- Connect the other end to the printer’s USB terminal.
-
Turn the printer on.
-
Turn the camera on.
- Some printers may beep.
- The image is displayed, along with a printer connection icon in the upper left of the screen.
-
Select the image to be printed.
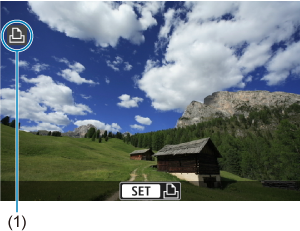
- Confirm that a printer connection icon (1) is displayed in the upper left of the screen.
- Press the

 keys to select an image to print.
-
Press
 .
.- The print setting screen appears.
- For setting details, see Print Settings.
Caution
- Confirm in advance that the printer has a PictBridge-compatible terminal.
- Movies cannot be printed.
- Printers only compatible with CP Direct or Bubble Jet Direct printing cannot be used.
- A series of long beeps in step 4 indicates a problem with the printer. Resolve the problem according to the error message displayed ().
Note
- The screen display and setting options vary depending on the printer. Also, certain settings may not be available. For details, refer to the printer’s instruction manual.
- You can also print RAW images captured with this camera.
- When using a battery to power the camera, make sure it is fully charged.
- Turn off the camera and printer before disconnecting the cable, and hold the cable by the plug when disconnecting it.
- For direct printing, consider powering the camera with DC Coupler DR-E12 and Compact Power Adapter CA-PS700 (each sold separately).