Sending Images to a Web Service
This section describes how to send images to image.canon.
Registering Image.Canon
Link the camera to image.canon to send images directly from the camera.
- A computer or smartphone with a browser and internet connection is required.
- You will need to enter an email address used on your computer or smartphone.
- For instructions on how to use image.canon services and details on countries and regions where it is available, visit the image.canon site (https://image.canon/).
- Separate ISP connection and access point fees may apply.
Steps on the camera (1)
-
Select [
 : Wi-Fi/Bluetooth connection].
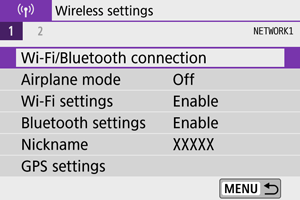
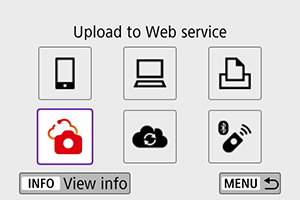
-
Select [
 Upload to Web service].
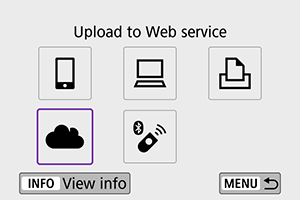
-
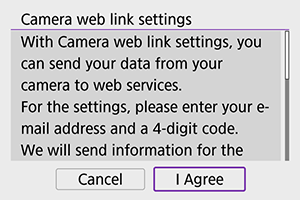
Select [I Agree].
-
Establish a Wi-Fi connection.
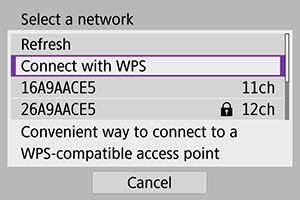
- Connect to an access point via Wi-Fi. Go to step 6 in Wi-Fi Connection via Access Points.
-
Enter your email address.
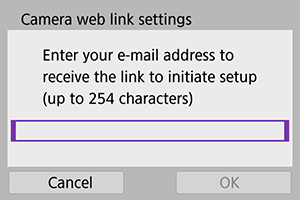
- Enter your email address, then select [OK].
-
Enter a four-digit number.
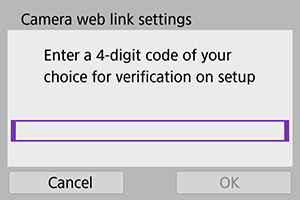
- Enter a four-digit number of your choice, then select [OK].
-
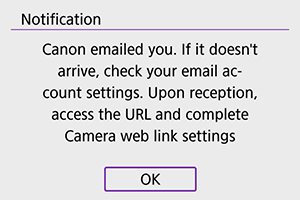
Select [OK].
- The [] icon changes to [
 ].
].
- The [
Steps on the computer or smartphone
-
Set up camera web link.
- Access the page in the notification message.
- Follow the instructions to complete the settings on the camera web link settings page.
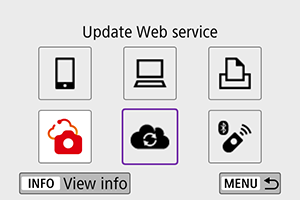
Steps on the camera (2)
-
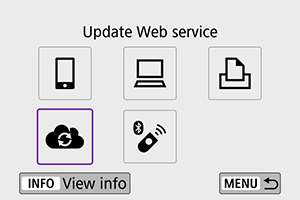
Add “image.canon” as a destination.
-
Select [
].image.canon is now added.
-
Sending Images
Images can be sent to image.canon. Original files of images sent to image.canon are retained for 30 days, without storage limitations, and can be downloaded to computers or transferred to other Web services.
Connecting to image.canon via Wi-Fi
Sending images individually
-
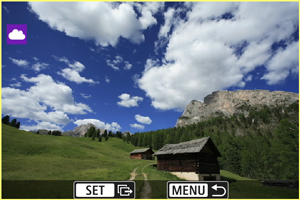
Select an image to send.
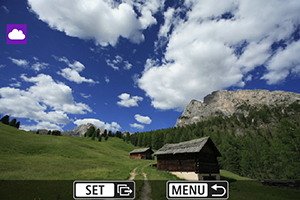
- Use the
 dial or
 keys to select an image to send, then press
  .
. - To select the image from index display, press the
 button.
- Use the
-
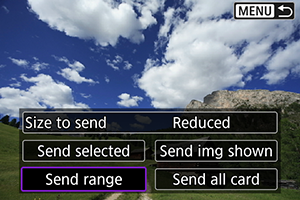
Select [Send img shown].
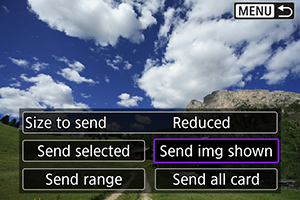
- In [Size to send], you can select the image sending size.
- On the screen after images are sent, select [OK] to end the Wi-Fi connection.
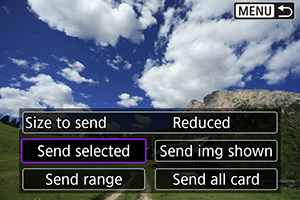
Sending multiple selected images
-
Press
. -
Select [Send selected].
-
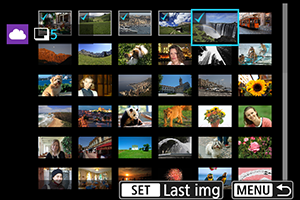
Select images to send.
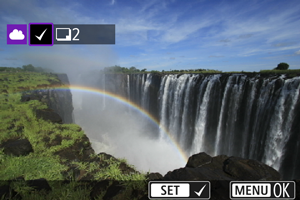
- Use the dial or keys to select an image to send, then press .
- You can press the button to select the image from 3-image display. To return to the single-image display, press the
 button.
- Use the
-
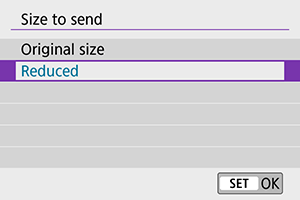
Select [Size to send].
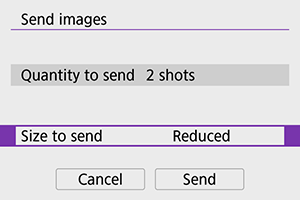
- On the displayed screen, select an image size.
-
Select [Send].
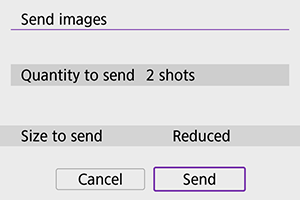
- On the screen after images are sent, select [OK] to end the Wi-Fi connection.
Sending a specified range of images
Specify the range of images to send all the images in the range at once.
-
Press
. -
Select [Send range].
-
Specify the range of images.
- Select the first image (start point).
-
Select the last image (end point).
Images will be selected and [
 ] will appear.
 - To cancel the selection, repeat this step.
- You can press the button to change the number of images shown in the index display.
-
Confirm the range.
- Press the
 button.
- Press the
-
Select [Size to send].
- On the displayed screen, select an image size.
-
Select [Send].
- On the screen after images are sent, select [OK] to end the Wi-Fi connection.
Sending all images on the card
-
Press
. -
Select [Send all card].

-
Select [Size to send].
- On the displayed screen, select an image size.
-
Select [Send].
- On the screen after images are sent, select [OK] to end the Wi-Fi connection.
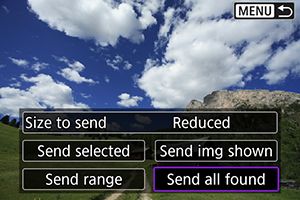
Sending images that match the search conditions
Send all the images that match the search conditions set in [Set image search conditions] at once. For details on [Set image search conditions], see Setting Image Search Conditions.
-
Press
.
-
Select [Send all found].
-
Select [Size to send].
- On the displayed screen, select an image size.
-
Select [Send].
- On the screen after images are sent, select [OK] to end the Wi-Fi connection.
Caution
- Shooting is not possible when connected via Wi-Fi to image.canon, even if you press the camera’s shutter button.
Note
- It may not be possible to send certain images with [Send range], [Send all card], or [Send all found].
- When you reduce the image size, all images to be sent at the same time are resized. Note that movies or
 size still photos are not reduced.
 - [Reduced] only applies to still photos shot with cameras of the same model as this one. Still photos shot with other models are sent without resizing.
- A record of sent images can be checked when you access image.canon.
- When you use a battery to power the camera, make sure it is fully charged.