Remote Shooting
You can shoot remotely in conjunction with EOS Utility, software used to communicate with cameras.
Remote shooting requires EOS Utility 3 or later to be installed on your computer. For details on cameras compatible with EOS Utility 3 or later, refer to the instruction manual for your version of EOS Utility.
-
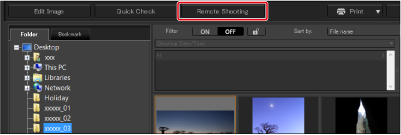
Click [Remote Shooting].
-
Complete the [Destination] setting in the Specify Remote Shooting Folder window.
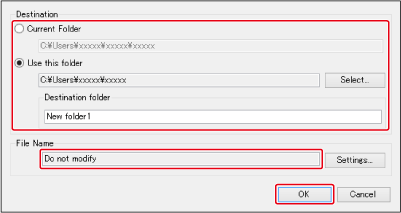
- To save to the current folder, select [Current Folder].
- To create a new folder for saving images, select [Use this folder], click [Select], then select the destination and enter a name for [Destination folder].
- Click [OK] after the settings are configured.
Note
-
You can set up file naming by configuring [File Name] in the Specify Remote Shooting Folder window. (With [Do not modify] selected, images are saved with the file names set on the camera.)
-
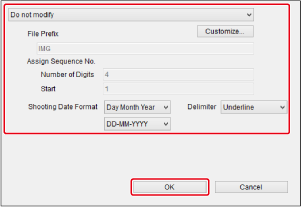
Click [Settings] to display the Set file name for captured image window.
-
Select a naming rule for image file names from the list box. You can also click [Customize] and customize the naming rule.
- You can individually set prefix strings, the number of digits in serial numbers, and the starting number.
- When naming files based on shooting date, you can choose the date format (order and style for year, month, and date) and the delimiter in this window.
-
Click [OK] after the settings are configured.
- To show or hide the [Camera Control] palette, click [
 ] in the lower right of the main window after clicking [Remote Shooting].
- To show or hide the [Camera Control] palette, click [
-
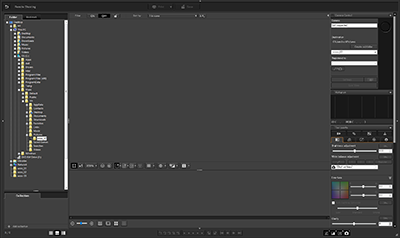
- You can shoot while reviewing images by switching to a multi-layout view.
-
Connect the camera to the computer, then turn on the camera.
-
Click [Live View].
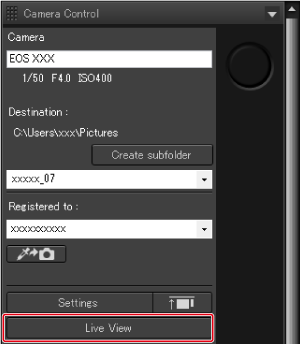
-
Configure the settings as needed.
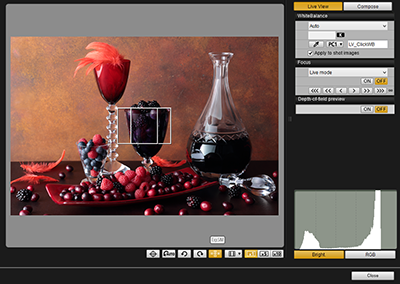
- For instructions, refer to the EOS Utility instruction manual.
-
Click [Settings].

-
Configure the settings as needed.
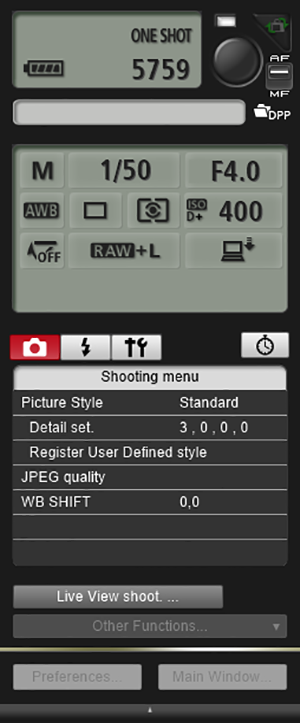
- For instructions, refer to the EOS Utility instruction manual.
-
Take a picture.

- The captured image is displayed.
- The image is saved in the folder set in step 2.
- Images in the folder are shown in the thumbnail display area. You can also create a subfolder in this folder to save images. To create a subfolder, click [Create subfolder] in the remote shooting window, enter a name in [Folder name], then click [OK].
-
Click [
 ] to align the DPP and EOS Utility windows.
- Supported with EOS Utility version 3.8 and later.
- With multiple monitors, the main DPP window and remote EOS Utility window can only be aligned on the same monitor.
Caution
- Do not exit EOS Utility when performing or configuring remote shooting.
Note
Registering Click White Balance on the Camera
During remote shooting, you can register click white balance on the connected camera. This function requires EOS Utility 3.4.20 or later to be installed on your computer.
Not available for EOS M series cameras (except EOS M50 Mark II or EOS M50) or PowerShot cameras.
-
Display the image to use as the basis for white balance.
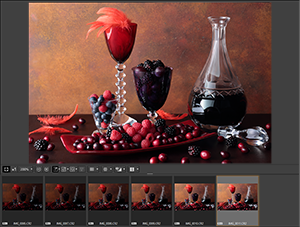
- This function requires RAW images with a .CR2 or .CR3 extension.
-
Select the camera to register click white balance to.

- From the [Registered to] list box, select the camera to register white balance to. Options in the list box vary by camera model.
-
In the image, select an area as the basis for white balance, then register the white balance on the camera.
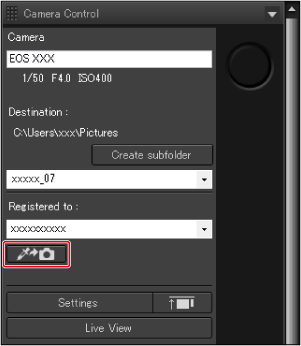
- Click [
 ], and in the image displayed in step 1, click an area to use as the basis for white balance.
 - The white balance is registered to the camera selected in step 2 and applied to current images.
- Click [
 ] again to exit the function.
- Click [