Quick Check Window
The Quick Check window provides a larger view of images shown as thumbnails in the main window, for easier review and labeling.
-
Select multiple image to review.
-
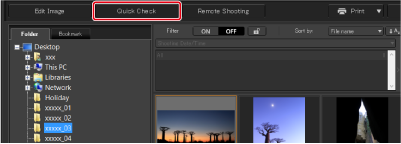
Click [Quick Check].
-
Click [
 ] or [
 ] to switch between the images you are reviewing.
Quick Check Window
- To jump to the first image, click [
 ], and to jump to the last image, click [
 ].
]. - Click [
 ] to return to the main window.
 - Select [AF points] to display AF points used at the time of shooting.
- To jump to the first image, click [
-
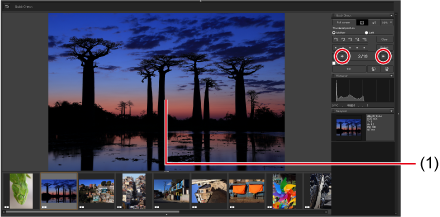
Click an area to enlarge.
- Centered on the area you click (1), the image is displayed at 100%, showing the actual pixels.
- To change the display area, drag on the image.
- Click [
 ] to show the image at half size. Click again to show the entire image.
 - To adjust the magnification, click [
 ] next to [].
 - Click [] to close the Quick Check window.
Caution
- Movie files are not displayed in the Quick Check window.
- AF points are not displayed for these images:
- Images saved after resizing and conversion to another format
- Images for which in-camera RAW image processing was set to distortion correction or chromatic aberration correction
- Multiple-exposure images
- HDR images
- Neural network Image Processing Tool () results cannot be checked in the Quick Check window.
Note
- To review only your selected images in the Quick Check window, select the thumbnails in the main window, then click [Quick Check].
- You can also perform most of these operations by right-clicking (in Windows) or Control-clicking (in macOS) the image.
Switching display with the keyboard
Switching the image displayed
Windows
- To switch images, press the → or ← key.
- To switch between full-screen display and normal display, press Alt+Enter keys.
macOS
- To switch images, press
 +→ or +← keys.