Wi-Fi Connections with a Computer Using EOS Utility
Using EOS Utility, you can browse images on the camera and save them to the computer. Also in EOS Utility, you can shoot by controlling the camera remotely and change camera settings.
Install EOS Utility on the computer before connecting via Wi-Fi ().
Connecting to a Computer via Wi-Fi
This section describes how to prepare for camera operations in EOS Utility by connecting the camera and a computer via Wi-Fi using a WPS (PBC mode) compatible access point.
- First, check the position of the WPS button and how long to press it.
- It may take approx. 1 min. to establish a Wi-Fi connection.
- For computer operating instructions, refer to the computer user manual.
- See the instructions starting in Basic Communication Settings for details on connecting the camera to a wired LAN or using non-WPS (PBC mode) access points.
Steps on the camera (1)
-
On the camera, press the
 button.
 -
Select [
 : Network settings].
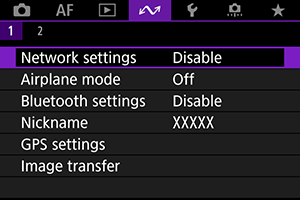
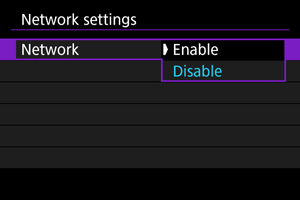
-
In [Network], select [Enable].
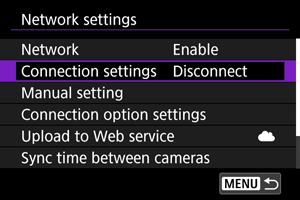
-
Select [Connection settings].
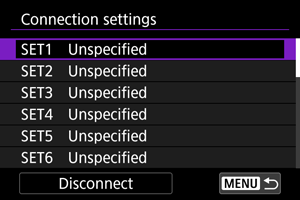
-
Select [SET* Unspecified].
-
Select [Create with wizard].

-
Select [Configure online].
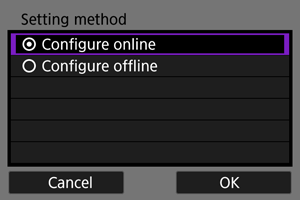
- Select [OK].
-
Select [EOS Utility].

- Select [OK].
-
Select [Wi-Fi].
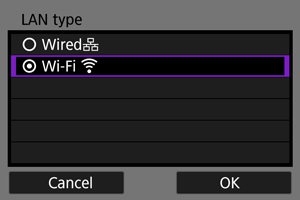
- Select [OK].
-
Select [New settings].
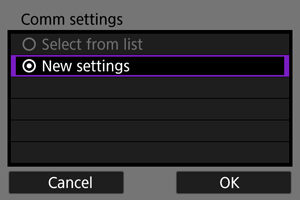
- Select [OK].
-
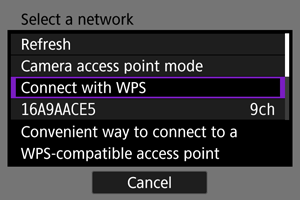
Select [Connect with WPS].
-
Select [WPS (PBC mode)].
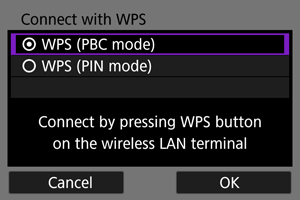
- Select [OK].
Steps on the access point
-
Connect to the access point via Wi-Fi.
- Press the access point's WPS button.
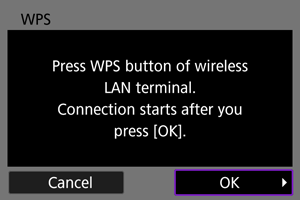
Steps on the camera (2)
-
Select [OK].
-
Select [Auto setting].
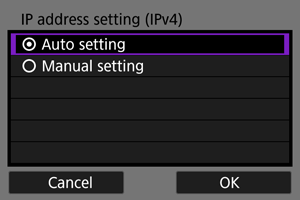
- Select [OK].
-
Select [Disable].
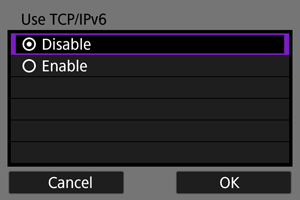
- Select [OK].
-
Press
 .
.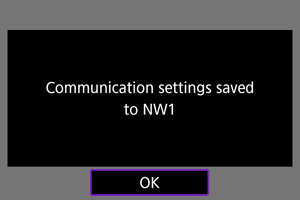
-
Select [New settings].
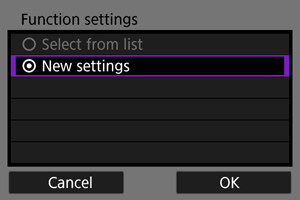
- Select [OK].
For details on subsequent operations, see Configuring EOS Utility Connection Settings.