Using the Self-Timer
-
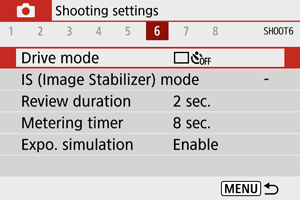
Select [
: Drive mode].

-
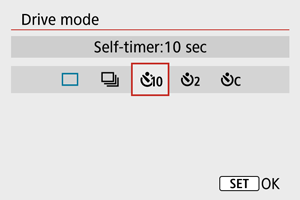
Select an option.

-
/
: Shoot in 10 sec.
-
/
: Shoot in 2 sec.
-
: Shoot continuously in 10 sec. for the specified number of shots
Press the
keys to set the number of shots to take (2–10). Remote control shooting is not possible.
- [
] and [
] icons are displayed when the camera is paired with a wireless remote control (sold separately, ).
-
-
Take the picture.

- Focus on the subject, then press the shutter button completely.
- To check operation, look at the self-timer lamp, listen for beeps, or watch the countdown in seconds on the screen.
- The self-timer lamp blinks faster approx. 2 sec. before the shot.
Caution
- With [
], the shooting interval may become longer under some shooting conditions, depending on image quality, use of flash, and other factors.
Note
- [
] can be used to start shooting without touching the camera and avoid camera shake when it is mounted on a tripod for still-life or long exposure shots.
- After taking self-timer shots, playing back the image () to check focus and exposure is recommended.
- When using the self-timer to shoot yourself, use focus lock () on an object at the same distance as where you will stand.
- To cancel the self-timer, press the
button.
- Auto power off time may be extended when the camera is set for remote control shooting.