Quick Start Guide
-
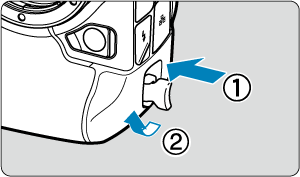
-
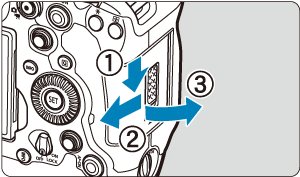
- You can insert two cards.
-
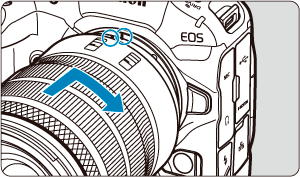
- Align the red mount index on the lens with the red mount index on the camera to attach the lens.
-
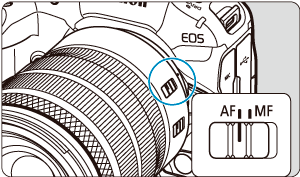
- Set the lens's focus mode switch to
.
- For lenses without a focus mode switch, set [
: Focus mode] to [AF].
- Set the lens's focus mode switch to
-
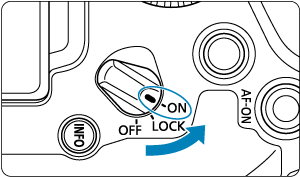
-
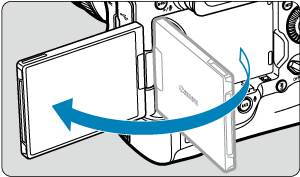
- When the language setting screen is displayed, see Language.
- When the date/time/zone setting screen is displayed, see Date/Time/Zone.
- When the password setting screen is displayed, see Setting a Password.
- After [Welcome] appears on the screen, follow the on-screen instructions to connect the camera to your smartphone ().
-
Set the shooting mode to [P] ().
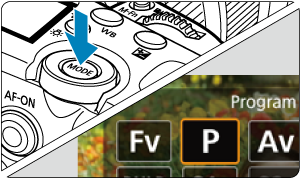
- Press the
button, then turn the
dial to select [P].
- Press the
-
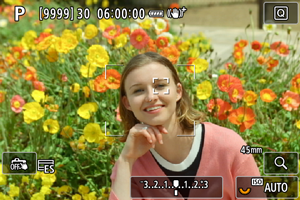
- A tracking frame [
] appears over any face detected.
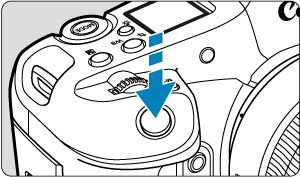
- Press the shutter button halfway, and the camera will focus on the subject.
- A tracking frame [
-
-
Review the picture.
