Controlling the Camera with Browser Remote
- Configuring Browser Remote Connection Settings
- Displaying Browser Remote
- Browsing Images
- Shooting Remotely
- Registering IPTC Information
- Configuring FTP Server Settings
- Creating and Registering Captions
Using a browser, you can browse and save camera images, shoot remotely, and perform other operations on a computer or smartphone.
Caution
- The following operations cannot be performed when the camera's still photo shooting/movie recording switch is set to
 .
.
- View image
- Register IPCT information
- FTP server settings
- Create and register caption
- Some browser window sizes may prevent normal display.
- Do not use the browser's back and forward buttons.
Configuring Browser Remote Connection Settings
These instructions are continued from Configuring Communication Function Settings.
Specify a login name and password for accessing the camera from a computer. The login name and password you specify here are used when connecting to the camera.
-
Select [Full control] or [Browser *].
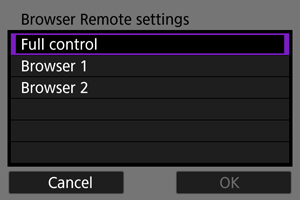
- Browser Remote enables camera access by users at up to three computers at once.
- The [Full control] account can use all Browser Remote features. This account is only available on one computer.
- The [Browser *] account is limited to browsing images on the camera and saving them to the computer. This account is available on up to two computers.
-
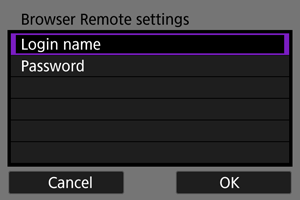
Configure the [Login name] or [Password].
-
Select [OK].
-
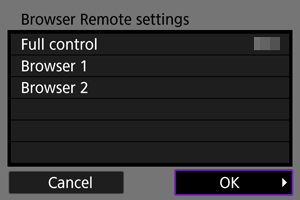
Select [OK].
-
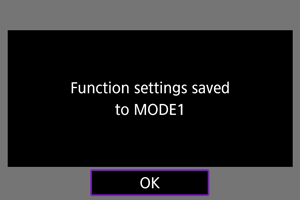
Select [OK].
- Display returns to the [Network settings] screen.
- Setting information is stored on the camera.
Connection settings for Browser Remote are now complete.
Note
- You can change account settings on the [Account settings] screen (), accessed by selecting [Browser Remote settings] in [Connection option settings]. The port number setting can also be changed on the [Browser Remote settings] screen by selecting [Port no. (HTTP)] or [Port no. (HTTPS)]. Note that there is normally no need to change the port number (80 for HTTP, 443 for HTTPS).
Displaying Browser Remote
From a browser, log in to the Browser Remote page on the camera. Make sure the camera and computer are already connected via a wired LAN connection.
Checking the camera's IP address
The camera's IP address, as displayed in step 5, must be entered in the browser address bar to access the camera from a browser.
-
Select [
 : Network settings].
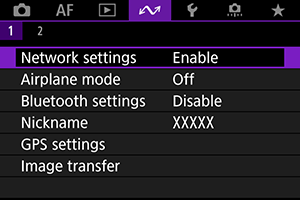
-
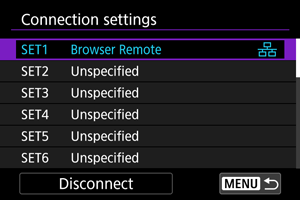
Select [Connection settings].

-
Select [SET* Browser Remote].
-
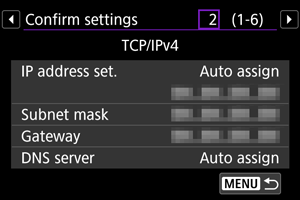
Select [Confirm settings].
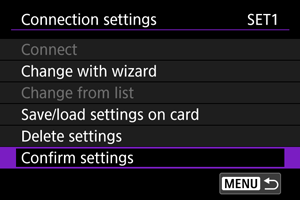
- Setting details are displayed.
-
Check the settings.
- Turn the
 dial to access other pages.
 - Write down the IP address.
- After checking, press the
 button to close the confirmation screen.
- Turn the
Logging in to Browser Remote
-
Start a browser.
- Start a browser on the computer.
-
Enter the URL.
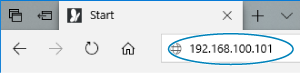
- In the address bar, enter the IP address you noted in step 5.
- Press the Enter key.
-
Enter the information for [Login name] and [Password].
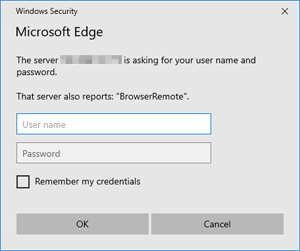
- In [Login name] (user name) and [Password], enter the information you specified in Configuring Browser Remote Connection Settings.
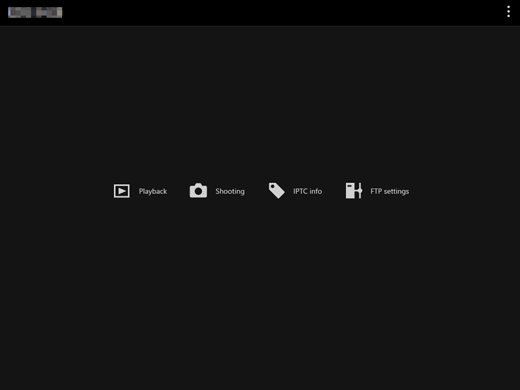
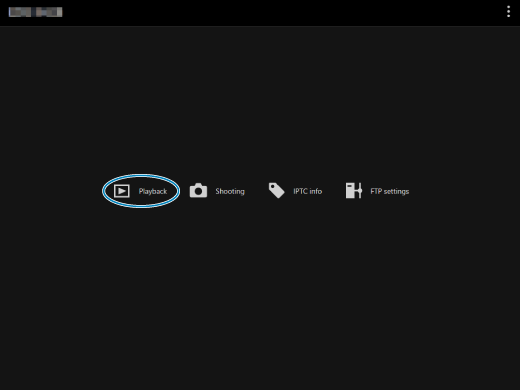
- Select [OK] to display the top Browser Remote menu screen.
-
Configure default settings as needed.
-
Select [
 ] to display the menu.
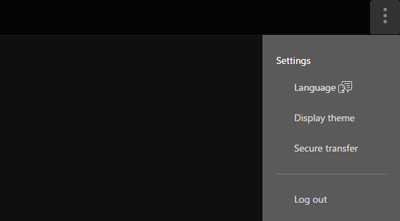
-
Language
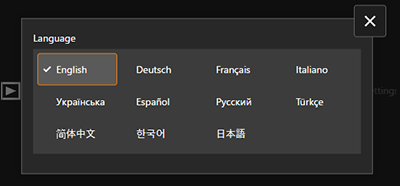
Enables you to select the display language.
-
Display theme
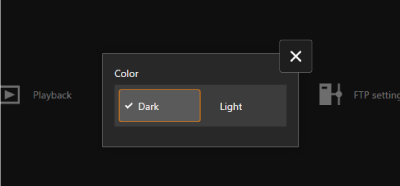
You can set the Browser Remote background color.
-
AF for still photo shooting
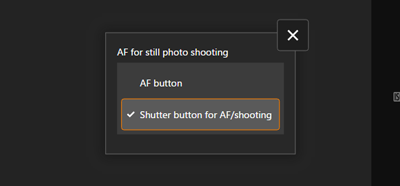
Displayed if you select [Shooting] in step 9.
Enables you to configure how autofocus is used in still photo shooting.
-
Rec function/card selection
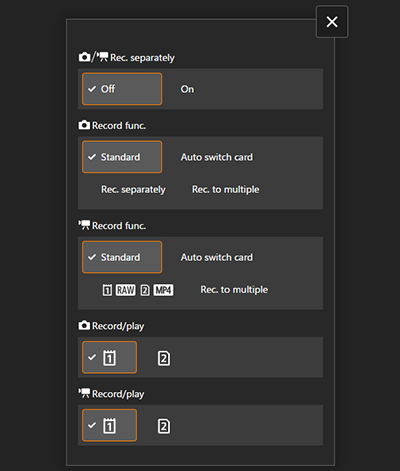
Displayed if you select [Shooting] in step 9.
Enables you to set the recording function and card selection.
-
Shutter mode
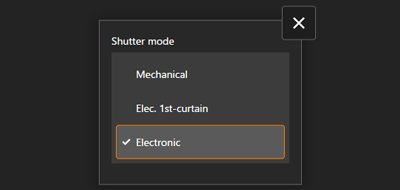
Displayed if you select [Shooting] in step 9.
You can set the shutter method for shooting still images.
-
Anti-flicker shoot.
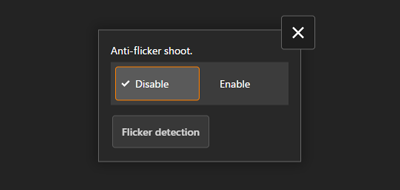
Displayed if you select [Shooting] in step 9.
Enables you to configure anti-flicker shooting.
-
HF anti-flicker shooting
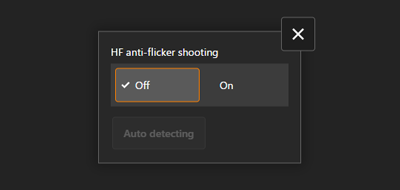
Displayed if you select [Shooting] in step 9.
Enables you to configure high-frequency anti-flicker shooting.
-
HTTPS settings
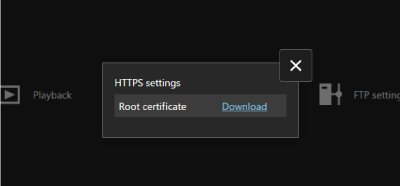
Enables you to download a root certificate and access an FTP server, when you will connect to the FTP server via HTTPS.
-
Log out
Select to end the Browser Remote connection.
-
-
Caution
- Browser Remote is not available unless the browser support JavaScript.
- Some menu items are not available when connected to the camera via Browser Remote.
Browsing Images
Enables you to browse images on cards in the camera.
-
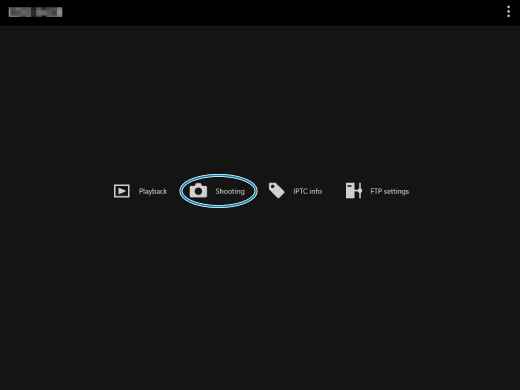
Select [Playback].
-
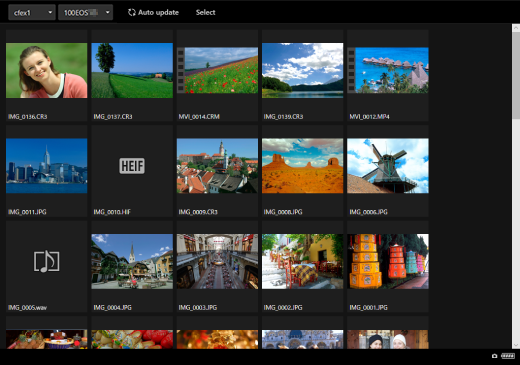
The image browsing screen is displayed.

-
-
Select a card and folder.
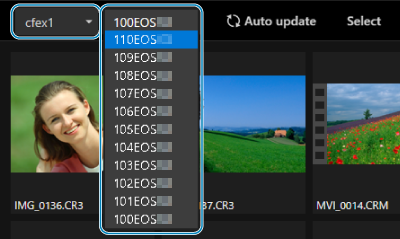
- Select a card in the pull-down list at left.
- Select a folder in the pull-down list at right.
-
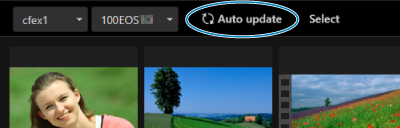
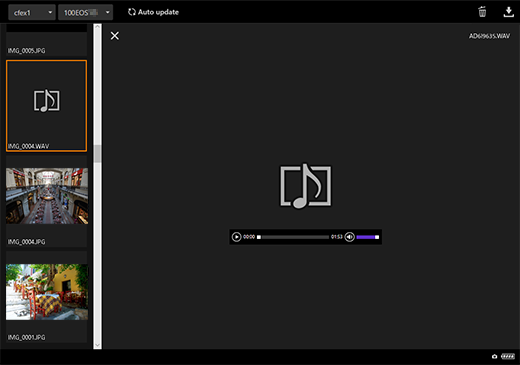
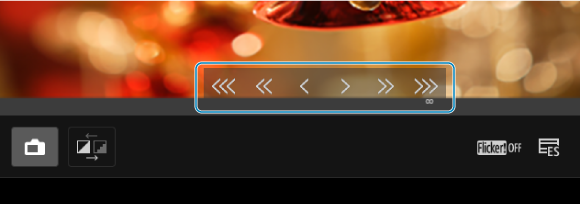
Perform image operations as needed.
-
The image taken is automatically displayed by turning on [Auto update].
-
With [Select] selected, you can select multiple images.
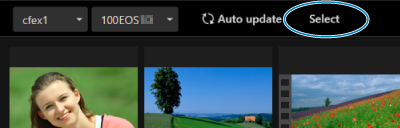
Selecting individual thumbnails selects each image separately. Selecting thumbnails again clears the selection.
Selecting [Select all] marks all images on the browsing screen as selected.
Selecting [Clear all] clears selection of all images.
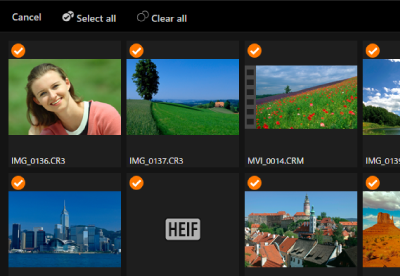
Selecting [Cancel] returns to the browsing screen.
-
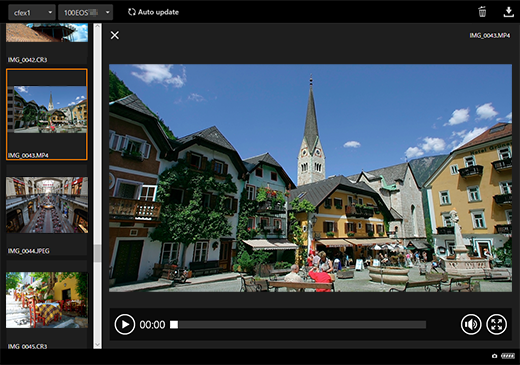
Selecting a thumbnail switches to the playback screen and shows the image enlarged.
Still photo playback screen

Movie playback screen
Audio playback screen
-
Selecting an image and then [
 ] erases the image.
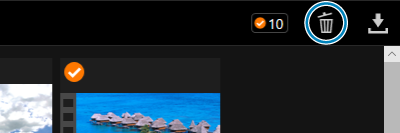
-
Selecting an image and then the [
 ] button downloads the image to the computer.
-
Note
- Computer performance and the browser used may prevent or delay image display or prevent image downloading.
Shooting Remotely
You can use Browser Remote to shoot remotely.
Shooting still photos
-
Select [Shooting].

-
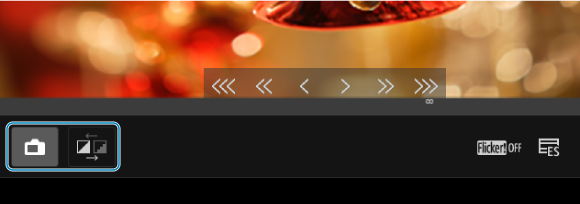
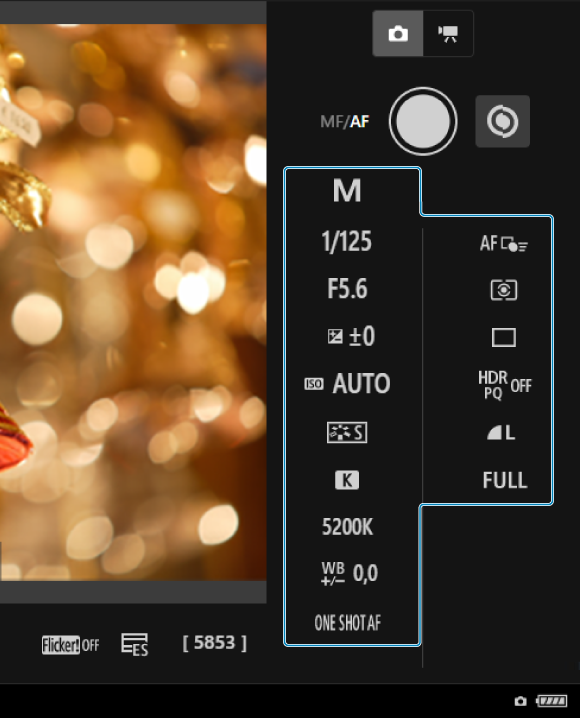
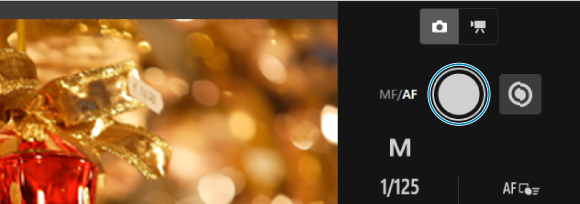
The remote shooting screen is displayed.
-
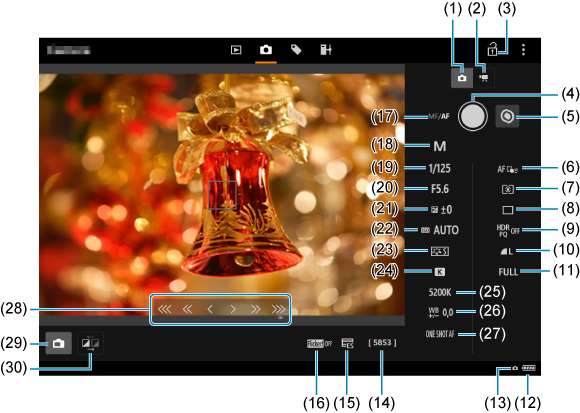
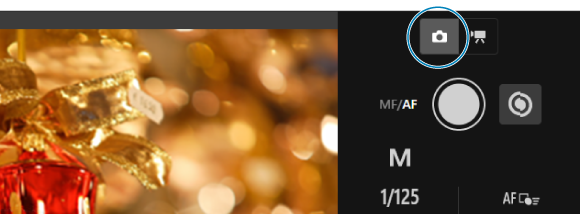
- (1) Still photo shooting button
- (2) Movie shooting button
- (3) Multi-function lock icon
- (4) Shutter button
- (5) MF toggle button
- (6) AF area
- (7) Metering mode
- (8) Drive mode
- (9) HDR shooting
- (10) Image quality
- (11) Still photo cropping/Aspect ratio
- (12) Battery level/Temperature warning
- (13) Browser Remote connection
- (14) Available shots
- (15) Electronic shutter
- (16) Anti-flicker shooting
- (17) AF button
- (18) Shooting mode
- (19) Shutter speed
- (20) Aperture value
- (21) Exposure compensation
- (22) ISO speed
- (23) Picture Style
- (24) White balance
- (25) Color temperature
- (26) White balance correction
- (27) AF operation
- (28) MF button
- (29) Live View shooting button
- (30) Live View image quality toggle button
-
Select (1) Still photo shooting button.
-
Set the lens's focus mode switch to
 .
. -
Display the Live View image.
- To show or hide the Live View image, select (29) Live View shooting button.
- For more responsive Live View image display, select (30) Live View image quality toggle button, which will reduce Live View image quality to improve responsiveness. Select it again to restore the original image quality.
-
Set up shooting.
- Select setting items (such as image quality) to view the setting details, which you can configure.
- Configure the settings as needed.
-
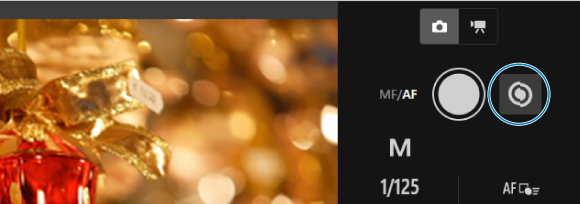
Focus on the subject.
When using autofocus
- To start AF with [AF button] selected in the [AF for still photo shooting] menu, select the (17) AF button.
- If you selected [Shutter button for AF/shooting] on the [AF for still photo shooting] menu, when you select the (4) Shutter button, AF is performed and a picture is taken.
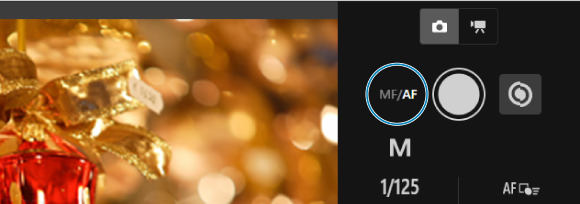
When focusing manually
- To show/hide (28) MF button display, select (5) MF toggle button.
- Select (28) MF button, then focus manually. To adjust focus toward the foreground, use [


 ], and to adjust focus toward the background, use [

 ].
]. -
Three levels of focus adjustment are available.
[
] []: Coarse[
] []: Intermediate[
] []: Fine
-
Take the picture.
- Select the (4) Shutter button to shoot.
- Captured images are saved to the card in the camera.
- To browse and download images, see Browsing Images.
Caution
- Depending on the communication status, image display or shutter release timing may be delayed.
- Still photo shooting is not available when the camera's still photo shooting/movie recording switch is set to .
Recording movies
-
Select [Shooting].
-
The remote shooting screen is displayed.
-
-
Select (2) Movie shooting button.

-
Configure settings as needed.
-
Follow steps 3–6 in Shooting still photos.
-
-
Record the movie.
Movie recording standby
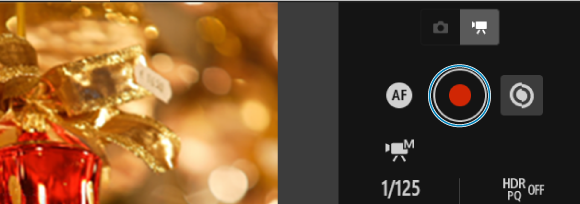
Movie recording in progress
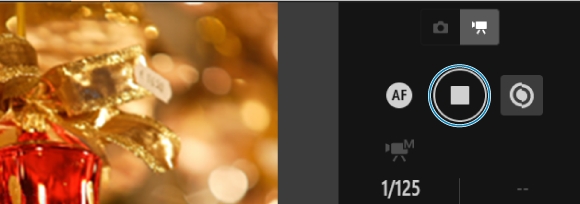
- Select (4) Shutter button, and when you release the button, movie recording begins.
- During movie recording, the red [○] on (4) Shutter button changes to a white [□].
- To stop movie recording, select (4) Shutter button again and release the button.
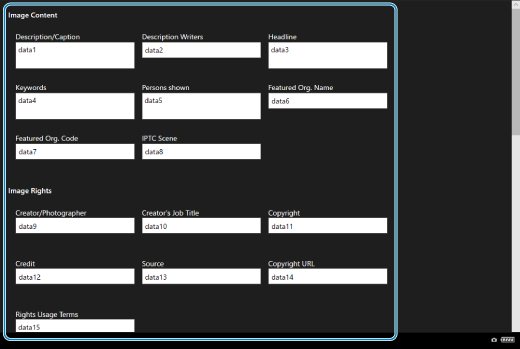
Registering IPTC Information
Enables you to edit and register IPTC* information (comments on images, such as captions, credits, and shooting locations) on the camera. Images can be tagged with IPTC information registered on the camera.
International Press Telecommunications Council
-
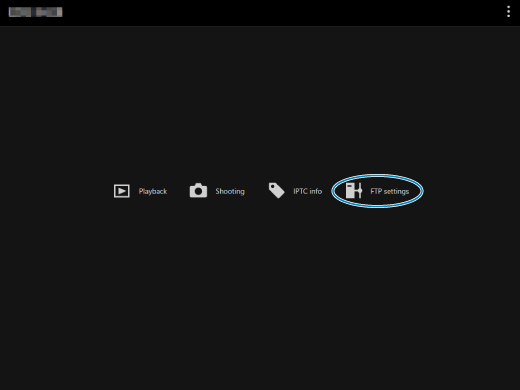
Select [IPTC info].
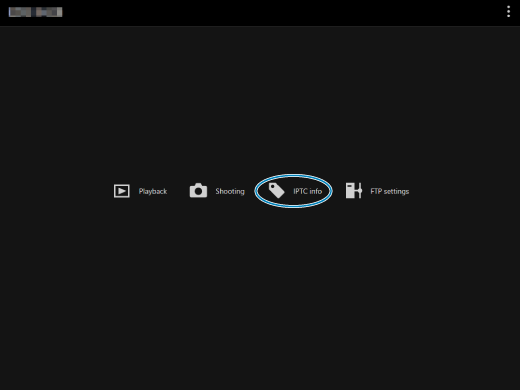
-
A screen for editing IPTC information is displayed.
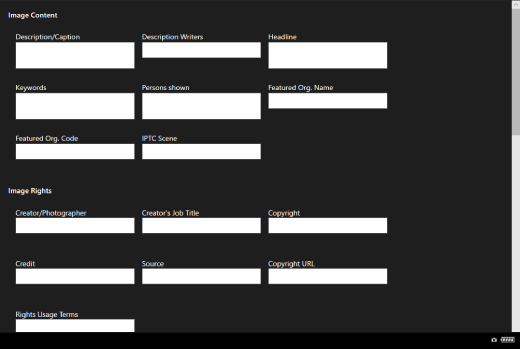
-
-
Select [Load from file].
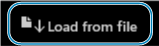
- To load IPTC information (in XMP format), select [Load from file].
-
Edit and register information as needed.
-
Selecting [Add to camera] to applies the edited IPTC information to the camera.

This also sets the camera's Custom Function [
 : Add IPTC information] option to [
 ].
]. -
To save IPTC information (in XMP format), select [Save to file].

-
Selecting [Clear camera info] deletes all IPTC information registered on the camera.

This also sets the camera's Custom Function [
: Add IPTC information] option to [ ].
]. -
Selecting [Clear] clears all IPTC information.

-
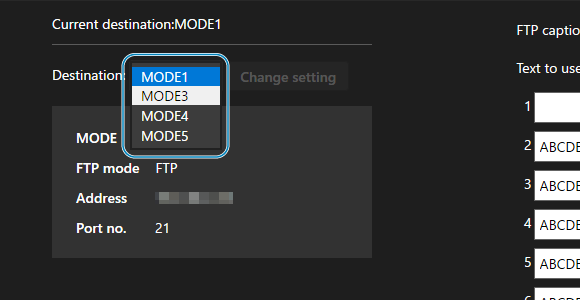
Configuring FTP Server Settings
If you will use FTP transfer for images captured remotely, you can use the camera's connection settings () to change the target FTP server.
-
Select [FTP settings].
-
The FTP setting screen is displayed.

-
-
Select registered connection settings of the FTP server to use.
-
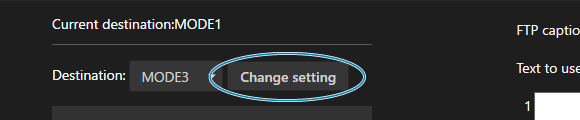
Select [Change setting].
-
The camera's connection settings are changed to your selected settings.
-
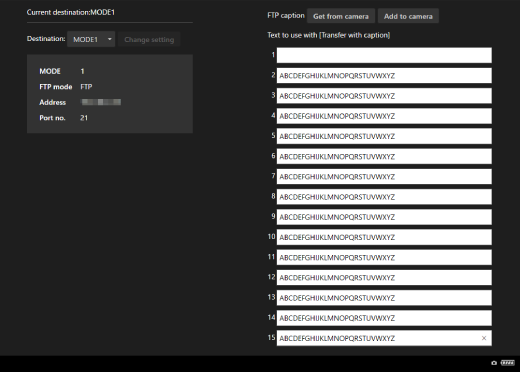
Creating and Registering Captions
You can create captions and register them on the camera to use them as described in Adding a Caption Before Transfer.
-
Select [FTP settings].
-
The FTP setting screen is displayed.
-
-
Enter the caption or captions.
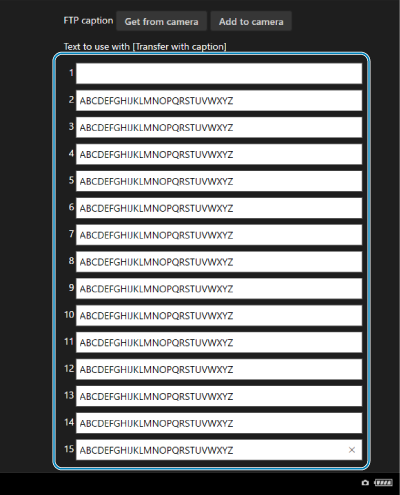
- Enter up to 31 characters (in ASCII format).
- To acquire caption data stored on the camera, select [Get from camera].
-
Set the captions on the camera.

- Select [Add to camera] to set your new captions on the camera.