Transferring Images to a Computer
Transferred images are saved to the computer in the [Pictures] (Windows) or [Pictures] (macOS) folder based on shooting date. After transfer, Digital Photo Professional 4 (DPP) starts up automatically, if it is installed, and shows the transferred images.
Caution
- Movies take longer to transfer, due to the larger file size.
Note
- The application that starts up after image transfer can be changed on the [Linked Software] tab in preferences ().
- On the [Destination Folder] tab in preferences (), you can change the destination for images transferred automatically, or for selected images in remote shooting.
- You can download Digital Photo Professional 4 from the Canon website.
Batch Image Transfer
-
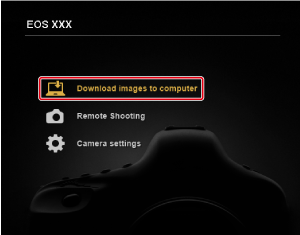
Click [Download images to computer].
-
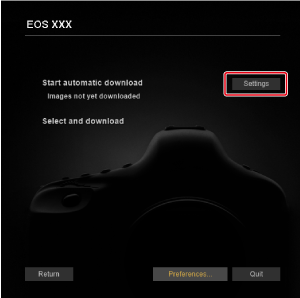
Click [Settings].
-
In the [Preferences] window, select a condition for image transfer and click [OK].
-
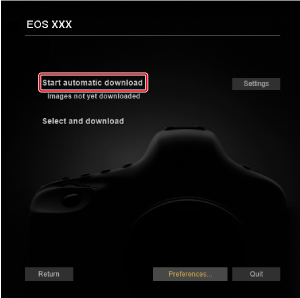
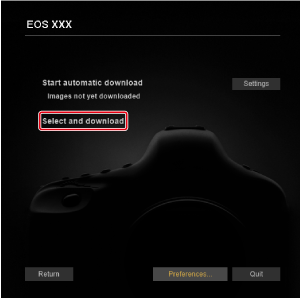
Click [Start automatic download].
DPP main window
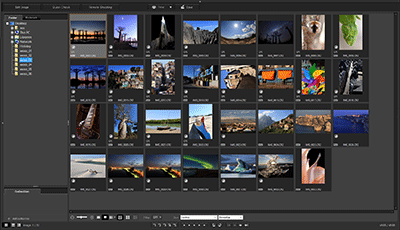
- Refer to the Digital Photo Professional 4 instruction manual for details on using DPP.
Transferring Selected Images
-
Click [Select and download].
-
Select images in the viewer window.
Viewer window
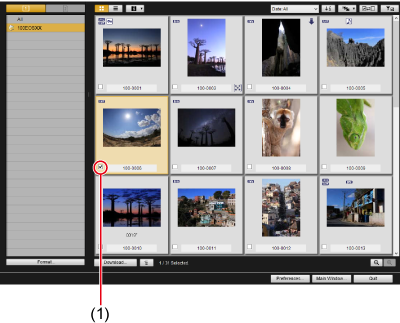
- Select the checkbox of images to transfer.
- You can also select multiple images with the mouse.
Note
- Click [
 ] to change the thumbnail sort order.
 - Click [
 ] to filter images by various conditions, so that you can select images to transfer.
 - Click [
 ] to choose the information shown on thumbnails. Selecting [Date/Time] shows the date and time when the file was created.
 - Click [
 ] to invert the selection status between selected and cleared.
 - Click [
 ] to show only selected images.
 - Click [
 ] to filter images by file creation date.
 - Click [
 ] to switch to list view.
Click [ ] to return to thumbnail view.
 - In list view, click heading item to sort by them. Sorting with [Folder] is equivalent to sorting with [] in thumbnail view.
-
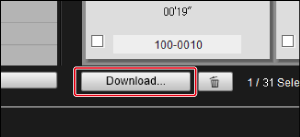
Click [Download].
-
Set the destination, then click [OK].
Download image dialog box
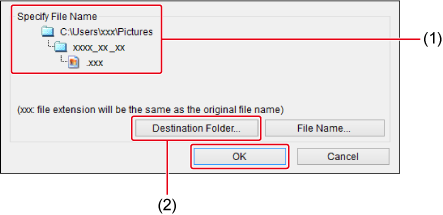
- Shows the destination on the computer
- Set the destination
- The [Save File] dialog box appears, and EU starts transferring images to the computer.
-
Transferred images are displayed in the [Quick Preview] window.
Quick Preview window
- Enables you to quickly review images as they are transferred. You can resize the window as needed.
- To switch to the main window, click [Main Window] in the viewer window.
Note
- Cards that images are transferred from can be initialized by clicking the [Format] button in the viewer window (except for the EOS R5 C or EOS C50).
- In step 2, you can select multiple consecutive images at once. Clicking the first image to transfer and holding down the Shift key as you click the last image will display an icon ([
 ]).
]).
Click [ ] to select all the images you indicated.
 - For details on the viewer window, see Viewer Window Functions.
- In HDR environments, images captured with HDR PQ set on the camera are also displayed as 10-bit HDR PQ images in the [Quick Preview] window (Windows). For details on HDR environments, see HDR PQ Settings.