Remote Control (EOS Utility)
- Configuring EOS Utility Connection Settings
- Using EOS Utility
- Direct Transfer
- Creating and Registering Captions
Using EOS Utility, you can browse images on the camera and save them to the computer. Also in EOS Utility, you can shoot by controlling the camera remotely and change camera settings.
- Install EOS Utility on the computer before setting up a connection ().
- See Wi-Fi Connections with a Computer Using EOS Utility for instructions on preparing for camera operations in EOS Utility by connecting the camera to a computer by joining a Wi-Fi network via an access point compatible with WPS (PBC mode).
Configuring EOS Utility Connection Settings
These instructions are continued from Configuring Communication Function Settings.
- Establishing a connection also requires operations on the computer. For details, refer to the computer documentation.
Steps on the camera (1)
-
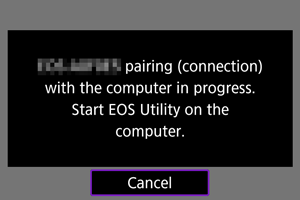
Select [OK].

-
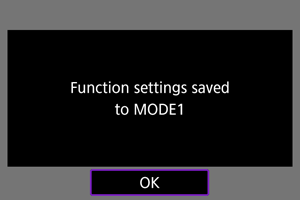
The following message is displayed.
-
Steps on the computer
-
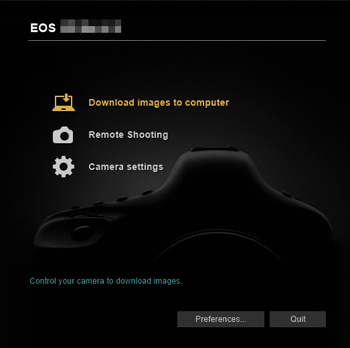
Start EOS Utility on the computer.
-
In EOS Utility, click [Pairing over Wi-Fi/LAN].
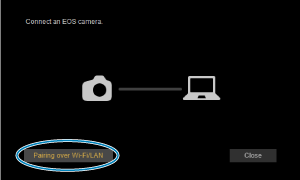
- If a firewall-related message is displayed, select [Yes].
-
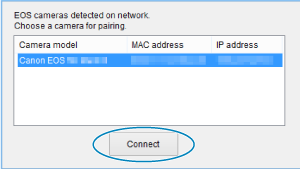
Click [Connect] on the computer.
Steps on the camera (2)
-
Select [OK].
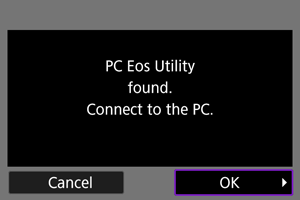
- This message is displayed after the camera detects the computer where you clicked [Connect] in step 4.
- Select [OK].
-
Select [OK].
-
Select [OK].
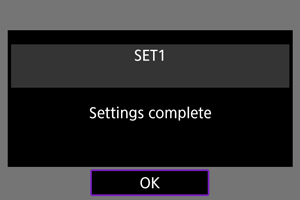
- Display returns to the [Network settings] screen.
- The camera's
 lamp is lit in green.
 - Setting information is stored on the camera.
Connection settings for EOS Utility are now complete.
- Manually pairing the camera and computer after this is no longer necessary, as long as you do not change the settings after you have paired the devices once.
Using EOS Utility
For EOS Utility instructions, refer to the EOS Utility Instruction Manual. Remote shooting is only one of the many camera operations available.
Caution
- Some menu items are not available when the camera is connected to a network.
- In remote shooting, the AF speed may become slower.
- Depending on the communication status, image display or shutter release timing may be delayed.
- In Remote Live View shooting, the rate of image transmission is slower compared to a connection via an interface cable. Therefore, moving subjects cannot be displayed smoothly.
Direct Transfer
With the camera connected to EOS Utility and the main EOS Utility window displayed, you can use the camera to transfer images to computer.
If you will transfer many images, consider using a household power outlet accessory (sold separately).
Selecting images to transfer
-
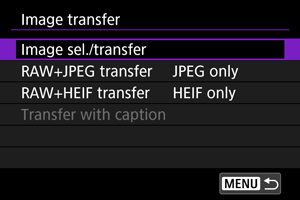
Select [
 : Image transfer].
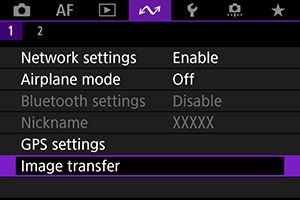
-
Select [Image sel./transfer].
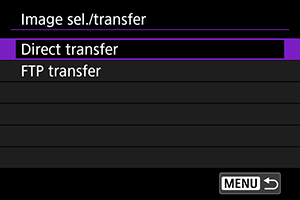
-
Select [Direct transfer].
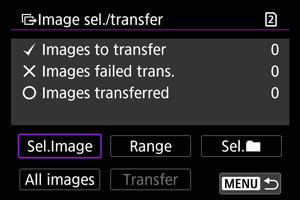
-
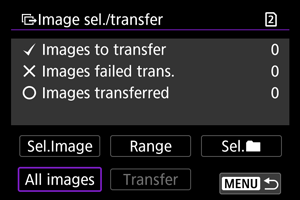
Select [Sel.Image].
-
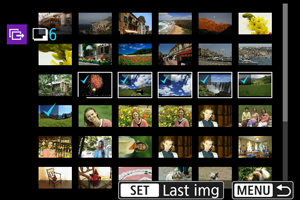
Select an image to transfer.

- Use the
 dial to select an image to transfer, then press
  .
. - Use the dial to add a checkmark [
 ] in the upper left of the screen, then press .
 - For three-image display, turn the
 dial counterclockwise. To return to single-image display, turn the dial clockwise.
 - To select other images to transfer, repeat step 5.
- After image selection, press the
 button.
- Use the
-
Select [Transfer].
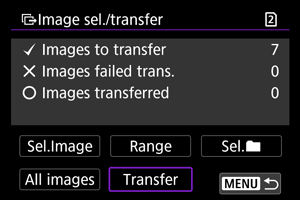
-
Select [OK].
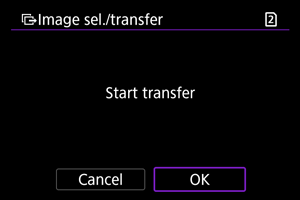
- The selected images are transferred to the computer.
Selecting multiple images
Multiple images can be transferred at once after you choose a selection method.
-
Access the [Image sel./transfer] screen.
- Follow steps 1–3 in Selecting images to transfer.
-
Select a selection method.
In a folder
- Select [Sel.
 ].
]. - Select your preferred selection method.
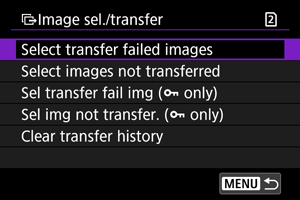
- Selecting [Select transfer failed images] selects all images in the selected folder for which transfer failed.
- Selecting [Select images not transferred] selects all unsent images in the selected folder.
- Selecting [Sel transfer fail img (
 only)] selects all protected images in the selected folder for which transfer failed.
 - Selecting [Sel img not transfer. ( only)] selects all unsent protected images in the selected folder.
- Selecting [Clear transfer history] clears the transfer history of images in the selected folder.
- After clearing the transfer history, you can select [Select images not transferred] and transfer all images in the folder again.
- After clearing the transfer history, you can select [Sel img not transfer. ( only)] and transfer all protected images in the folder again.
- Select a folder.
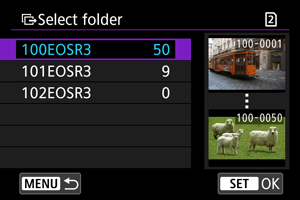
- Select [OK] to register to [Images to transfer].

In a card
- Select [All images].
- Select your preferred selection method.

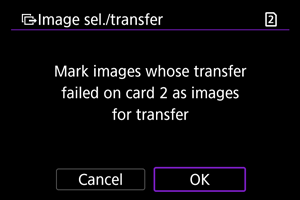
- Selecting [Select transfer failed images] selects all images on the card for which transfer failed.
- Selecting [Select images not transferred] selects all unsent images on the card.
- Selecting [Sel transfer fail img ( only)] selects all protected images on the card for which transfer failed.
- Selecting [Sel img not transfer. ( only)] selects all unsent protected images on the card.
- Selecting [Clear transfer history] clears the transfer history of images on the card.
- After clearing the transfer history, you can select [Select images not transferred] and transfer all images recorded on the card again.
- After clearing the transfer history, you can select [Sel img not transfer. ( only)] and transfer all protected images recorded on the card again.
- Select [OK] to register the selected images to [Images to transfer].
Select range
- Select [Range].
- Selecting the first and last images of the range marks all the images in the range with a checkmark [], and one copy of each image will be sent.
- After image selection, press the button.
- Select [OK] to register the selected images to [Images to transfer].
Transferring RAW+JPEG or RAW+HEIF images
For RAW+JPEG or RAW+HEIF images, you can specify which image to transfer.
-
Select [
: Image transfer].
-
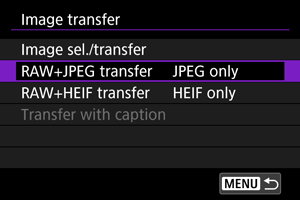
Select the type of images to transfer.
-
RAW+JPEG transfer
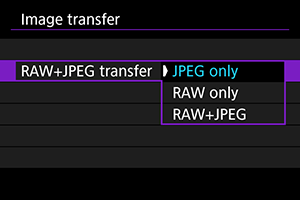
- Select [RAW+JPEG transfer], then select [JPEG only], [RAW only], or [RAW+JPEG].
-
RAW+HEIF transfer

- Select [RAW+HEIF transfer], then select [HEIF only], [RAW only], or [RAW+HEIF].
-
Caution
- Some menu items are not available during image transfer.
Creating and Registering Captions
You can create captions and register them on the camera to use them as described in Adding a Caption Before Transfer.
-
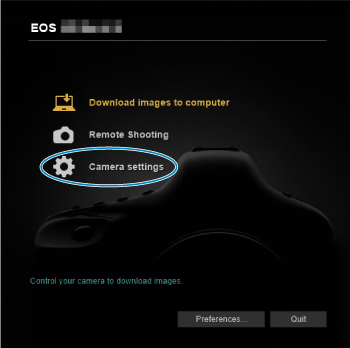
Start EOS Utility and select [Camera settings].
-
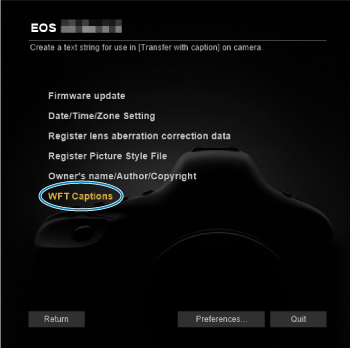
Select [WFT Captions].
-
Enter the caption or captions.
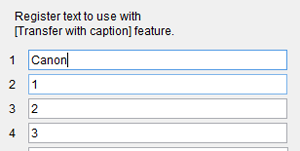
- Enter up to 31 characters (in ASCII format).
- To acquire caption data stored on the camera, select [Load settings].
-
Set the captions on the camera.

- Select [Apply to camera] to set your new captions on the camera.