Basic Linked Shooting
Link the sender camera and the receiver cameras for basic linked shooting.
Preparing the Sender Camera
First, configure settings on the camera that will be used as the sender.
-
Press the
button on the camera.
-
Select [
: Network settings].
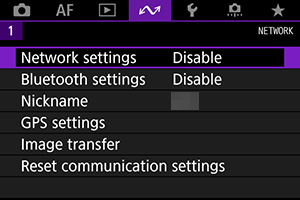
-
Select [Enable].
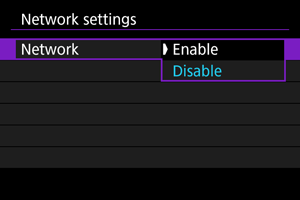
-
Select [Connection settings].
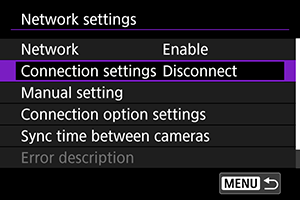
-
Select [LinkedShot].
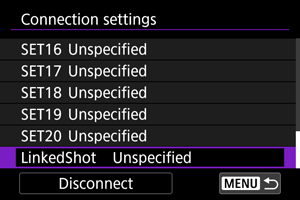
- Use
and select [LinkedShot] located at the bottom.
- Use
-
Select [Create with wizard].
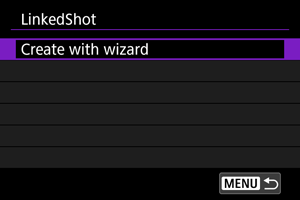
- Select [OK] to proceed to the next screen.
-
Select [Sender].
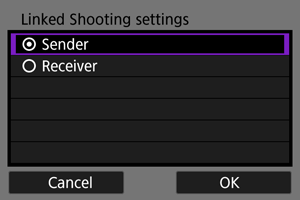
- Select [OK] to proceed to the next screen.
-
Select [Auto connect].
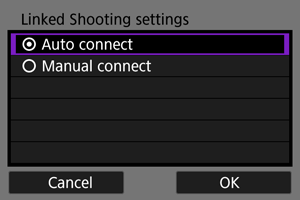
- Select [OK] to proceed to the next screen.
- Stay on the displayed screen.
- To configure the settings manually, see Using Browser Remote.
Preparing the Receiver Cameras
Configure settings on the camera used as the receiver.
-
Perform Step 1 through 6 for "Preparing the Sender Camera".
-
Select [Receiver].
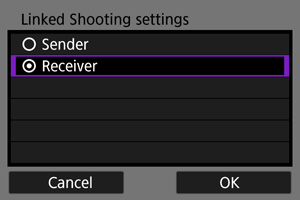
- Select [OK] to proceed to the next screen.
-
Select [OK].
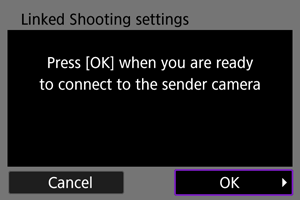
-
The following screen is displayed.
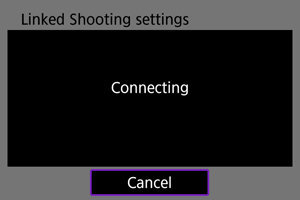
- To use more than one receiver camera, repeat Step 2 and 3 for all the receiver cameras.
- Once setup is complete, no more receiver cameras can be added. You need to configure the settings again starting from Step 1.
- The sender camera's monitor displays the number of receiver cameras that are detected.
-
Connecting the Sender Camera and Receiver Cameras
Configure settings on the sender camera and the receiver camera to establish a connection.
-
Perform Step 1 through 6 for "Preparing the Sender Camera" and Step 1 through 3 for "Preparing the Receiver Cameras".
-
Select [OK] on the sender camera.
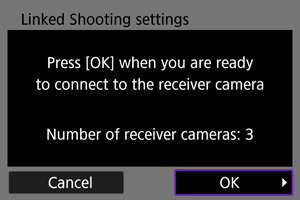
- Check the number of receiver cameras that are connected, and then select [OK].
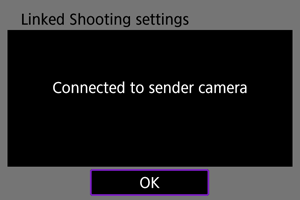
- Once the cameras are connected, the following screen is displayed.
-
Select [OK] on all the cameras.
Sender Camera
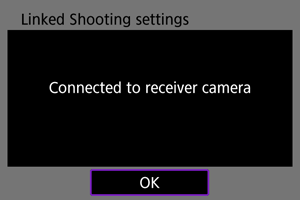
Receiver Camera
- The [Network settings] screen will reappear.
- Settings information is stored in the camera. It is not stored in the transmitter.