Transferring Images Individually
- Automatic Image Transfer After Each Shot
- Transferring the Current Image
- Selecting the Size and Type of Images to Transfer
Automatic Image Transfer After Each Shot
An image can be automatically transferred to the FTP server immediately after shooting. You can also continue still photo shooting even while images are being transferred.
- Before shooting, be sure to insert a card into the camera. If you shoot without recording images, they cannot be transferred.
- Note that automatic transfer of movies during shooting is not supported. Transfer the images after shooting, referring to Batch Transfer or Transferring Images with a Caption.
-
Select [
 : WFT settings].
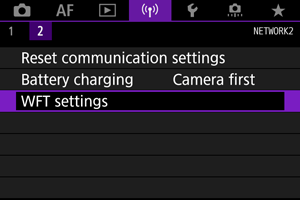
-
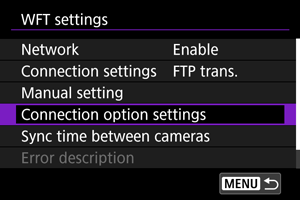
Select [Connection option settings].
-
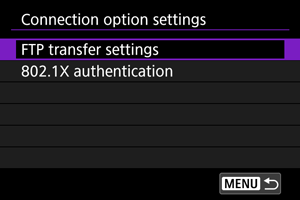
Select [FTP transfer settings].
-
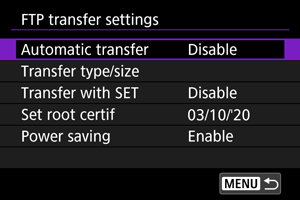
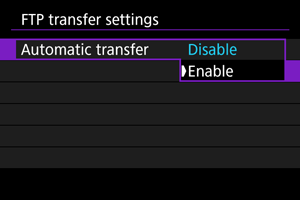
Select [Automatic transfer].
-
Select [Enable].
-
Take the picture.
- The captured image is transferred to the FTP server.
Caution
- Images cannot be erased during image transfer.
- No voice memo can be added when [Automatic transfer] is set to [Enable].
Note
- During continuous shooting, images are transferred to the FTP server in the order they are captured.
- The captured images are also stored on the card.
- Any images for which transfer is interrupted or fails will be transferred automatically when the connection is recovered (). These images can also be re-transferred in batch at a later time ().
- If network settings such as the connected FTP server are changed before FTP auto retry starts, FTP auto retry will not occur.
Transferring the Current Image
Simply play back images and press ![]() to transfer them. You can also continue still photo shooting even while images are being transferred.
to transfer them. You can also continue still photo shooting even while images are being transferred.
-
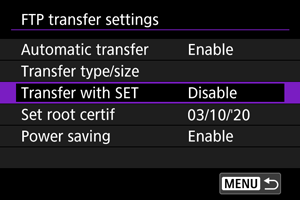
Display the [FTP transfer settings] screen.
- Perform the actions in steps 1 to 3 of Automatic Image Transfer After Each Shot.
-
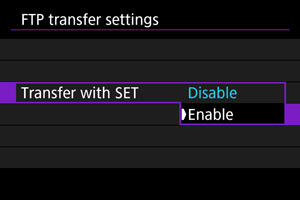
Select [Transfer with SET].
-
Select [Enable].
-
Select an image.
- Press the
 button on the camera.
 - Select the image to transfer, then press
 to transfer the image.
 - A voice memo can be added to the played back image before it is transferred. For details, refer to the camera's Advanced User Guide.
- Movies cannot be transferred this way. Selecting a movie and pressing will display the movie playback panel.
- Press the
Selecting the Size and Type of Images to Transfer
When recording in different sizes to the CFexpress and SD cards, or in RAW+JPEG or RAW+HEIF shooting, you can specify how to transfer images.
-
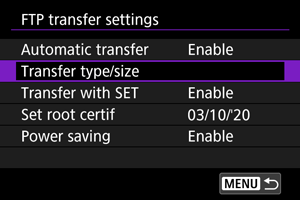
Display the [FTP transfer settings] screen.
- Perform the actions in steps 1 to 3 of Automatic Image Transfer After Each Shot.
-
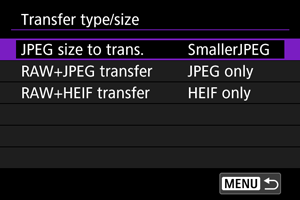
Select [Transfer type/size].
-
Select the size of the images to transfer.
-
Select [JPEG size to trans.], then select either [Larger JPEG] or [SmallerJPEG].
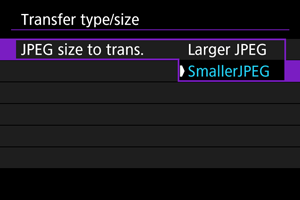
- To transfer smaller JPEGs when the camera is set to record larger JPEGs to either the CFexpress or the SD card and smaller JPEGs to the another card, set [JPEG size to trans.] to [SmallerJPEG].
-
-
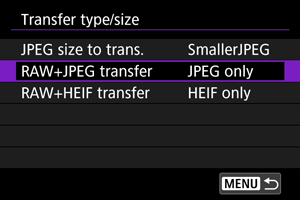
Select the type of images to transfer.
-
RAW+JPEG transfer
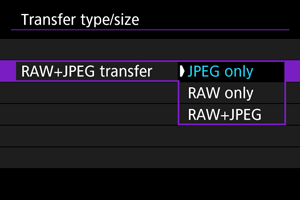
- Select [RAW+JPEG transfer], then select [JPEG only], [RAW only], or [RAW+JPEG].
-
RAW+HEIF transfer
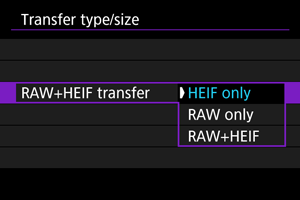
- Select [RAW+HEIF transfer], then select [HEIF only], [RAW only], or [RAW+HEIF].
-
Note
- When the camera is set to record RAW images to either the CFexpress or the SD card and JPEGs or HEIF to the another card, specify which images to transfer in the [RAW+JPEG transfer] or [RAW+HEIF transfer] setting. Also use this setting when RAW+JPEG or RAW+HEIF images are simultaneously recorded on a single card.
- The captured images are also stored on the card.
- If images of the same size are simultaneously recorded on two cards, the images recorded on the card that is preferentially specified in [
 Record/play] or [ Play] under [
 : Record func+card/folder sel.] will be transferred.