Turning on the Power
- Setting the Display Language
- Setting the Date, Time, and Time Zone
- Setting a Password
- Connecting the Camera to a Smartphone
- Battery Level Indicator
-
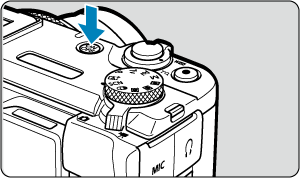
Press the power button to turn the power on. Press it again to turn the camera off.
Note
- If you turn off the power while an image is being recorded to the card, [Saving...] will be displayed and the power will turn off after the recording finishes.
Setting the Display Language
Set the Language if the [Language![]() ] setting screen appears after you turn on the camera.
] setting screen appears after you turn on the camera.
Setting the Date, Time, and Time Zone
Set the Date/Time/Zone if the [Date/Time/Zone] setting screen appears.
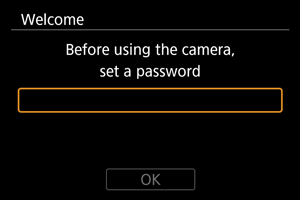
Setting a Password
To prevent unauthorized access to information on the camera, set a camera password.
Caution
-
Setting a password does not protect images or other data on cards.
-
Canon cannot be held liable for theft involving the camera or cards.
-
If you select [Do not ask again], be careful not to allow third-party access to data or information on the camera, such as in the settings.
-
Set the password.
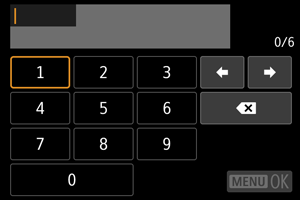
- Enter a six-digit number, then select [OK].
-
Select [OK].
-
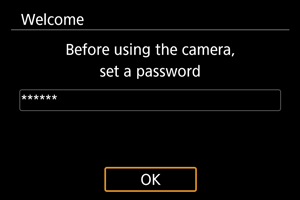
Reenter the password.
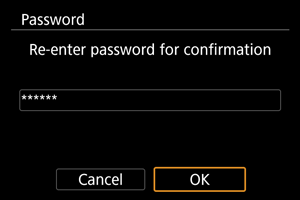
- Select [OK] to set the password.
The [Password] screen is displayed when the power switch is set to
 or the camera resumes operation from auto power off. Enter the password you set.
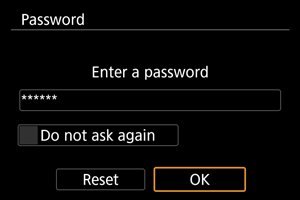
- [Do not ask again]: Select if you prefer not to have the screen displayed again.
- [Reset]: Select to reset the camera to defaults and remove the password.
Caution
-
Until you enter the password, these connections are not available while the password screen is displayed.
- USB connection
- Wi-Fi connection
- Bluetooth connection
-
Select [Do not ask again] on the password screen in these situations.
- When using Bluetooth connections with the power switch set to
 or during auto power off
 - When automatically uploading images to image.canon
- When using Bluetooth connections with the power switch set to
Note
- For details on operations such as changing the password, see Password Management.
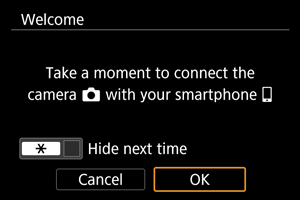
Connecting the Camera to a Smartphone
Instructions for connecting to a smartphone are displayed if you select [OK] when the setup screen appears ().
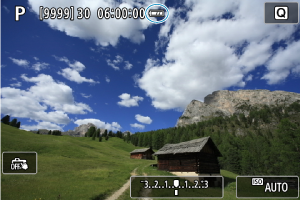
Battery Level Indicator
The battery level indicator appears when the camera is turned on.
| Battery level is sufficient. | |
| Battery level is low, but the camera can still be used. | |
| Battery will be depleted soon (blinks). | |
| Charge the battery. |
Note
- Doing any of the following will exhaust the battery faster:
- Pressing the shutter button halfway for a prolonged period.
- Activating the AF frequently without taking a picture.
- Using Image Stabilizer.
- Using the Wi-Fi function or Bluetooth® function.
- Using the screen frequently.
- Using accessories compatible with the multi-function shoe.
- The number of available shots may decrease depending on the actual shooting conditions.
- See [
 : Battery info.] to check the battery status ().
 - In low ambient temperatures, shooting may not be possible even with a sufficient battery level.
- The battery level indicator is gray when power is supplied.