
Receiver Camera Registration and Group Settings
- Registering from the EMR Application
- Group Settings
- Registering from the Sender Camera
- Receiver Camera Group Settings
Start the EMR application on the terminal to register the receiver camera and configure the group settings.
Registering from the EMR Application
-
Tap [Add Camera] on the displayed screen.
-
Enter the IP address of the receiver camera on the displayed screen and tap [Ping].
- If [User authentic.] is set to [On] in the receiver camera connection, enter the user name and password.
- If an error is displayed, check the address setting, etc. or the network connection.
-
Tap [SET].
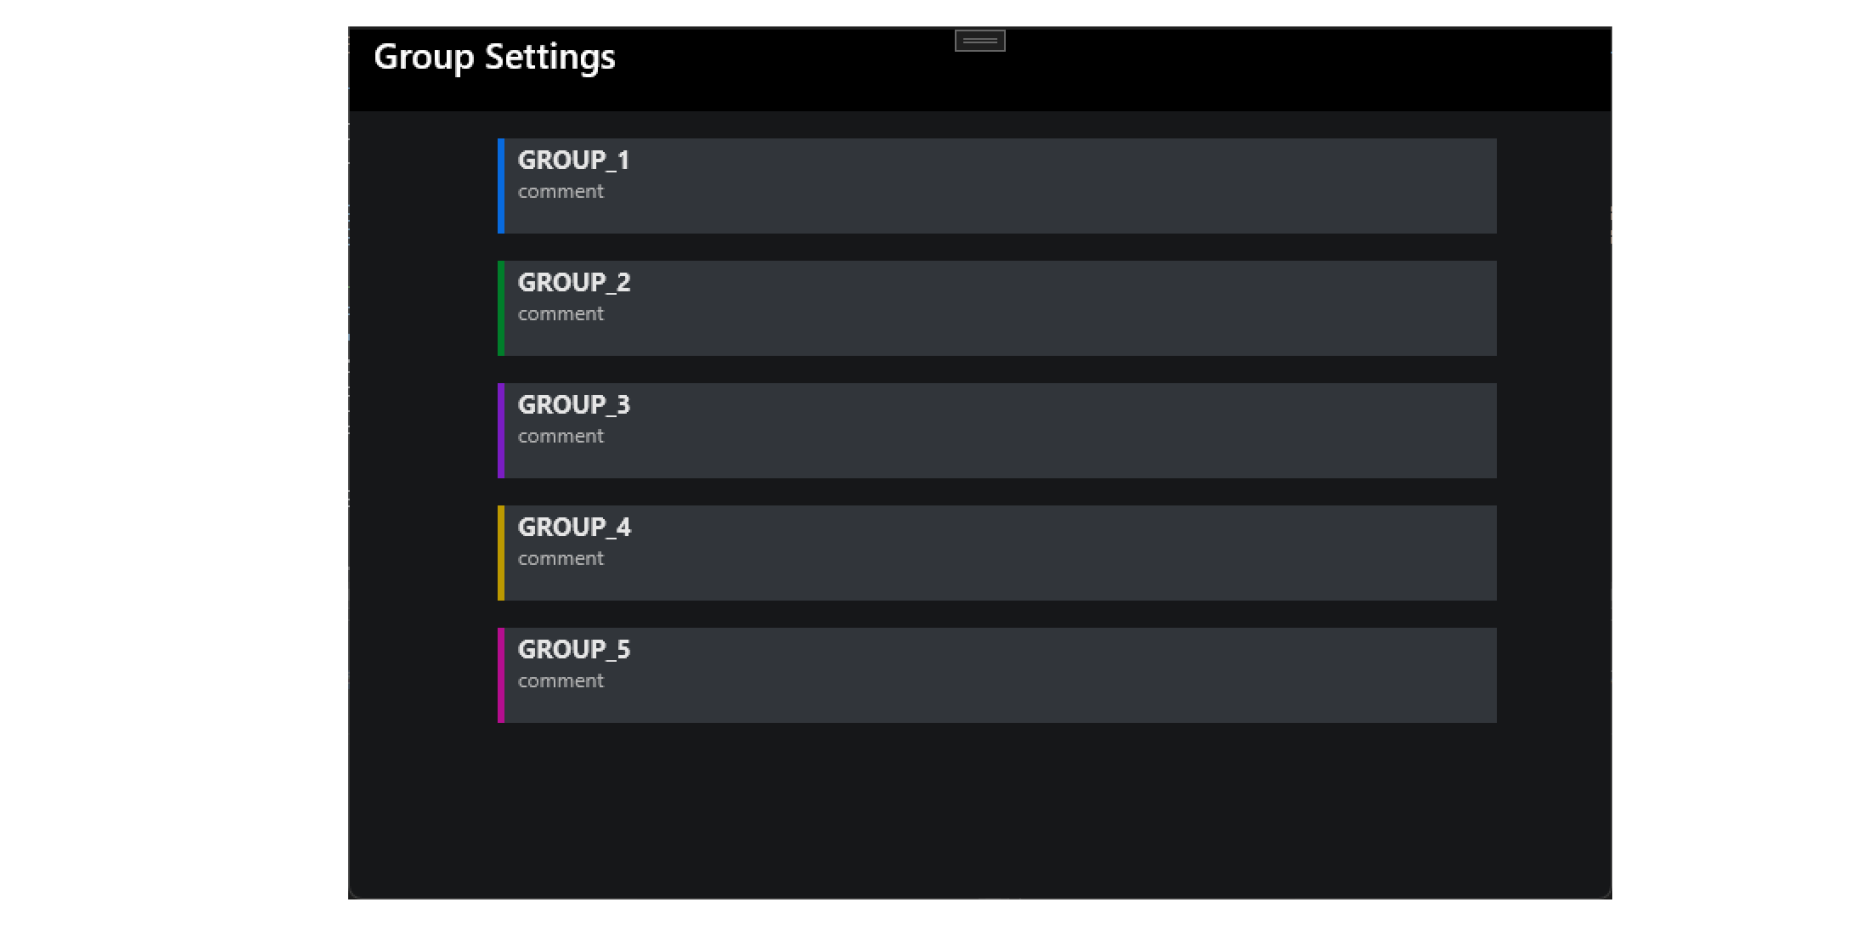
Group Settings
Up to five receiver camera groups can be set for batch operation.
Registering from the Sender Camera
If the sender camera is connected, the receiver camera can be registered from the sender camera.
-
Display the [Network settings] screen on the menu screen of the sender camera and select [Connection option settings].
-
Select [EOS Multi Remote settings] on the [Connection option settings] screen.
-
Select [Receiver settings].
-
Select [RC* Unspecified] on the [Receiver settings] screen.
-
Select [IP address] on the next screen.
- The entry screen is displayed.
-
Enter the IP address and press the <
 > button.
- You will return to the previous screen.
-
Select [Receiver name].
- The entry screen is displayed.
-
Enter the receiver name and press the <
> button.
Note
-
On the EOS R1 and EOS 5D Mark II, you can use the button customization function to assign receiver camera groups to easy-to-operate buttons. For details, see the detailed guide for each camera.
Receiver Camera Group Settings
Receiver camera groups can be set from the sender camera.
-
Display the [Network settings] screen on the menu screen of the sender camera and select [Connection option settings].
-
Select [EOS Multi Remote settings] on the [Connection option settings] screen.
-
Select [Shooting groups].
-
Select [Group *] and press the
 button.
 -
Check the necessary items and select [OK].
- When [SND] is unchecked, the sender camera will not shoot.
-
Press the
 button to return to the previous screen.