Using SELPHY Photo Layout
Install SELPHY Photo Layout on your smartphone and use it to connect to SELPHY.
Do this after following the steps in Turning the Printer On.
-
Install the app.
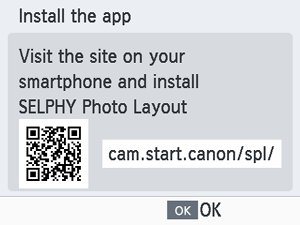
- Scan the QR code on the monitor with your smartphone to access the site.
- Press
 . Your smartphone connects to the following site.
Smartphone screen
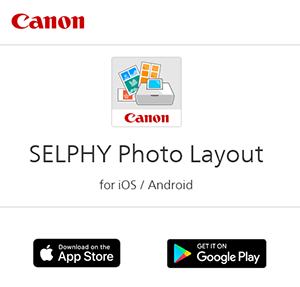
- Install SELPHY Photo Layout on the smartphone.
-
Establish a connection.
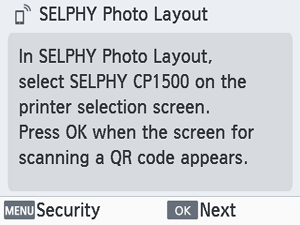
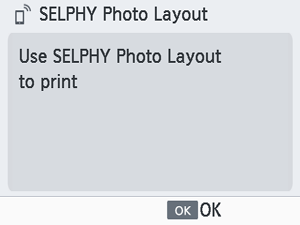
- Start SELPHY Photo Layout, choose [SELPHY CP1500] on the printer selection screen, and then follow the instructions displayed.
- Press .
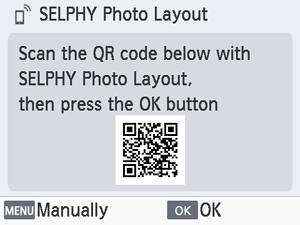
- After the QR code scanning screen appears in SELPHY Photo Layout, scan the QR code on the monitor.
- Press .
Note
- No QR code is displayed if you have changed the default password in SELPHY Photo Layout. Manually register the printer by tapping [Manual Registration] on the [Printer Registration] screen in SELPHY Photo Layout and then entering the ID shown on the printer monitor, along with the new password.
-
Print.
- Print from SELPHY Photo Layout.
Caution
- Never pull out the paper cassette, open the ink cassette compartment cover, or remove a memory card while printing or when you hear printer operation sounds immediately after it has been turned on. This may damage the printer.
- To cancel printing in progress, always press
 . Printing cannot be canceled by pressing
  , and unplugging the printer may damage it.
Note
- The [Install the app] screen is not displayed in step 1 unless this is the first time you have turned on SELPHY. To access it, scan the QR code with your smartphone as described in Instruction Manuals and SELPHY Photo Layout.
- If the QR code cannot be scanned in step 2, tap [Manual Registration] on the scanning screen in SELPHY Photo Layout and enter the ID and password shown on SELPHY when you press
 .
.
Connecting Other Smartphones
You can also print from other smartphones using SELPHY Photo Layout.
When the screen for scanning the QR code on the printer to connect to appears in SELPHY Photo Layout, display the QR code on the monitor and scan it as follows.
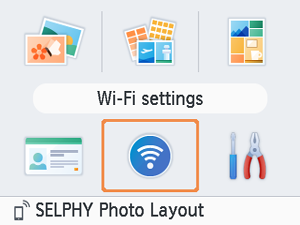
-
Choose [Wi-Fi settings] and press
.
-
Choose [Display Wi-Fi status] and press
.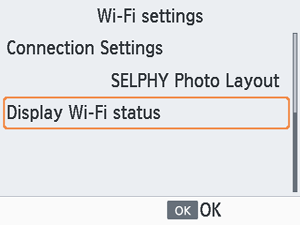
-
Scan the QR code with your smartphone.