Color Filter
When shooting a tungsten light scene in flash photography, subject backgrounds that are out of flash range may have an unnatural reddish tint. By attaching a color filter (sold separately) to the flash, the camera's white balance feature can automatically compensate so that the subject and background can be shot in the appropriate white balance.
-
Attach the color filter.
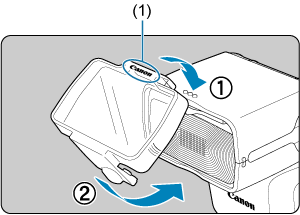
(1) Canon logo
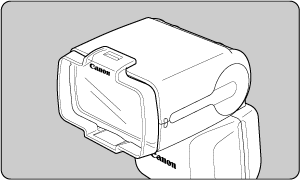
- Securely attach the filter to the flash head as shown in the figure until you hear a “click.”
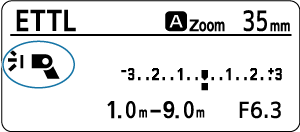
- Make sure that the display shows
 .
. - To remove the filter, move in reverse order to lift the retaining tab on the underside of the filter and remove it from the flash head.
-
Take the picture.
- Set the camera white balance to
 and take the picture.
 - White balance can also be set to
 or
or  to shoot.
 - Check the image taken and compensate the white balance on the camera side as necessary.
- Set the camera white balance to
Caution
- When using a color filter, the guide number will be lowered. When using manual flash, compensate the flash output level by roughly +1 stop.
- Do not layer a commercially available color filter with the color filter sold separately.
Note
- When attaching a color filter and using a wide-angle lens for flash photography, the ambient light intensity may decrease.
- If the color filter is dirty or dusty, wipe it off with a soft, dry cloth.
- A bounce adapter () can also be attached when using a color filter.
- To create a tungsten light scene (slightly reddish ambiance), compensate the white balance to the amber side.