Configuring FTP Server Connection Settings
These instructions are continued from Configuring Settings for the Communication Function.
-
Select an FTP mode.
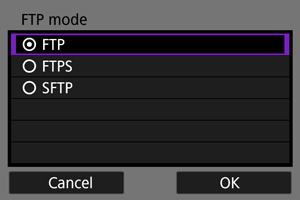
- To perform a secure FTP transfer using a root certificate, select [FTPS]. For root certificate settings, see Importing a Root Certificate for FTPS.
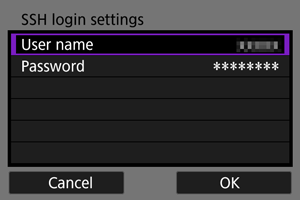
- To perform a secure FTP transfer using an SSH connection, select [SFTP]. Configure the login settings to be used in step 5.
- Select [OK] to proceed to the next screen.
-
Select [Address setting].
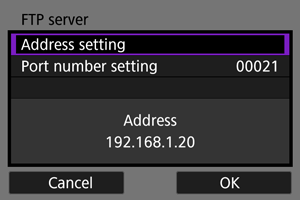
- Select [OK] to proceed to the next screen.
- If you have set the IP address setting to [Auto setting] or the DNS address setting to [Manual setting], the virtual keyboard is displayed.
- If you have set the DNS address setting to [Disable], the number entry screen is displayed.
-
Enter the FTP server's IP address.
When Using the Virtual Keyboard
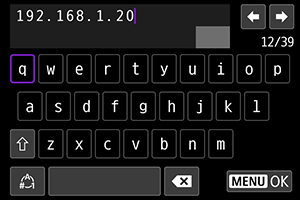
- Enter the IP address with the virtual keyboard (). If DNS is used, enter the domain name.
- To set the entered values and return to the screen in step 2, press the
 button.
When Using the Number Entry Screen
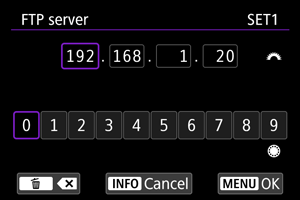
- Use
 to select the input position in the upper area and use
  to select a number. Press
  to enter the selected number.
 - To set the entered values and return to the screen in step 2, press the button.
-
Set the port number.
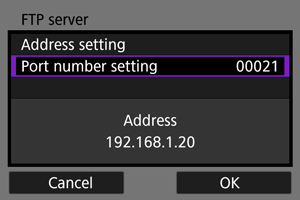
- [Port number setting] is usually 00021 (FTP/FTPS) or 00022 (SFTP).
- Select [OK] to proceed to the next screen.
- If you selected [FTP] or [FTPS] in step 1, go to step 6. If you selected [SFTP], go to step 5.
-
Configure the SSH login authentication settings.
-
Configure the passive mode setting.
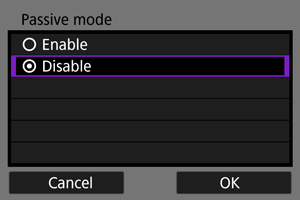
- This is not displayed if you selected [SFTP] in step 1.
- Select [OK] to proceed to the next screen.
- If "Error 41: Cannot connect to FTP server" is displayed in step 9, setting [Passive mode] to [Enable] may resolve the error.
-
Set the proxy server.
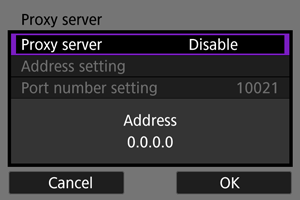
- This is not displayed if you selected [FTPS] or [SFTP] in step 1.
- Select [OK] to proceed to the next screen.
-
Set the login method.
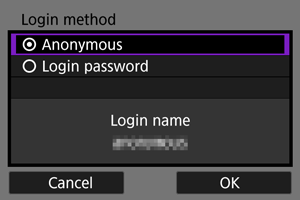
- This is not displayed if you selected [SFTP] in step 1.
- Select [OK] to proceed to the next screen.
-
Set the target folder.
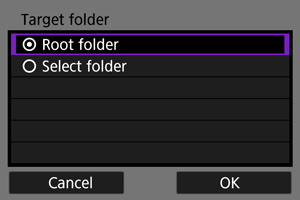
- Select [Root folder] to have images saved in the root folder, as specified in FTP server settings ().
- Select [Select folder] to specify a target folder in the root folder. If no folder exists, a folder will be created automatically.
- Select [OK] to proceed to the next screen.
- The transmitter's
 lamp is lit in green.
 -
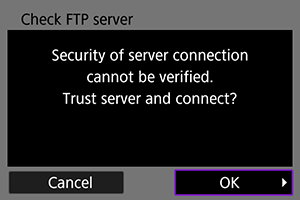
When the following screen is displayed, select [OK] to trust the destination server.
-
Select [OK].
- This is not displayed for offline settings.
-
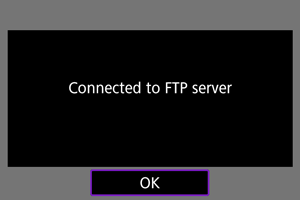
Select [OK].
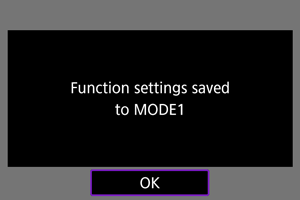
-
Select [OK].

- Display returns to the [WFT settings] screen.
- Settings information is stored in the camera. It is not stored in the transmitter.
The connection settings for FTP transfer are now complete.
During image transfer, the ![]() lamp on the transmitter blinks in green.
lamp on the transmitter blinks in green.
Importing a Root Certificate for FTPS
If the FTP mode is set to [FTPS] when configuring the connection settings, the root certificate corresponding to the FTPS server to connect to must be imported to the camera.
- Only a root certificate whose file name is "ROOT.CER", "ROOT.CRT", or "ROOT.PEM" can be imported to the camera.
- Only one root certificate file can be imported to the camera. Insert a card containing the root certificate file in advance.
- The priority card selected for [
 Record/play] or [ Play] is used to import a certificate when [/
 separate] in [
 : Record func+card/folder sel.] is set to [Disable]. Card 2 is used when [/ separate] is set to [Enable].
 - The connected server may not be trustworthy if an FTPS connection is established by using a self-signed certificate.
-
Select [
 : WFT settings].
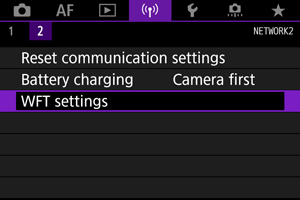
-
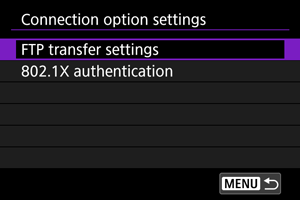
Select [Connection option settings].

-
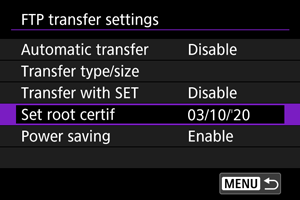
Select [FTP transfer settings].
-
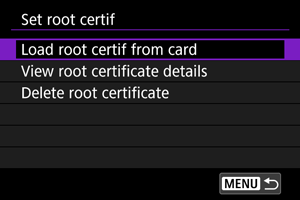
Select [Set root certif].
-
Select [Load root certif from card].
-
Select [OK].
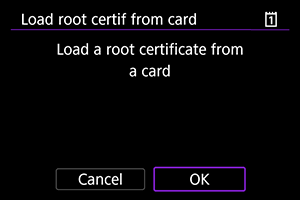
- The root certificate is imported.
- Select [OK] on the confirmation dialog to return to the [Set root certif] screen.
Note
- Select [Delete root certificate] on the screen in step 5 to delete the root certificate imported to the camera. Select [View root certificate details] to check the issuer, subject, validity period, and other information.