Connecting in Camera Access Point Mode
These instructions are continued from Displaying the Connection Wizard.
Camera access point mode is a connection mode for connecting the camera directly to each device via a wireless connection without using an access point. The following two connection methods are available.
Connecting with Easy Connection
The network settings for the camera access point mode are configured automatically.
- To establish a connection, operations on the computer are required. For details, refer to the corresponding device's instruction manual.
-
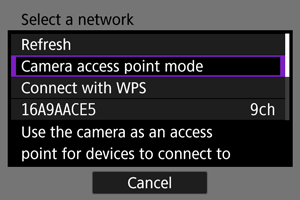
Select [Camera access point mode].
For [Configure online]
For [Configure offline]
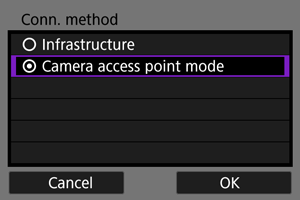
- On the [Conn. method] screen, select [OK] to go to the next screen.
-
Select [Easy connection].
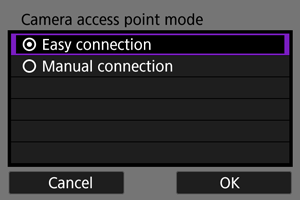
- Select [OK] to proceed to the next screen.
-
Select [OK].
- The next screen is displayed.
-
Select [OK].

- The next screen is displayed.
-
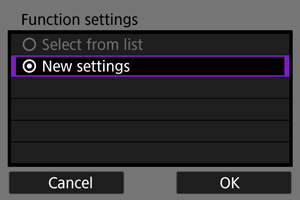
Select [New settings].

- Select [OK] to proceed to the next screen.
- For [Configure online], go to step 6.
- For [Configure offline], go to step 2 in Configuring Settings for the Communication Function.
- If the camera has registered communication function settings, you can apply the registered settings by selecting [Select from list].
-
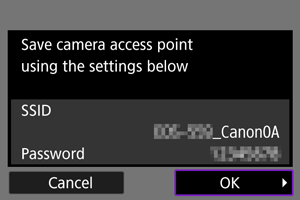
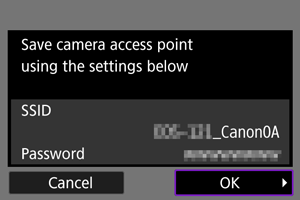
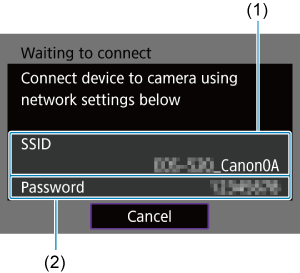
Operate the target device and connect it to the camera.

- (1) SSID (network name)
- (2) Encryption key (password)
Computer screen (sample)
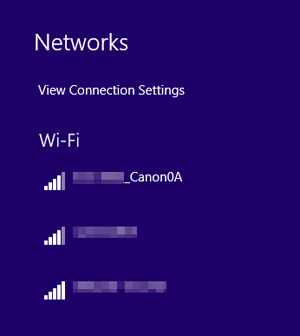
Note
- When connecting by selecting [Easy connection], "_Canon0A" is displayed at the end of the SSID.
Connecting with a Manual Connection
The network settings for the camera access point mode are configured manually. Set [SSID], [Channel setting], [Encryption settings], and [IP address setting (IPv4)] on each screen displayed.
-
Select [Manual connection].
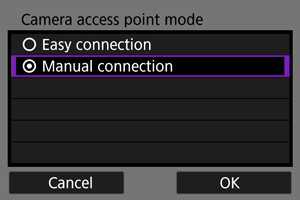
- Select [OK] to proceed to the next screen.
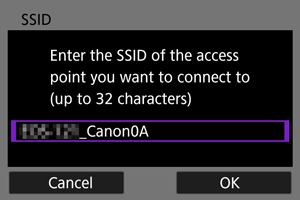
-
Enter the SSID (network name).
-
Select the desired channel setting.
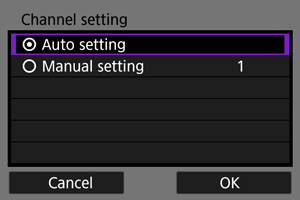
- To specify the settings manually, select [Manual setting], then select the setting by using
 .
. - Select [OK] to establish a connection with the access point.
- To specify the settings manually, select [Manual setting], then select the setting by using
-
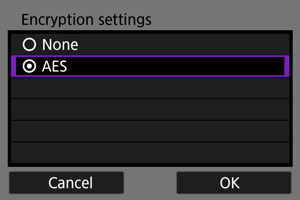
Select the desired encryption setting.
-
Select the IP address setting.
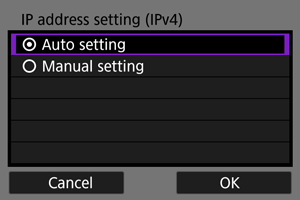
- To specify the settings manually, select [Manual setting], configure [IP address] and [Subnet mask], then press [OK].
-
Select [OK].
- The next screen is displayed.
-
Select [OK].
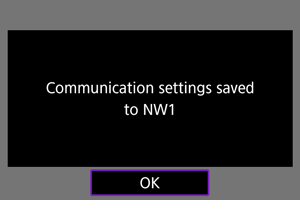
- The next screen is displayed.
-
Select [New settings].
- Select [OK] to proceed to the next screen.
- For [Configure online], go to step 9.
- For [Configure offline], go to step 2 in Configuring Settings for the Communication Function.
- If the camera has registered communication function settings, you can apply the registered settings by selecting [Select from list].
-
Operate the target device and connect it to the camera.
- (1) SSID (network name)
- (2) Encryption key (password)
Computer screen (sample)