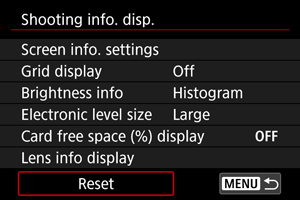
Prikaz informacija o snimanju
- Prilagođavanje informacija na ekranu
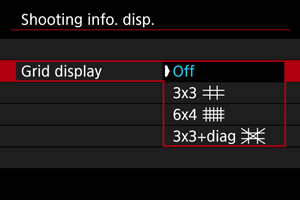
- Pomoćna mreža
- Informacije o osvetljenju
- Veličina elektronskog nivoa
- Prikaz slobodnog prostora kartice (%)
- Prikaz informacija o objektivu
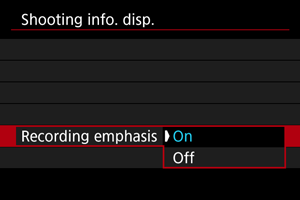
- Naglasak na snimanje
- Marker razmere
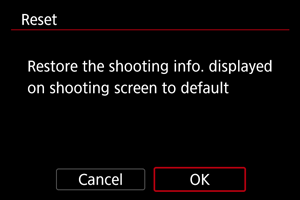
- Resetovanje postavki
Možete prilagoditi detalje i ekrane informacija koje se prikazuju na ekranu kada snimate.
Prilagođavanje informacija na ekranu
-
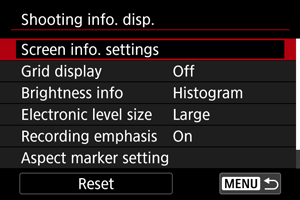
Odaberite [Screen info. settings].
-
Odaberite ekrane.
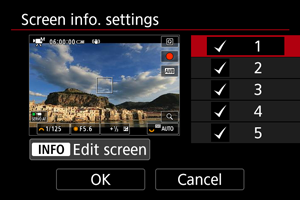
- Okrećite
 ili
ili  birač ili pritisnite
  nagore ili nadole da biste odabrali ekrane sa informacijama koji će biti prikazani na fotoaparatu.
 - Ako ne želite da neke informacije budu prikazane, pritisnite
 da biste sa njih uklonili kvačicu [
 ].
]. - Da biste uredili ekran, pritisnite
 dugme.
- Okrećite
-
Uredite ekran.
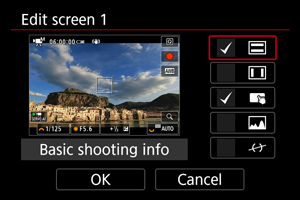
- Okrećite ili birač ili pritisnite nagore ili nadole da biste odabrali opcije za koje želite da budu prikazane na ekranu sa informacijama.
- Ako ne želite da neka stavka bude prikazana, pritisnite da biste sa nje uklonili kvačicu [].
- Odaberite [OK] da biste registrovali postavke.
- Okrećite
 :
: Pomoćna mreža
Pomoćna mreža može biti prikazana i na ekranu.
Informacije o osvetljenju
Možete podesiti format informacija o osvetljenju (histogram ili monitor talasne forme) koji je dostupan kada se dugme pritisne tokom stanja mirovanja za snimanje.
Monitor talasne forme je dostupan tokom snimanja video zapisa.
-
Odaberite [Brightness info].
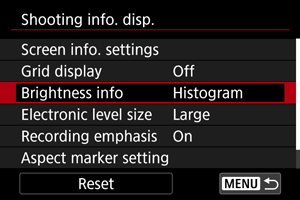
-
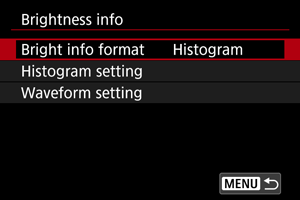
Odaberite opciju.
-
Format svetlih informacija
Podesite svoj omiljeni prikaz tokom snimanja video zapisa: [Histogram] ili [Wave. monitor]. Tokom snimanja fotografija, dostupno je samo [Histogram disp].
-
Podešavanje histograma
Odaberite tip histograma ([Brightness] ili [RGB]) i veličinu prikaza ([Large] ili [Small]).
-
Podešavanje talasne forme
Odaberite tip talasne forme ([Line] ili [RGB]).
-
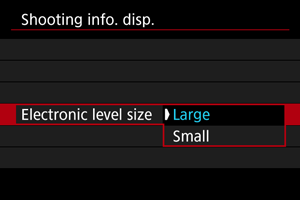
Veličina elektronskog nivoa
Možete odabrati veličinu prikaza elektronskog nivoa.
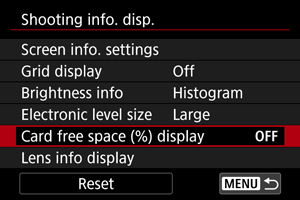
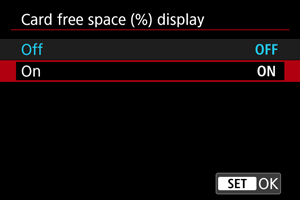
Prikaz slobodnog prostora kartice (%)
Na ekranu možete prikazati slobodan prostor na kartici.
Napomena
- Tokom snimanja fotografija ili upisivanja podataka na kartice, umesto slobodnog prostora prikazuje se broj dostupnih snimaka.
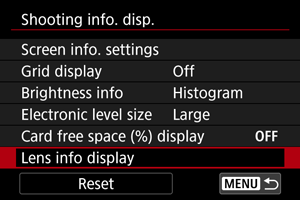
Prikaz informacija o objektivu
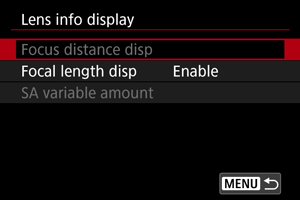
Možete prikazati informacije o objektivu koji koristite.
-
Odaberite [Lens info display].
-
Odaberite opciju.
-
Focus distance disp / Prikaz distance fokusa
Možete prikazati distancu fokusa kada koristite RF ili RF-S objektive. U prikazu distance fokusa možete izabrati vreme i jedinicu mere.
-
Focal length disp / Prikaz žižne daljine
Možete prikazati žižnu daljinu objektiva u upotrebi.
-
SA variable amount / Varijabilni iznos sferne aberacije
Možete prikazati iznos podešene korekcije kada koristite objektive koji imaju kontrolu sferne aberacije.
SA: sferna aberacija
-
Naglasak na snimanje
Marker razmere
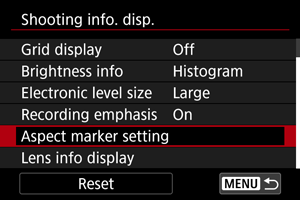
Ako promenite razmeru (odnos širine i visine slike) prilikom uređivanja snimljenog video zapisa, možete prikazati markere razmere na ekranu za snimanje video zapisa (tokom stanja mirovanja i snimanja) da biste bili svesni konačnog ugla gledanja nakon uređivanja.
-
Odaberite [Aspect marker setting].
-
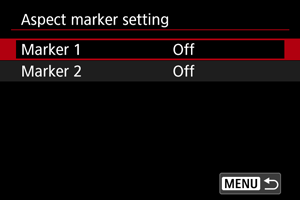
Odaberite markere razmere.
-
Odaberite opciju.
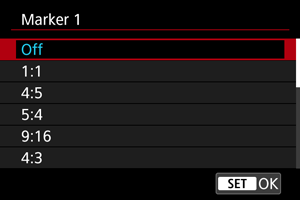
- Odaberite opciju prikaza.
Napomena
- Markeri se ne prikazuju tokom reprodukcije video zapisa (snimljeni video zapisi nisu označeni informacijama o markeru razmere).
- Svaki marker je prikazan u različitoj boji.