Processing CRM Clips
- Quick Development
- Lens Correction
- Color Space
- Gamma
- White Balance
- ISO Speed
- Brightness
- Sharpness
- Noise Reduction (NR)
Use the [RAW Development] panel to process CRM clips.
- We recommend using a computer with a GPU compatible with this application.
- To use the GPU for processing, select the GPU name in [Processor] in the [Tools] menu (Windows) or [Processor] in the [EOS VR Utility] menu (macOS).

The preview shows the results of applying the current settings. Exported files will have the settings applied.
Quick Development
Enables playback in the preview area, after the application performs basic processing of the clip.

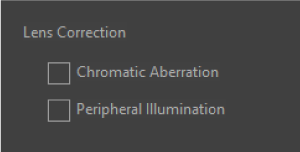
Lens Correction
- [Chromatic Aberration]: Enables correction of chromatic aberration (color fringing around subjects) caused by lens characteristics.
- [Peripheral Illumination]: Enables correction of vignetting caused by lens characteristics.
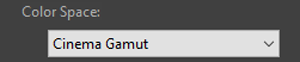
Color Space
- The color space used for clip playback can be selected from the options listed.
- The setting used at the time of shooting is not applied.
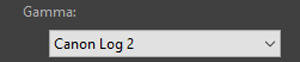
Gamma
- The gamma used for clip playback can be selected from the options listed.
- The setting used at the time of shooting is not applied.
White Balance
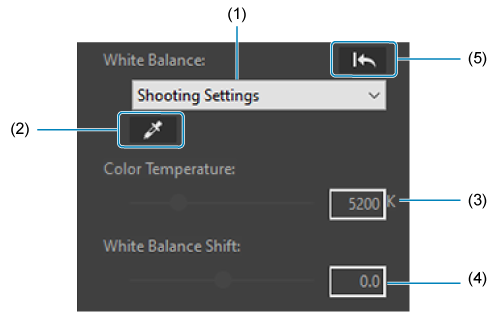
White balance can be adjusted by selecting an option listed in (1).
- [Click White Balance]: Enables adjustment based on your selected white value. Click the [
 ] icon in (2), then click somewhere in the preview area to use as the basis for white. To adjust white balance again, click a different image area.
 - [Custom Settings]: Enables adjustment by entering color temperature and white balance shift values (3 and 4).
- To undo this change, click the [
 ] icon in (5).
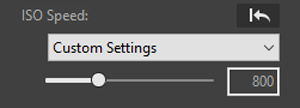
ISO Speed
ISO speed can be adjusted by selecting an option listed.
- [Custom Settings]: Enables adjustment by entering a value.
- To undo this change, click the [] icon.
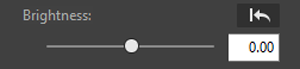
Brightness
- Brightness can be adjusted by dragging the slider left or right, or by entering a value.
- To undo this change, click the [] icon.
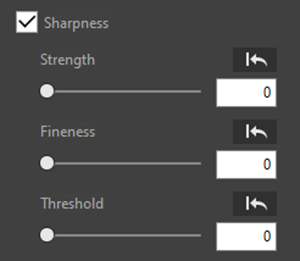
Sharpness
- Select to adjust sharpness.
- Drag the slider left or right, or enter a value.
- To undo this change, click the [] icon.
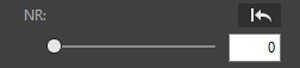
Noise Reduction (NR)
- The noise reduction level can be adjusted by dragging the slider left or right, or by entering a value.
- To undo this change, click the [] icon.