
Timed Shooting
Configuring the Shooting Time
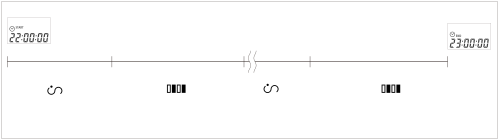
The camera shoots as shown in the following figure.
The camera starts and stops shooting at the configured times. There is no need to set the shot count, which is determined by the interval and exposure times configured between the shooting start and end times.
Here, set the start time ( ), end time (
 ), interval timer (
 ), and long-exposure timer (
 ).
-
Select time display.
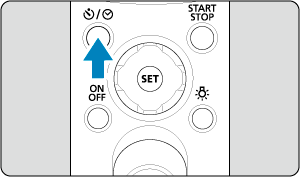
- Press the
 /
 button and select the [] time icon.
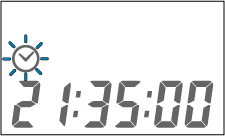
- Press the
-
Configure the start time.
- Press
 to display the [] start time.
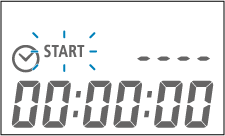
- Press
 and set the amount of time.
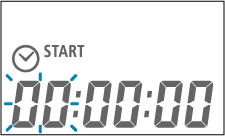
- Press
 or to select hours, minutes, or seconds.
- Press
 or
 to change the number.
- When finished, press .
Caution
- Pressing and together resets the setting.
- Press
-
Configure the end time.
- Press to select the [] end time.
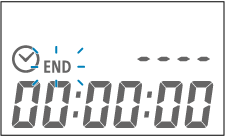
- Press and set the amount of time.
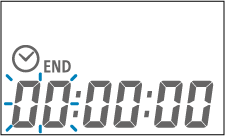
- Press or to select hours, minutes, or seconds.
- Press or to change the number.
- When finished, press .
- Press
-
Configure the interval.
- Press and select the [] interval timer icon.
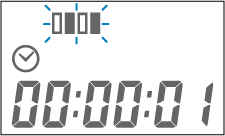
- Press and set the amount of time.
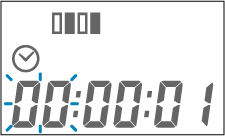
- Press or to select hours, minutes, or seconds.
- Press or to change the number.
- When finished, press .
- Press
-
Configure the exposure time.
- Press and select the [] long-exposure timer icon.
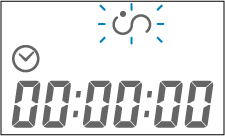
- Press and set the amount of time.
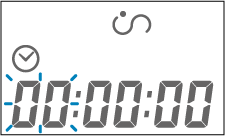
- Press or to select hours, minutes, or seconds.
- Press or to change the number.
- When finished, press .
Note
- Interval timer time is the time between the end of one exposure and the start of the next.
- The interval between shots is a combination of the time set for the interval timer and the time set for the long-exposure timer.
Caution
- Exposure time settings apply when the camera is set to long (bulb) exposures. In other shooting modes, the camera shoots at your specified shutter speed.
- Press
Operation During Shooting
Operation during shooting is as follows.
Examples of camera and remote controller settings are listed below.
|
-
Press the
/ button and select the [] time icon.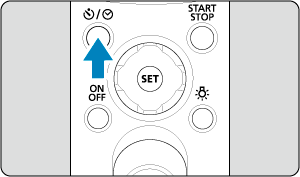
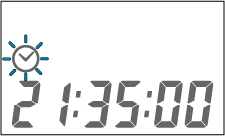
- The current time appears.
-
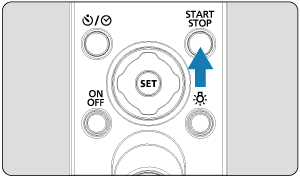
Press the
/ button.
-
Shooting begins when the start time is reached.
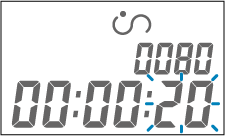
- blinks as the configured long-exposure timer time starts counting down. The shutter closes after the configured time elapses.
-
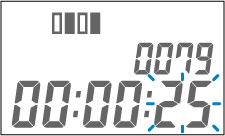
blinks as the configured interval timer time starts counting down. The shutter opens after the configured time elapses.
-
blinks again as the configured long-exposure timer time starts counting down. The shutter closes after the configured time elapses.
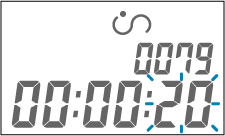
- After this, the interval timer and long-exposure timer are activated repeatedly until the end time is reached.
Note
- To display the end time during this operation, press the / button.
Caution
- Any exposure in progress when the end time is reached will continue until the configured exposure time has elapsed.