Batch Transfer
After shooting, you can select multiple images as desired and transfer them all at once. You can also transfer unsent images or images that could not be sent previously.
You can also continue still photo shooting even while images are being transferred.
Caution
- Image transfer in progress is paused if you switch to movie mode. To resume image transfer, switch to photo mode.
Selecting the Images to Transfer
-
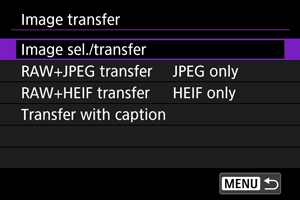
Select [
 : Image transfer].
-
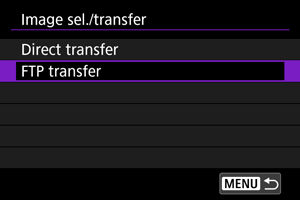
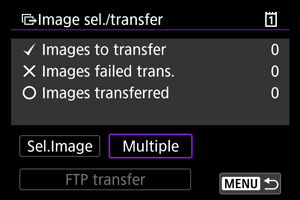
Select [Image sel./transfer].
-
Select [FTP transfer].
-
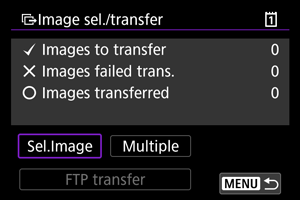
Select [Sel.Image].
-
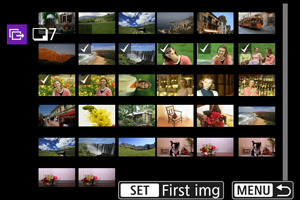
Select the images to transfer.
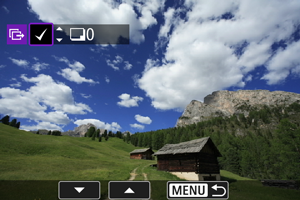
- Select the images to transfer by using
 , then press
  .
. - Display [
 ] on the screen's upper left by using , then press .
 - You can turn the
 dial counterclockwise to switch to selecting images from 3-image display. To return to the single-image display, turn clockwise.
 - To select other images to transfer, repeat step 5.
- After selecting the images, press
 .
.
- Select the images to transfer by using
-
Select [FTP transfer].

-
Select [OK].

- The selected images are transferred to the FTP server.
Selecting Multiple Images
You can select the selection method and transfer multiple images. You can also continue still photo shooting even while images are being transferred.
-
Display the [Image sel./transfer] screen.
- Perform the actions in steps 1 to 3 of Selecting the Images to Transfer.
-
Select [Multiple].
-
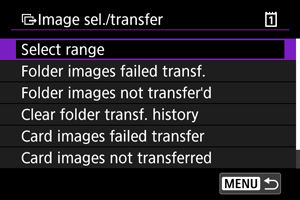
Select the method you want to use to select images.
-
Select range
- Select [Select range]. Selecting the first and last images of the range marks all the images in the range with a [], and one copy of each image will be sent.
- To change the number of images in index display, turn the dial.
- Select [Select range]. Selecting the first and last images of the range marks all the images in the range with a [
-
In a folder
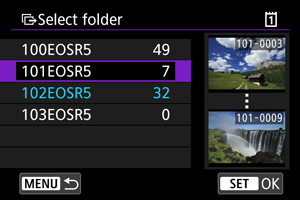
- Selecting [Folder images failed transf.] selects all images in the selected folder for which transfer failed.
- Selecting [Folder images not transfer'd] selects all unsent images in the selected folder.
- Selecting [Clear folder transf. history] clears the transfer history of images in the selected folder. After clearing the transfer history, you can select [Folder images not transfer'd] and transfer all images in the folder again.
-
On a card
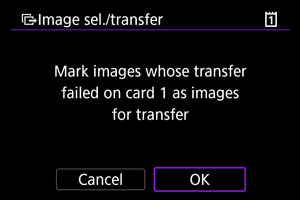
- Selecting [Card images failed transfer] selects all images on the selected card for which transfer failed.
- Selecting [Card images not transferred] selects all unsent images on the selected card.
- Selecting [Clear card's transf. history] clears the transfer history of images on the selected card. After clearing the transfer history, you can select [Card images not transferred] and transfer all images on the card again.
-
-
Select [FTP transfer].

-
Select [OK].

- The selected images are transferred to the FTP server.
Transferring RAW+JPEG/RAW+HEIF Images
You can specify how to transfer RAW+JPEG or RAW+HEIF images.
-
Select [
: Image transfer].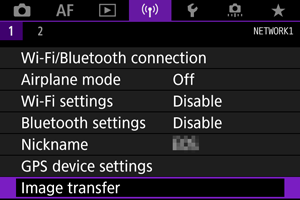
-
Select the type of images to transfer.

-
RAW+JPEG transfer
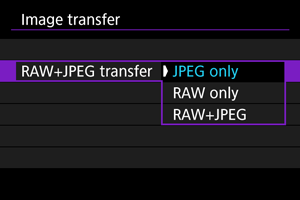
- Select [RAW+JPEG transfer], then select [JPEG only], [RAW only], or [RAW+JPEG].
-
RAW+HEIF transfer
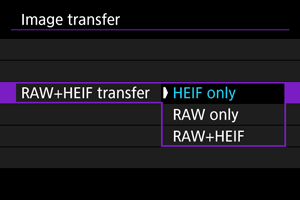
- Select [RAW+HEIF transfer], then select [HEIF only], [RAW only], or [RAW+HEIF].
-
Caution
- During image transfer, certain menu options cannot be used.