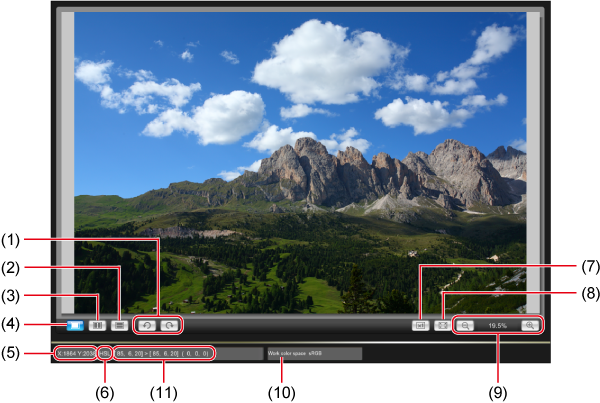
Main Window
You can select the display magnification of sample images and layout of before-and-after images.
Enlarging a Specific Area
You can enlarge a specific area in the main window to 100%.
-
Double-click the area to magnify (for example, (1)).
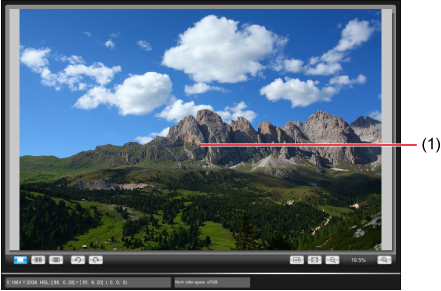
- Centered on the area you double-click, display is enlarged to 100%, showing the actual pixels. It may take some time until the image is displayed clearly.
- To move the display position, either drag the image or, in the [Navigator] window, drag the magnified area position ().
- Double-click again to show the entire image.
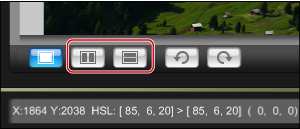
Tiling Before/After Images
You can display before-and-after versions of the image, showing the results as you edit Picture Styles.
-
Select [
 ] or [
 ].
].
[
] Tile horizontally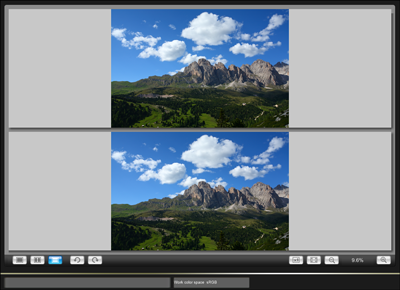
- The original image is shown on top, with the image reflecting Picture Style adjustments on bottom.
[
] Tile vertically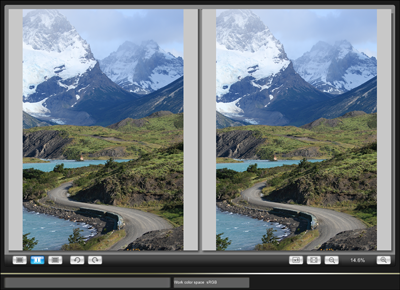
- The original image is shown on the left, with the image reflecting Picture Style adjustments on the right.