Editing a Movie's First and Last Scenes
You can edit out the first and last scenes of a movie in approx. 1-sec. increments.
-
Pause movie playback.
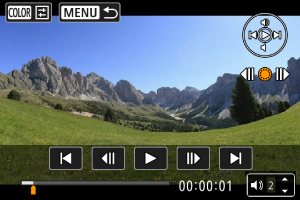
- The movie playback panel will appear.
-
Press the
 button, then select [
 ].
].
-
Specify the part to be edited out.
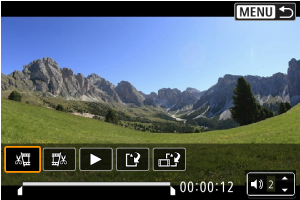
- Select either [
 ] (cut beginning) or [
 ] (cut end).
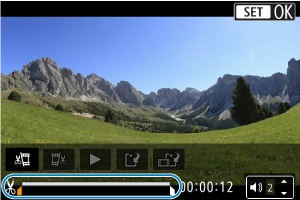
- Press the

 keys to go back or forward one frame. Each turn of the
  dial goes back or forward one frame.
 - After deciding which part to edit out, press
 . The portion indicated by a line at the bottom of the screen will remain.
- Select either [
-
Check the edited movie.
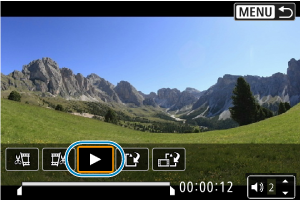
- Select [
 ] to play back the edited movie.
 - To change the edited part, go back to step 3.
- To cancel the editing, press the
 button.
- Select [
-
Save.
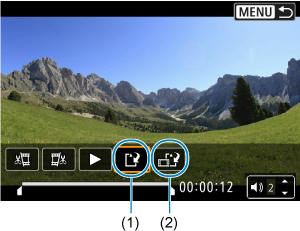
- Select [
 ] (1).
 - The save screen will appear.
- To save it as a new file, select [New file], or to save it and overwrite the original movie file, select [Overwrite].
You can compress the file and save it as a separate file when [ ] (2) is displayed.
 - On the confirmation screen, select [OK] to save the edited movie and return to the movie playback screen.
- Select [
Caution
- Because editing is performed in approx. 1 sec. increments (at the position indicated by [
 ] at the bottom of the screen), the actual position where movies are trimmed may differ from your specified position.
 - Movies shot with another camera cannot be edited with this camera.
- Editing first and last scenes is not available for movies that were divided because they exceeded 4 GB.
- You cannot edit a movie when the camera is connected to a computer.
- Movies may not be compressed when the remaining battery capacity is low. Use of a fully charged battery or a household power outlet accessory (sold separately) is recommended.
- For extensive movie editing, consider using an optional household power outlet accessory.