Advanced Connections
Connecting to a Smartphone or Tablet
You can establish a direct Wi-Fi connection with a smartphone and use Camera Connect to control the camera.
-
Select [OK].
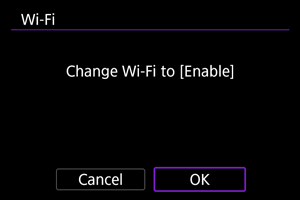
- This screen is not displayed if the Wi-Fi setting is already set to [Enable].
-
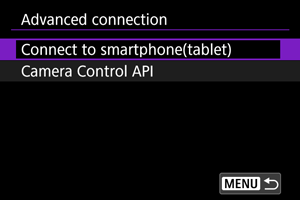
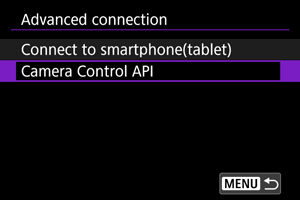
Select [Connect to smartphone(tablet)].
-
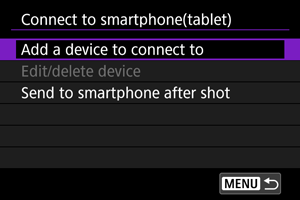
Select [Add a device to connect to].
-
Start searching for access points.
- To start searching if Camera Connect is already installed on the smartphone, press
 .
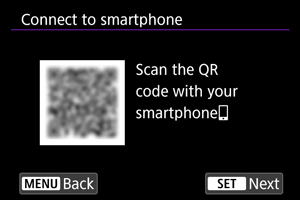
. - If Camera Connect is not installed, use the smartphone to scan the QR code on the screen, go to Google Play or App Store to install Camera Connect, then press to start searching.
- To start searching if Camera Connect is already installed on the smartphone, press
-
Establish a Wi-Fi connection.

- For instructions on configuring communication functions, see Basic Communication Settings.
-
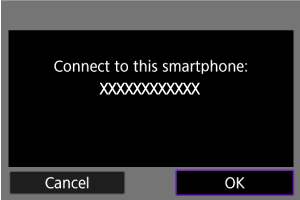
Start Camera Connect and tap the camera name.
-
Select [OK].
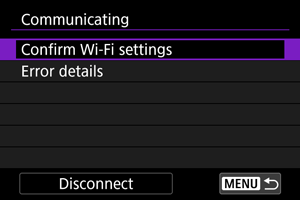
[Communicating] screen
Using Camera Control API (CCAPI)
Before using an application or other product applying the Camera Control API (CCAPI),* prepare the camera for CCAPI control by connecting it to the smartphone, tablet, or computer you will use.
Camera Control API is an HTTP-based application programming interface for controlling Canon cameras over a network.
Accessing the setting screen
-
Select [OK].

- This screen is not displayed if the Wi-Fi setting is already set to [Enable].
-
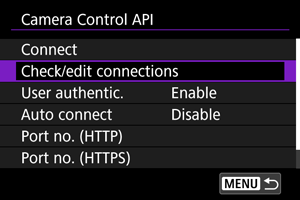
Select [Camera Control API].
- Enter the camera name after the camera displays [Register a nickname to identify the camera. This nickname will be used for Wi-Fi and Bluetooth connections.].
Setting a port number
-
Select an option.
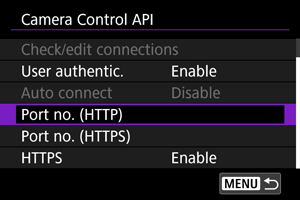
-
Port no. (HTTP)
The HTTP port number can be changed as needed.
-
Port no. (HTTPS)
The HTTPS port number can be changed as needed.
-
HTTPS
Set to [Disable] when using HTTP.
-
Configuring user authentication
-
Select [User authentic.].
-
Select use of user authentication.

- If you have selected [Enable], enter the [User name] and [Password] in [Edit account].
-
Select [Edit account].
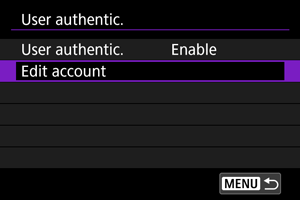
-
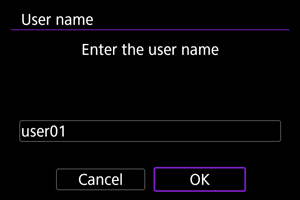
Set the user name.

-
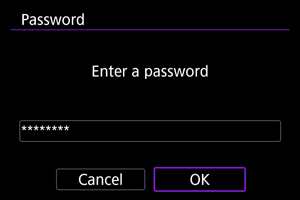
Set the password.

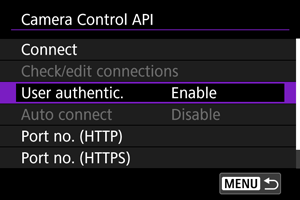
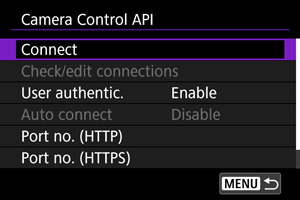
Configuring the connection
-
Select [Connect].
-
Select [Add with wizard].

- To configure connection details, select [Add manually].
-
Establish a Wi-Fi connection.
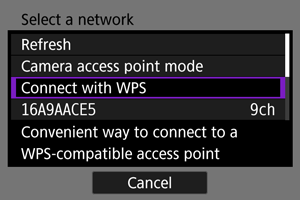
- Connect to an access point via Wi-Fi. For instructions on configuring communication functions, see Basic Communication Settings.
-
Set the user name.
-
Set the password.
-
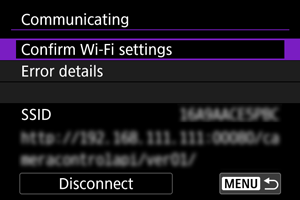
Establish a Wi-Fi connection.
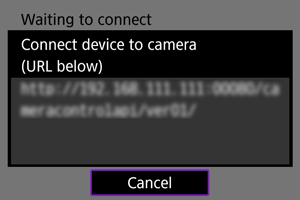
- When the screen above appears on the camera, use the smartphone, computer, or other device to access the indicated URL from the application developed for camera control.

- Display of the screen above on the camera indicates that a connection has been established.
- To end the connection, select [Disconnect].
[Communicating] screen
The following operations are available from the [Communicating] screen.
Changing settings
You can change the settings when the camera is not connected.
Check/edit connections
Check or edit connection settings.
-
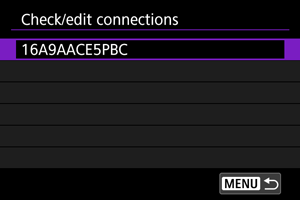
Select [Check/edit connections].
-
Select the intended device.
-
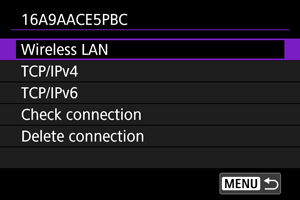
Select items to check or change.
-
Wireless LAN
When wireless LAN settings have been configured, you can change the SSID (network name) and details such as the connection method, security, and type of encryption.
-
TCP/IPv4
You can change the TCP/IPv4 settings.
-
TCP/IPv6
You can change the TCP/IPv6 settings.
-
Check connection
You can review connection settings.
-
Delete connection
You can clear the connection settings.
-
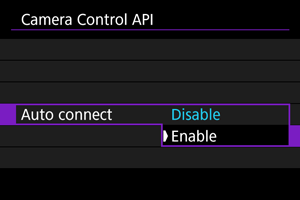
Auto connect
Selecting [Enable] will automatically establish a connection the next time the camera starts up after you turn it off.