HDR Mode
You can shoot still photos with clipped highlights and shadows reduced for a high dynamic range of tones even in high-contrast scenes. HDR shooting is effective for landscape and still-life shots.
HDR shooting enhances gradation in dark image areas by merging three images deliberately captured at different exposures (standard, underexposed, and overexposed) to produce an HDR image that compensates for loss of detail in dark image areas. HDR images are captured as HEIFs or JPEGs.
HDR stands for High Dynamic Range.
-
Select [
 :
:  HDR Mode].
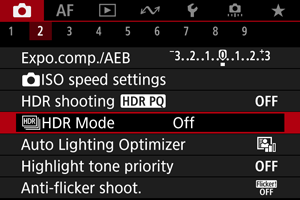
-
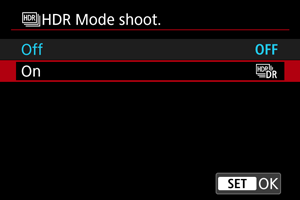
Select [On].
-
Set [Dynamic range].
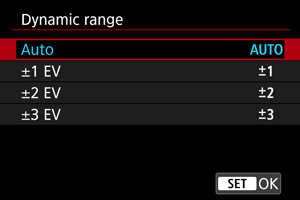
- Selecting [Auto] will have the dynamic range set automatically depending on the image's overall tonal range.
- The higher the number, the wider the dynamic range will be.
- To cancel HDR shooting, select [Off] in step 2.
-
Set [Limit max brightness] (only with [
: HDR shooting  ] set to [Enable]).
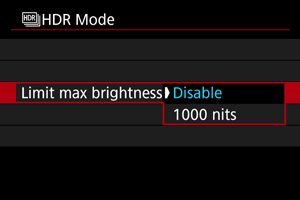
- With [Disable], maximum brightness is not limited. Recommended when you will review images on a monitor supporting display at brightnesses exceeding 1000 nits.
- With [1000 nits], maximum brightness is limited to approx. 1000 nits.
-
Set [Continuous HDR].
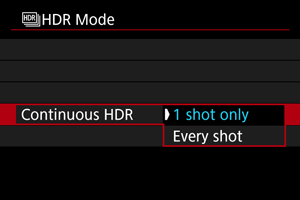
- With [1 shot only], HDR shooting is canceled automatically after you finish shooting.
- With [Every shot], HDR shooting continues until the setting in step 2 is set to [Disable HDR].
-
Set [Auto Image Align].
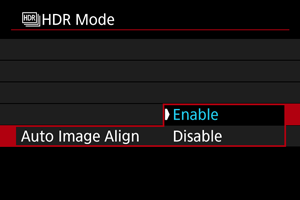
- For handheld shooting, select [Enable]. When using a tripod, select [Disable].
-
Take the picture.
- When you press the shutter button completely, three consecutive images will be captured, and the HDR image will be recorded to the card.
Caution
- Expanded ISO speeds (H) are not available in HDR shooting.
- The flash will not fire during HDR shooting.
- RAW image quality cannot be set.
- AEB is not available.
- In HDR shooting, three images are captured with settings such as shutter speed automatically adjusted. For this reason, even in Tv or M mode, the shutter speed and ISO speed will change, relative to your specified speed.
- To prevent camera shake, the camera may set a high ISO speed.
- When shooting HDR images with [Auto Image Align] set to [Enable], AF point display information () and Dust Delete Data () will not be appended to the image.
- If you perform handheld HDR shooting with [Auto Image Align] set to [Enable], image periphery will be slightly trimmed and resolution will be slightly lowered. Also, if the images cannot be aligned properly due to camera shake, etc., auto image alignment may not take effect. Note that when shooting with excessively bright (or dark) exposure settings, auto image alignment may not work properly.
- If you perform handheld HDR shooting with [Auto Image Align] set to [Disable], the three images may not be properly aligned and the HDR effect may be reduced. Using a tripod is recommended.
- Auto image alignment may not function properly with repetitive patterns (lattice, stripes, etc.) or flat, single-tone images.
- Subjects such as the sky or white walls may not be rendered with smooth gradation and may have noise or irregular exposure or colors.
- HDR shooting under fluorescent or LED lighting may cause issues such as irregular exposure or colors in HDR images, due to the flickering light source. Effects of flickering may be reduced by setting [Anti-flicker shoot.] to [Enable].
- With HDR shooting, the images will be merged, then saved to the card, so it may take some time. [BUSY] appears on the screen as images are processed, and shooting is not possible until processing is finished.