Sending Images to a Web Service
This section describes how to send images to image.canon.
Registering image.canon and Setting Up Auto Send
You can register image.canon on the camera and prepare to send your shots automatically.
- A computer or smartphone with a browser and internet connection is required.
- You will need to enter an email address used on your computer or smartphone.
- For instructions on how to use image.canon services and details on countries and regions where it is available, visit the image.canon site (https://image.canon/).
- Separate ISP connection and access point fees may apply.
Steps on the camera (1)
-
On the camera, press the
 button.
 -
Select [
 : Network settings].
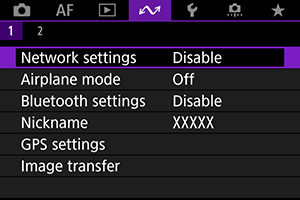
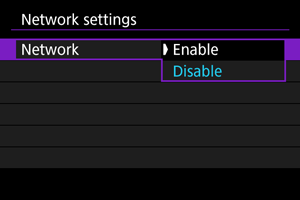
-
In [Network], select [Enable].
-
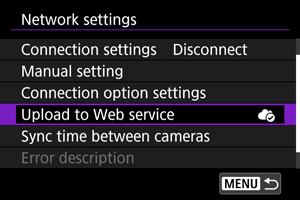
Select [Upload to Web service].

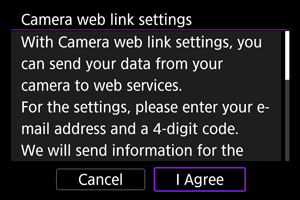
-
Select [I Agree].
-
Select [New settings].

-
Establish a Wi-Fi connection.
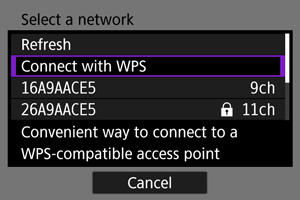
- Connect to an access point via Wi-Fi. Go to Checking the Type of Access Point.
-
Enter your email address.
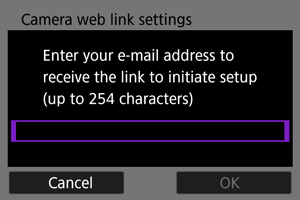
- Enter your email address, then select [OK].
-
Enter a four-digit number.
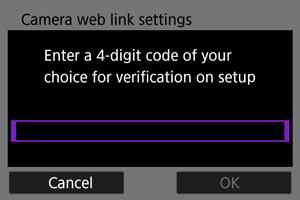
- Enter a four-digit number of your choice, then select [OK].
-
Select [OK].
- The [
 ] icon changes to [
 ].
].

- The [
Steps on the computer or smartphone
-
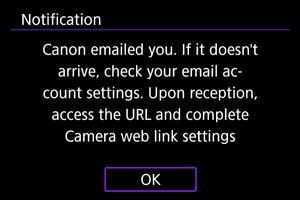
Set up camera web link.
- Access the page in the notification message.
- Follow the instructions to complete the settings on the camera web link settings page.
Steps on the camera (2)
-
Select [Upload to Web service].
-
Select [OK].
- The [] icon changes to [
 ].
].
- The [
-
Select [Auto send].
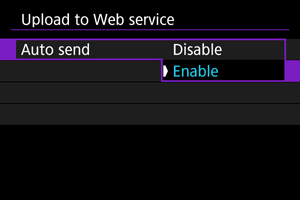
- Once [Enable] is set, images are automatically sent when you turn the camera on.
-
Select [Type to send].
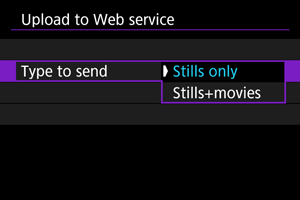
- Set to [Stills only] or [Stills+movies].
-
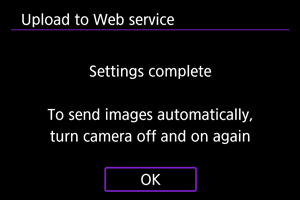
Restart the camera.
- The images are now sent automatically.
- To switch networks, select [Switch network] and follow steps 5–8.
- To remove the connection, select [Clear camera web link settings] and then [OK].
Note
- All image files on cards are sent when [Auto send] is set to [Enable].
- When [Auto send] is set to [Enable], auto send starts after the camera starts up (or recovers from auto power off).
- Any images captured during auto sending are also sent.
Caution
- Auto send does not start during interval timer shooting.
-
Transfer stops in the following cases.
- [: Airplane mode] is set to [On]
- Movie recording is started
- A USB connection is started
- Battery capacity is low
- The camera's power switch is set to

- [
- Auto send does not start if you restart the camera while other communication functions are in progress. Before restarting the camera, use [Connection settings] to end the connection for other functions.