Custom White Balance
- Registering Custom White Balances
- Selecting and Shooting with Custom White Balances
- Naming Custom White Balances
With custom white balance, you can manually set the white balance for the specific light source of the shooting location. Make sure to perform this procedure under the light source at the actual location of the shoot.
Up to five custom white balances can be registered to the camera. You can also add a name (caption) to registered custom white balances. Register separate ones for still photos and movies, as needed.
Registering Custom White Balances
To register custom white balances, you can either register a picture taken during this process or register an image recorded on a card.
Shooting and registering white balances
Registration from the menu
-
Select [
 : Set Custom WB].
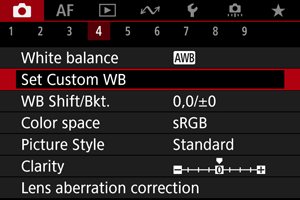
-
Select a custom white balance number to be registered.
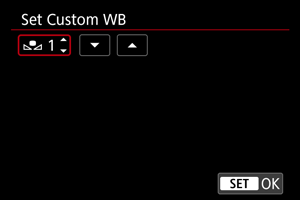
- Press
 .
. - Turn the
 dial to select a number from 1 to 5 for [
 *], then press . The custom white balance will be registered to the selected number.
- Press
-
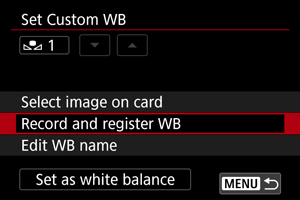
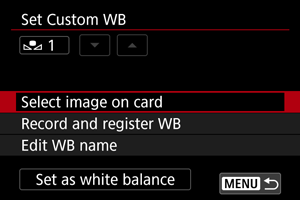
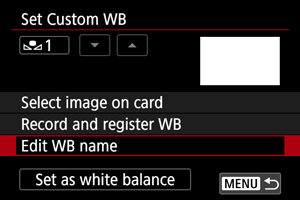
Select [Record and register WB].
-
Shoot a plain white object.
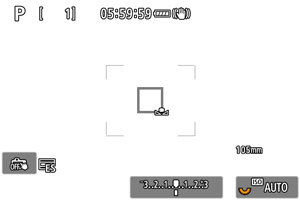
- The selected number blinks in the upper left of the screen and on the LCD panel.
- Aim the outlined area over a plain white object, so that white fills the area.
- Focus manually and shoot with the standard exposure set for the white object.
- You can use any of the white balance settings.
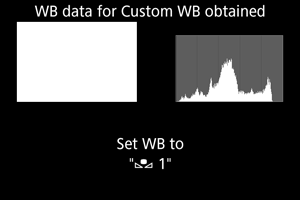
- The custom white balance is registered to the camera.
- To shoot with the registered custom white balance, see Selecting and Shooting with Custom White Balances.
Caution
- If the exposure obtained in step 4 differs greatly from the standard exposure, a correct white balance may not be obtained.
Registration from the Quick Control screen
-
Press the
 button.
- Select the white balance setting item.
-
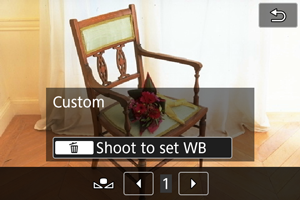
Select [Custom].
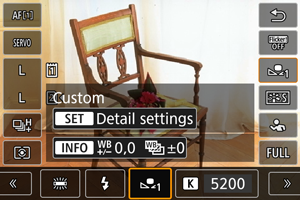
-
Select a custom white balance number to register the white balance data to.

- Turn the dial to select a number from 1 to 5, then press the
 button.
- Turn the
-
Shoot a plain white object ().
- The custom white balance is registered to the camera.
- To shoot with the registered custom white balance, see Selecting and Shooting with Custom White Balances.
Note
- If [Correct WB may not be obtained with the selected image] is displayed in step 4, return to step 1 and shoot again.
- Your shot in step 4 is not recorded to a card.
- More accurate white balance can be obtained by shooting a commercially available gray card or standard 18% gray reflector instead of a white object.
Selecting an image recorded on a card
-
Shoot a plain white object.
- Shoot a plain white object as described in step 4 in Shooting and registering white balances ().
-
Select [
: Set Custom WB]. -
Select a custom white balance number to be registered.
- Press .
- Turn the dial to select a number from 1 to 5 for [*], then press . The custom white balance will be registered to the selected number.
- Press
-
Select [Select image on card].
- Images recorded on the card are displayed.
-
Select an image to register as the custom white balance.
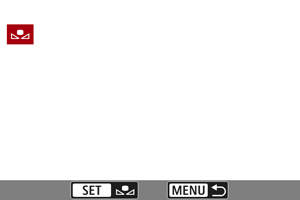
- Turn the dial to select the image captured in step 1, then press .
- Turn the
-
Select [OK].
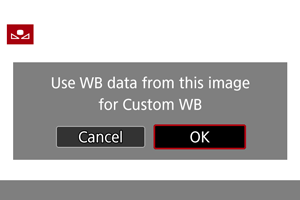
- The custom white balance will be registered to the camera.
- Check the message and select [OK] to return to the screen in step 3.
Caution
- If the exposure obtained in step 1 differs greatly from the standard exposure, a correct white balance may not be obtained.
- The following images cannot be selected: Images captured with the Picture Style set to [Monochrome], multiple-exposure images, cropped images, and images shot with another camera.
Note
- To shoot with the registered custom white balance, select it before shooting.
Selecting and Shooting with Custom White Balances
Setting from the menu
-
Select the custom white balance number.
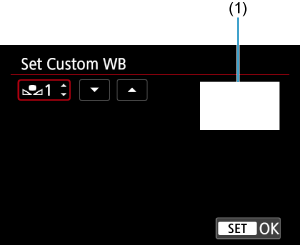
(1) Registered image
- On the [Set Custom WB] screen, select the number of the registered custom white balance.
-
Select [Set as white balance].
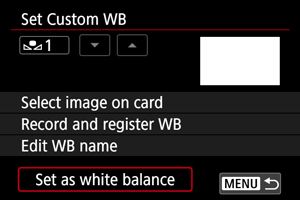
- The white balance setting changes to [*].
- The white balance setting changes to [
-
Take the picture.
- The picture is taken with the [*] setting applied.
- The picture is taken with the [
Setting from the Quick Control screen
-
Press the
button.- Select the white balance setting item.
-
Select [Custom].
-
Select the custom white balance number.
- Turn the dial to select a number from 1 to 5, then press the button.
- Turn the
-
Take the picture.
Naming Custom White Balances
You can add a name (caption) to the five registered custom white balances (custom white balance nos. 1–5).
-
Select the custom white balance number.
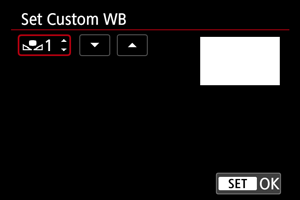
- On the [Set Custom WB] screen, select the number of the registered custom white balance to add a name to.
-
Select [Edit WB name].
-
Enter text.
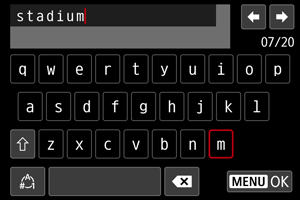
- Use ,
 , or
, or  to select a character, then press to enter it.
 - By selecting [
 ], you can change the input mode.
 - To delete single characters, select [
 ] or press the button.
- Use
-
Exit the setting.
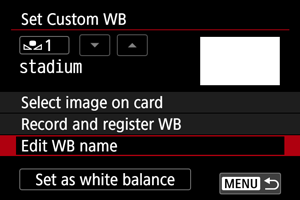
- Press the
 button, then press [OK].
 - The information is saved, and display returns to the screen in step 2.
- The entered name is displayed below [*].
- Press the
Note
- As names, it may be helpful to enter the names of places where you registered the custom white balances, or the names of the light sources.