Configuring EOS Utility Connection Settings
These instructions are continued from Configuring Settings for the Communication Function.
- To establish a connection, operations on the computer are required. For details, refer to the computer's instruction manual.
Operation on the camera - 1
-
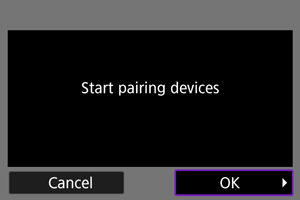
Select [OK].
-
The following message is displayed.
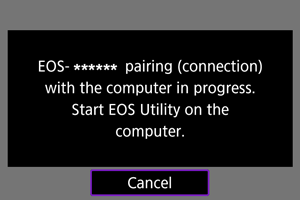
"******" represents the last six digits of the MAC address of the transmitter.
-
Operations on the computer
-
Start EOS Utility on the computer.
-
In EOS Utility, click [Pairing over Wi-Fi/LAN].
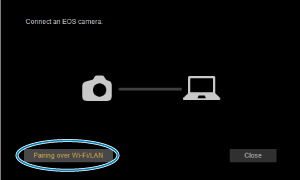
- If a firewall-related message is displayed, select [Yes].
-
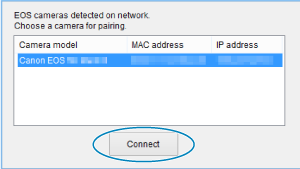
Click [Connect] on the computer.
Operations on the camera - 2
-
Select [OK].
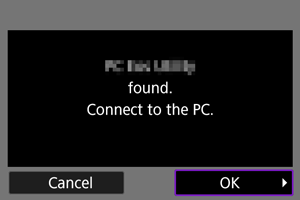
- When the camera detects the computer on which you clicked [Connect] in step 4, the above screen is displayed.
- Select [OK] to proceed to the next screen.
-
Select [OK].
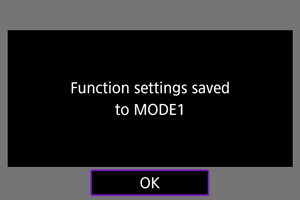
-
Select [OK].
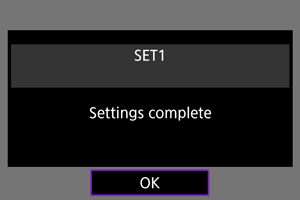
- The [Network settings] screen will reappear.
- The transmitter's
lamp is lit in green.
- Settings information is stored in the camera. It is not stored in the transmitter.
The settings for connecting to EOS Utility are now complete.
- There is no need to complete pairing again if you continue using the camera to which the transmitter is attached and the computer together after pairing without changing the settings.