Converting HEIF to JPEG
You can convert HEIF images captured in HDR shooting and save them as JPEG images.
Note
- HEIF images that have been converted to JPEGs are labeled [
 ].
].
Converting Individual Images
-
Select [
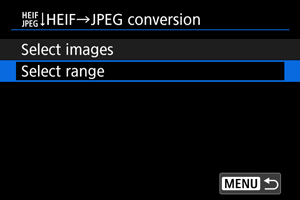
 : HEIF→JPEG conversion].
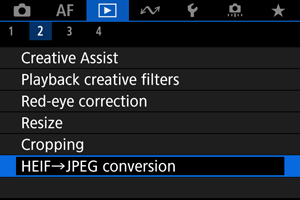
-
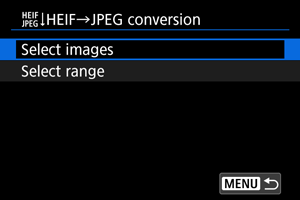
Select [Select images].
-
Select an image.
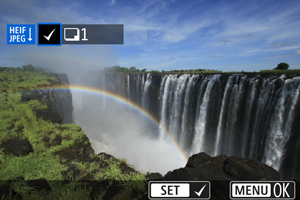
- Use the

 keys to select an HEIF image, then press the
  button.
 - To select other images, repeat step 3.
- Press the
 button to convert to JPEG.
- Use the
-
Save.

- Select [OK] to save the JPEG image.
- If there are other images for conversion, select [Yes].
-
Select the images to use for display.
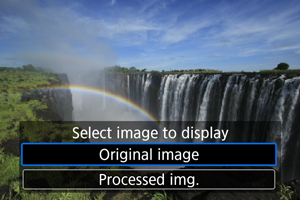
- Select [Original image] to use the original HEIF images for display.
- Select [Processed img.] to use the converted JPEG images for display.
Note
- Some scenes may look different after conversion if the original and converted images are compared.
- Conversion is not available for cropped images, or for frame-grab images from 4K movies.
Specifying the Range of Images to Convert
-
Select [Select range].
-
Specify the range of images.
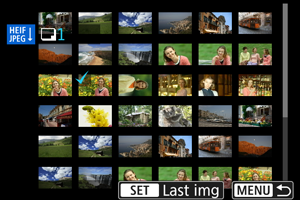
- Select the first image (start point).
- Next, select the last image (end point). A checkmark [
 ] will be appended to all the images within the range between first and last images.
 - To select other images, repeat step 2.
-
Press the
button. -
Save.
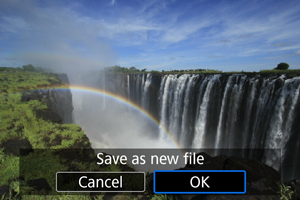
- Select [OK] to save the JPEG image.
- If there are other images for conversion, select [Yes].
-
Select the images to use for display.

- Select [Original image] to use the original HEIF images for display.
- Select [Processed img.] to use the converted JPEG images for display.
Note
- Some scenes may look different after conversion if the original and converted images are compared.
- Conversion is not available for cropped images, or for frame-grab images from 4K movies.