Erasing Images
- Erasing a Single Image
- Selecting ([
 ]) Multiple Images to Erase Together
 - Specifying the Range of Images to Be Erased
- Erasing All Images in a Folder or on a Card
You can either select and erase unnecessary images one by one or erase them in one batch. Protected images () will not be erased.
Caution
- Once an image is erased, it cannot be recovered. Make sure you no longer need the image before erasing it. To prevent important images from being erased accidentally, protect them.
Erasing a Single Image
-
Select the image to be erased.
- Press the
 button.
 - Select with the

 keys.
keys.
- Press the
-
Press the
 button.
-
Erase the images.
JPEG or RAW images or movies
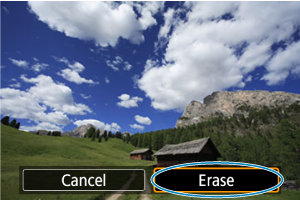
- Select [Erase].
RAW+JPEG images
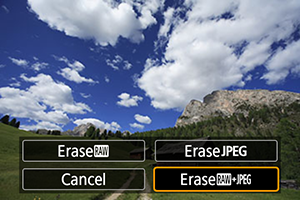
- Select an item.
Selecting ([ ]) Multiple Images to Erase Together
By adding checkmarks to the images to be erased, you can erase all those images at once.
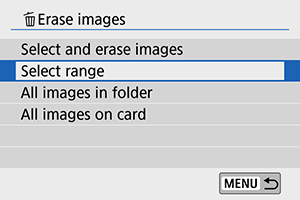
-
Select [
: Erase images].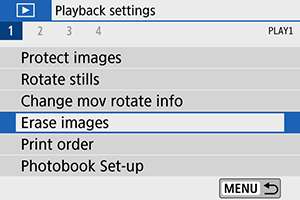
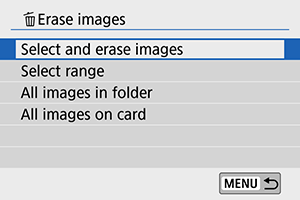
-
Select [Select and erase images].
-
Select an image.
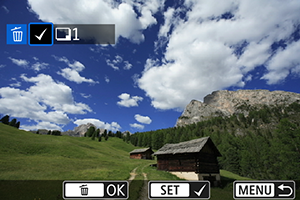
- Use the keys to select the image to be erased, then press
 .
. - To select another image to be erased, repeat step 3.
- Use the
-
Erase the image.
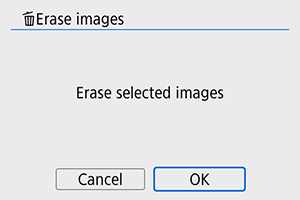
- Press the button, then press [OK].
- Press the
Specifying the Range of Images to Be Erased
While looking at the images in the index display, you can specify the first and last images for a range to erase all the specified images at once.
-
Select [Select range].
-
Specify the range of images.

- Select the first image (start point).
- Next, select the last image (end point).
-
Press the
button. -
Erase the images.
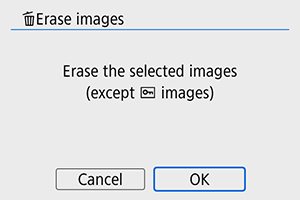
- Select [OK].
Erasing All Images in a Folder or on a Card

- When [: Erase images] is set to [All images in folder] or [All images on card], all the images in the folder or on the card will be erased.
-
If the search conditions are set with [
: Set image search conditions] (), the display will change to [All found images].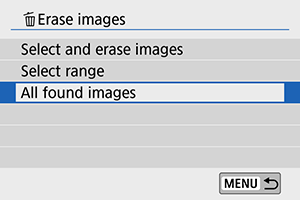
- If you select [All found images], all the images filtered by the search conditions will be erased.