Video Snapshots
Record a series of short video snapshots, each a few seconds long, and the camera will combine them to create a video snapshot album that shows these highlights of your trip or event.
Video snapshots are available when the movie recording size is set to ![]()
![]()
![]() (NTSC) /
(NTSC) / ![]()
![]()
![]() (PAL).
(PAL).
Video snapshot albums can also be played back with background music ().
Creating a Video Snapshot Album
Video snapshots 1, 2, and so on

Video snapshot album
Configuring Video Snapshot Settings
-
Set the Mode dial to a mode other than
 .
. -
Specify [
 : Video snapshot].
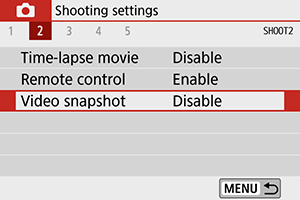
- Select [Enable].
-
Specify [Album settings].
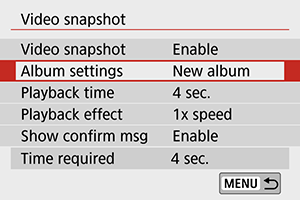
- Select [Create a new album].
- Read the message and select [OK].
-
Specify [Playback time].
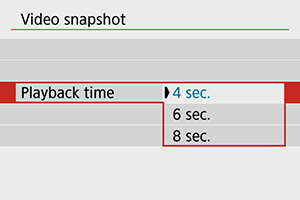
- Specify playback time per video snapshot.
-
Specify [Playback effect].

- This setting determines how fast albums are played back.
-
Specify [Show confirm msg].
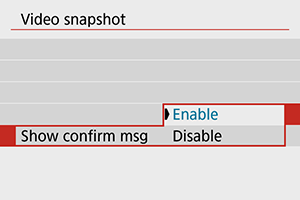
- Select [Enable].
-
Check the required recording time.
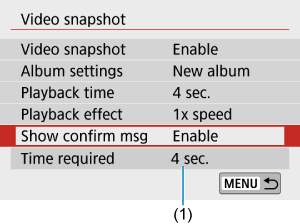
- The time required to record each video snapshot is indicated (1), based on the playback time and effect.
-
Close the menu.
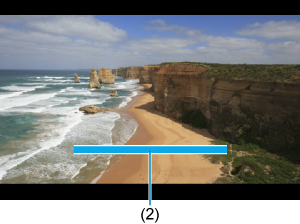
- Press the
 button to close the menu.
 - A blue bar is displayed to indicate the recording time (2).
- Press the
Creating Video Snapshot Albums
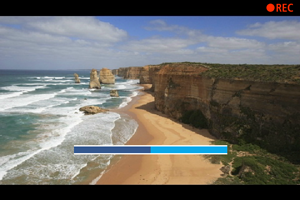
-
Record the first video snapshot.
-
Save as a video snapshot album.
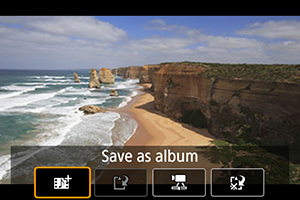
- Select [
 Save as album].
 - The clip is saved as the first video snapshot in the album.
- Select [
-
Record your next video snapshots.
- Repeat step 1 to record the next video snapshot.
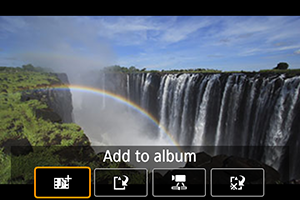
- Select [ Add to album].
- To create another album, select [
 Save as a new album].
 - Repeat step 3 as needed.
-
Stop recording video snapshots.
- Set [Video snapshot] to [Disable]. To return to normal movie recording, be sure to specify [Disable].
- Press the button to close the menu and return to normal movie recording.
Options in steps 2 and 3
| Option | Description |
|---|---|
| Saves the clip as the first video snapshot in an album. | |
| Adds the current video snapshot to the album recorded most recently. | |
| Creates a new album and saves the clip as the first video snapshot. This album file is different from the one recorded most recently. | |
| Plays the video snapshot just recorded. | |
|
|
Deletes the recently recorded video snapshot without saving it to an album. Select [OK] on the confirmation screen. |
Note
- If you prefer to record the next video snapshot immediately, set [Show confirm msg] under [: Video snapshot] to [Disable]. This setting enables you to record the next video snapshot immediately, without a confirmation message.
Adding to an Existing Album
-
Select [Add to existing album].
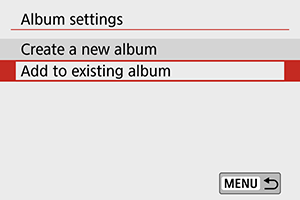
- In step 3 of Configuring Video Snapshot Settings, select [Add to existing album].
-
Select an existing album.
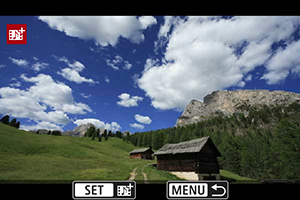
- Use the

 keys to select an existing album, then press
  .
. -
Select [OK].
Some video snapshot settings will be updated to match settings of the existing album.
- Use the
-
Close the menu.
-
Press the
button to close the menu.The video snapshot recording screen is displayed.
-
-
Record a video snapshot.
- Record the video snapshot, referring to Creating a Video Snapshot Album.
Caution
- You cannot select an album shot with another camera.
Caution
-
General video snapshot precautions
- No sound is recorded when you set [Playback effect] to [1/2x speed] or [2x speed].
- Recording time per video snapshot is only approximate. It may differ slightly from the actual recording time indicated during playback, due to the frame rate and other factors.