
Basic Operations
- Holding the Camera
- Shutter Button
- Movie Shooting/
 Movie-Photo Playback Toggle Button
  Main Dial
 Quick Control Dial
 Multi-Controller
 Multi-Function Button
 AF Start Button
 Multi-Function Lock Button
 Control Ring
 Info Button
Holding the Camera
-
Viewing the screen as you shoot
As you shoot, you can tilt the screen to adjust it. For details, see Using the Screen.
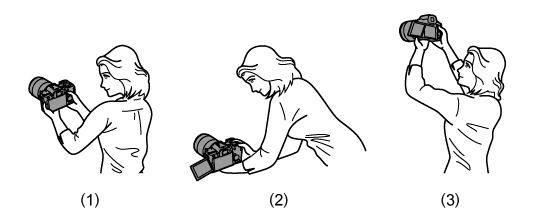
(1) Normal angle
(2) Low angle
(3) High angle
-
Shooting through the viewfinder
To obtain sharp images, hold the camera still to minimize camera shake.
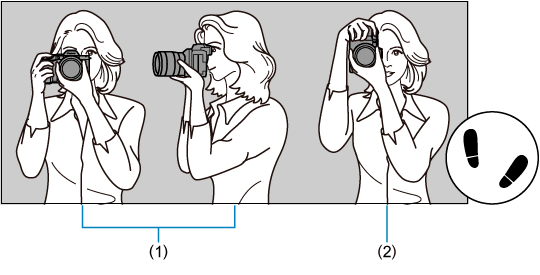
(1) Horizontal shooting
(2) Vertical shooting
- With your right hand, hold the camera firmly by the camera grip.
- With your left hand, support the lens from below.
- Rest your right index finger lightly on the shutter button.
- Keep your arms close to your body, with your elbows loosely in front of you.
- To maintain a stable stance, place one foot slightly ahead of the other.
- Hold the camera near your face and look through the viewfinder.
Shutter Button
The shutter button has two steps. You can press the shutter button halfway. Then you can further press the shutter button completely.
Pressing halfway
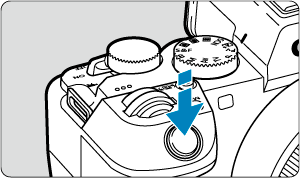
This activates autofocusing and the automatic exposure system that sets the shutter speed and aperture value.
The exposure value (shutter speed and aperture value) is displayed on the screen or in the viewfinder for 8 sec. (metering timer/ ).
).
Pressing completely
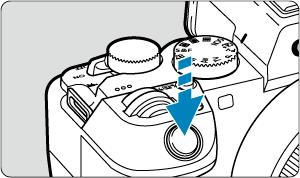
This releases the shutter and takes the picture.
-
Preventing camera shake
Hand-held camera movement during the moment of exposure is called camera shake. It can cause blurred pictures. To prevent camera shake, note the following:
- Hold the camera still, as shown in Holding the Camera.
- Press the shutter button halfway to autofocus, then slowly press the shutter button completely.
Note
- The camera will still pause before taking a picture if you press the shutter button completely without pressing it halfway first, or if you press the shutter button halfway and immediately press it completely.
- Even during menu display or image playback, you can return to shooting standby by pressing the shutter button halfway.
Movie Shooting/ Movie-Photo Playback Toggle Button
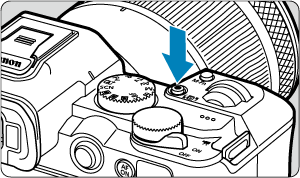
Press the movie shooting button to start recording a movie. Press it again to stop recording. Press during playback to switch between movie and still photo playback.
 Main Dial
-
(1) After pressing a button, turn the
dial.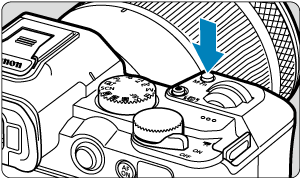
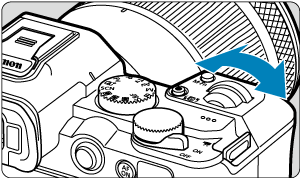
Press a button such as
 , then turn the dial.
If you press the shutter button halfway, the camera will go back to shooting standby.
- Used for configuring settings such as white balance, drive mode, flash exposure compensation, or color mode.
-
(2) Turn only the
dial.While looking at the screen or viewfinder, turn the
dial.- Use this dial to set the shutter speed, aperture value, etc.
 Quick Control Dial
-
(1) After pressing a button, turn the
dial.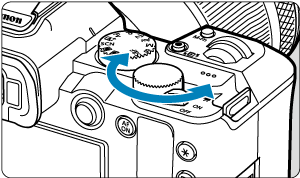
Press a button such as
, then turn the dial.If you press the shutter button halfway, the camera will go back to shooting standby.
- Used for operations such as setting the metering mode, AF operation, ISO speed, or AF area.
-
(2) Turn only the
dial.While looking at the screen or viewfinder, turn the
dial.- Used for operations such as setting the exposure compensation amount and the aperture value setting for manual exposures.
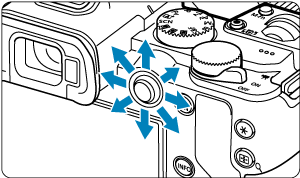
 Multi-Controller
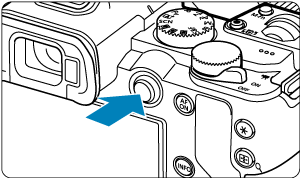
is an eight-direction key with center button.
To use it, place the pad of your thumb in the center and tilt the Multi-controller in any of the directions. Note that it may not work correctly if pressed from the side.
-
Examples of using the Multi-controller
- AF point/magnified frame movement in still photo shooting or movie recording
- White balance correction
- Magnified area position movement during playback
- Quick Control
- Selecting or setting menu items
Multi-Function Button
Press during shooting to display settings that can be configured with the dials. Press during playback to access the setting screen for sending images to a smartphone ().
Settings you can configure in conjunction with dials
- White balance ()
- Drive mode* ()
- Flash exposure compensation* ()
- Color mode ()
- Metering mode* ()
- AF operation* ()
- ISO speed* ()
- AF area ()
Available only in still photo shooting. However, ISO speed can be set in Movie Manual Exposure mode.
How to use with dials
- Press the button to display the settings you can configure with dials (
 ). Press the button again repeatedly to select a setting to configure.
 - To adjust the upper row of setting items, turn the dial.
- To adjust the lower row of setting items, turn the dial.
Caution
- Advanced white balance settings such as color temperature cannot be configured this way.
Note
- Only the current color mode can be adjusted this way.
- To set the AF area, you can also press the
 button and then the button.
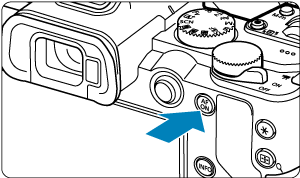
 AF Start Button
Press during movie recording to activate autofocus in Creative Zone movie modes.
In Creative Zone still photo shooting, pressing this button is equivalent to pressing the shutter button halfway.
 Multi-Function Lock Button
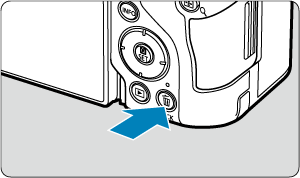
Configuring [ : Multi function lock] () and pressing the button prevents settings from being changed by accidentally touching the Main dial, Quick control dial, Multi-controller, control ring, or touch-screen panel. Press the button again to unlock the controls.
 Control Ring
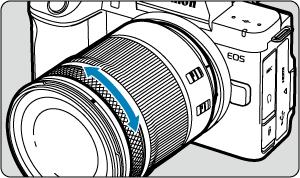
By default, exposure compensation can be set in Creative Zone modes (except B mode) by turning the control ring of RF lenses or mount adapters while pressing the shutter button halfway. Otherwise, you can assign a different function to the control ring by configuring [] in [: Customize dials/control ring] ().
 Info Button
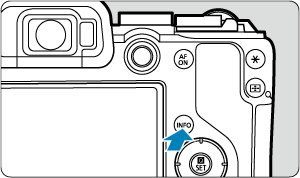
Each press of the button changes the information shown.