Upload to image.canon
Link the camera to image.canon to send images directly from the camera.
- A smartphone with a browser and internet connection is required.
- You will need to enter an email address used on the smartphone.
- For instructions on how to use image.canon services and details on countries and regions where it is available, visit the image.canon site (https://image.canon/).
- Separate ISP connection and access point fees may apply.
-
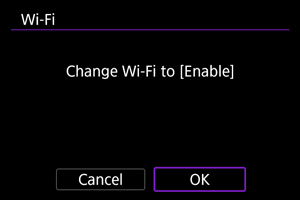
Select [OK].

- This screen is not displayed if the Wi-Fi setting is already set to [Enable].
-
Select [Connect].

- If the dedicated app has not been installed, select [Install].
-
Select [OK].

-
Scan the QR code with the dedicated app.

- Select [OK].
-
Establish a Wi-Fi connection.

-
Confirm that the number is displayed in the dedicated app.

- Select [OK].
-
Set up automatic image transfer.

- Complete the [Auto send] setting item as needed.
- [When charging battery (high power)]: Auto send starts when the camera is off and connected to a power source to charge it over USB. Note that auto send will start after the camera has been charged for a while if the remaining capacity is initially low.
- [When camera is turned on]: Auto send starts when the camera is turned on.
- Select [OK], then press the
button.
-
Complete the settings.

- Press the
button.
Note
-
The [
] icon changes to [
].

- The camera model name is registered at image.canon.
- Press the
[Upload to image.canon] screen

-
Auto send
Change the auto send settings.
-
Type to send
Select the type of images uploaded.
-
Switch network
Change the settings for Wi-Fi connections.
-
Clear camera web link settings
Clear the camera web link settings.