Wi-Fi Connection via Access Points
This section describes how to join a Wi-Fi network via an access point compatible with WPS (PBC mode).
First, check the position of the WPS button and how long to press it. It may take approx. 1 min. to establish a Wi-Fi connection.
-
Select [
 : Wi-Fi/Bluetooth connection].
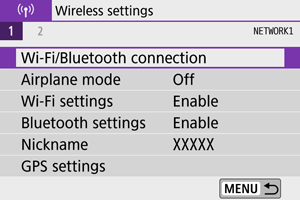
-
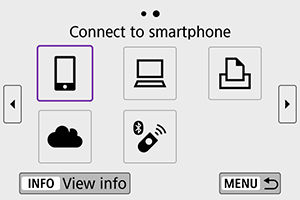
Select an option.
-
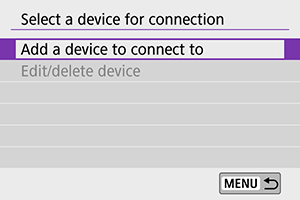
Select [Add a device to connect to].
- The following message is displayed if you have selected [
 Connect to smartphone]. If Camera Connect is already installed, select [Do not display].
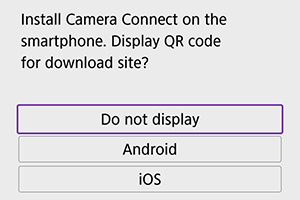
- On the [Connect to smartphone] screen displayed next, select [Connect via Wi-Fi].
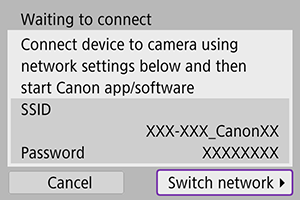
- The following message is displayed if you have selected [
-
Select [Switch network].
- Displayed when [], [
 ], or [
 ] is selected.
- Displayed when [
-
Select [Connect with WPS].
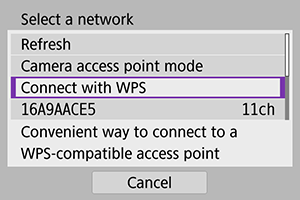
Note
- For [Camera access point mode] displayed in step 5, see Camera Access Point Mode.
-
Select [WPS (PBC mode)].
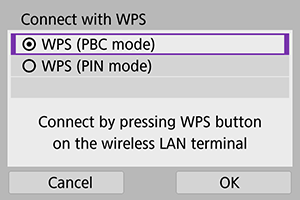
- Select [OK].
-
Connect to the access point via Wi-Fi.
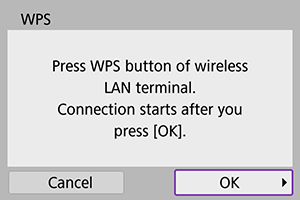
- Press the access point’s WPS button.
- Select [OK].
-
Select [Auto setting].
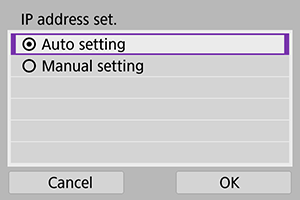
- Select [OK] to access the setting screen for the Wi-Fi function.
- If an error occurs with [Auto setting], see Manual IP Address Setup.
-
Specify the settings for the Wi-Fi function.
[
Connect to smartphone]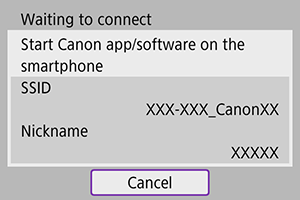
- On the smartphone’s Wi-Fi setting screen, tap the SSID (network name) shown on the camera, then enter the password of the access point for the connection.
Go to step 8 in Wi-Fi Connection without Using Bluetooth.
[
Remote control (EOS Utility)]
Go to step 7 or 8 in Steps on the computer (2).
[
Print from Wi-Fi printer]
Go to step 6 in Connecting to a Printer via Wi-Fi.
Register image.canon.
Go to step 5 in Registering Image.Canon.
Camera Access Point Mode
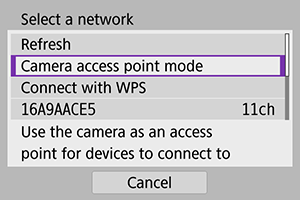
Camera access point mode is a connection mode for connecting the camera directly to each device via Wi-Fi. Displayed when [![]() ], [
], [![]() ], or [
], or [![]() ] is selected after [
] is selected after [![]() : Wi-Fi/Bluetooth connection].
: Wi-Fi/Bluetooth connection].
Manual IP Address Setup
The options displayed vary depending on the Wi-Fi function.
-
Select [Manual setting].
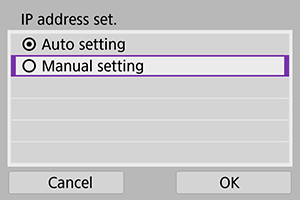
- Select [OK].
-
Select an option.
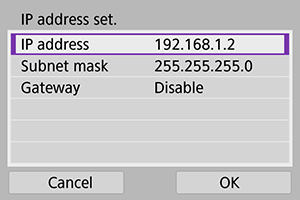
- Select an option to access the screen for numerical input.
- To use a gateway, select [Enable], then select [Address].
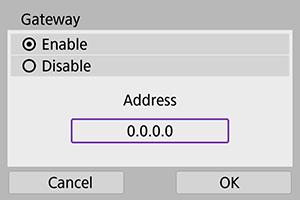
-
Enter the desired values.
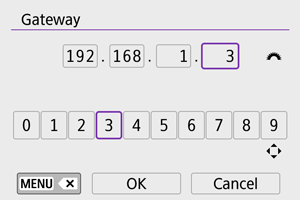
- Turn the
 dial to move the input position in the upper area, and use the
 keys to select numbers to enter. Press
  to enter the selected number.
 - To delete the number just entered, press the
 button.
 - Select [OK] after the numbers have been entered. Display returns to the screen in step 2.
- Turn the
-
Select [OK].
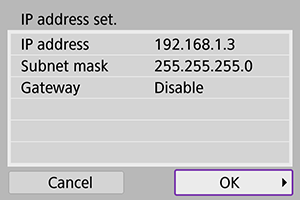
- When you have completed setting the necessary items, select [OK].
- If you are not sure what to enter, see Checking Network Settings, or ask the network administrator or another person knowledgeable about the network.