Protecting Images
- Protecting a Single Image
- Specifying the Range of Images to be Protected
- Protecting All Images in a Folder or on a Card
You can protect important images from being accidentally erased.
Protecting a Single Image
-
Select [
 : Protect images].
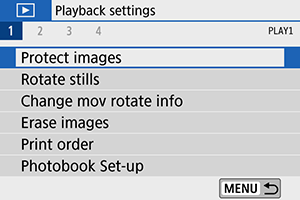
-
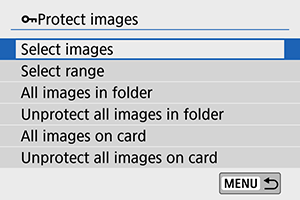
Select [Select images].
-
Select an image.
- Use the

 keys to select the image to be protected.
- Use the
-
Protect the image.
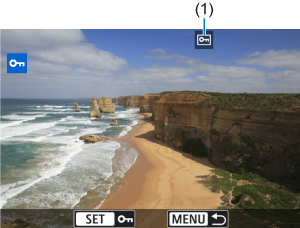
- Press
 to protect the selected image, after which it will be labeled with a
  icon (1) at the top of the screen.
 - To cancel protection and clear the icon, press again.
- To protect another image, repeat steps 3 and 4.
- Press
Specifying the Range of Images to be Protected
While looking at the images in the index display, you can specify the first and last images for a range to protect all the specified images at once.
-
Select [Select range].
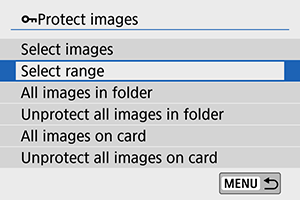
- Select [Select range] in [: Protect images].
- Select [Select range] in [
-
Specify the range of images.

- Select the first image (start point).
- Next, select the last image (end point). The images in the specified range will be protected and the
 icon will appear.
 - To select another image to be protected, repeat step 2.
Protecting All Images in a Folder or on a Card
You can protect all the images in a folder or on a card at once.
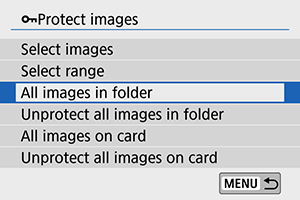
- When you select [All images in folder] or [All images on card] in [: Protect images], all the images in the folder or on the card will be protected.
- To cancel the selection, select [Unprotect all images in folder] or [Unprotect all images on card].
-
If the search conditions are set with [
: Set image search conditions] (), the display will change to [All found images] and [Unprotect all found].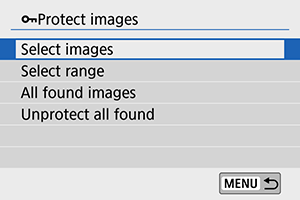
- If you select [All found images], all the images filtered by the search conditions will be protected.
- If you select [Unprotect all found], the protection of all the filtered images will be canceled.