Registering Markers Captured with a Digital Camera
- Recommended Conditions for Capturing Markers
- Printing and Capturing a Calibration Pattern
- Capturing Markers
- Registering Markers
You can use images captured with a digital camera to register markers.
Recommended Conditions for Capturing Markers
- Number of pixels to capture: Approx. 2000 megapixels (5760×3840 pixels) / File format: JPEG / Focal length (35 mm equivalent): 20–28 mm (X–X in)
- Shooting mode: Aperture Priority AE (Av) / Image stabilizer: Off / Focus mode: Manual focus
- Aperture value: F8 / ISO speed: ISO 1600 / White balance: Auto
Printing and Capturing a Calibration Pattern
When using this function, print and capture a calibration pattern with the following procedure in advance.
-
Select the calibration pattern.
Windows 11
- Click the [Start] button.
- Click [All apps], and select [Canon MREAL Platform 2025.x] > [Utility].
Windows 10
- Click the [Start] button.
- Click [All apps], and select [Canon MREAL Platform 2025.x] > [Utility].
-
Select the calibration pattern.
- Select [Calibration Pattern(MB-3B)] or [Calibration Pattern(MB-4)].
-
Print on paper that matches the size of the calibration pattern.
Note
- Affix cardboard or similar material to the back so that the calibration pattern does not warp.
- Printing is not necessary if you have an MREAL marker board.
-
Place the calibration patterns on the floor.
-
Capture the calibration patterns.
- From directly above (A), make adjustments so that all of the calibration patterns fit in the screen and then capture them.
- From the directions of (B) to (E), make adjustments so that the screen is full of calibration patterns centered on the six patterns at the center and then capture them.
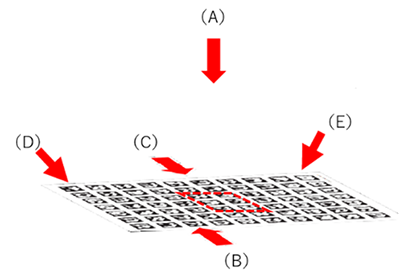

- Capture at least three images in one direction, and up to a total of 24 images.
Capturing Markers
After capturing the calibration patterns, capture the markers.
-
Place the markers to register with the origin marker (A) at the center.

-
Capture all of the markers so that first the origin marker (A) is placed in the screen, and then a marker placed in the screen in the last capture is placed in the screen as with (B) and (C).

-
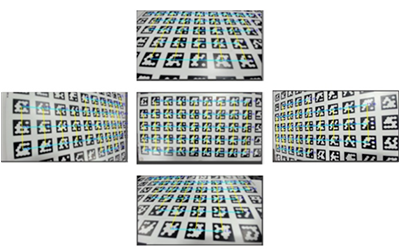
You can expect to improve the reading accuracy for camera tracking by repeatedly capturing while changing the capture angle as shown below.

- When capturing is finished, save the captured images on the PC.
Registering Markers
-
Select [Basic Settings] in the MREAL Configuration Tool window.
-
Select [Use Marker Tool] in [Define World Coordinate System], and click [Start Tool].
-
Select [Use the Recorded Image File] and click [OK] in the following window.
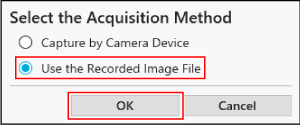
- Camera Parameter Tool launches and a window for selecting a marker image appears.
- Select multiple images from the calibration patterns captured in “Printing and Capturing a Calibration Pattern”, and click [Open]. Do not select the images of “markers” captured in “Capturing Markers”.
-
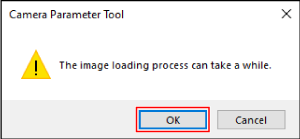
Click [OK] in the following window.
-
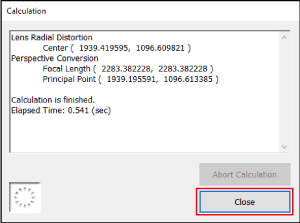
Click [Calculate] in the displayed window.
-
When the following window appears, click [Close].
-
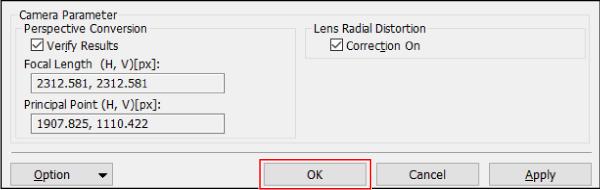
Check the calculation results and click [Apply] if there is no problem.
- For the check method, see “Configuring Detailed Settings of Logicool Brio” in “Bird's Eye View Images”.
-
If there is no problem with the check results, click [OK] in the following window.
-
Click [OK] in the following window.
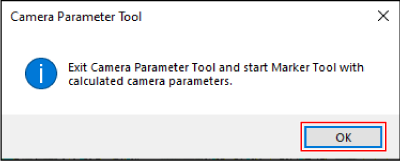
-
Select the [Edit Mode] tab in the Marker Tool window.
-
Delete the unused marker information.
-
When the world coordinate system (camera) is selected, select a marker displayed in the [Marker Name] list, then right-click and select [Delete from Marker Definition].
-
-
Register the origin marker.
- Right-click in the [Marker Name] list area and select [Add MREAL Marker].
- Enter the ID and size of the marker you decided to use as the origin marker in the [Add MREAL Marker] window.
- Select [Origin Marker] from the [Input Type] list, and click [OK].
-
Select the [Calibration Mode] tab in the Marker Tool window.
- The window for selecting the marker image appears.
- Select the marker image, and click [Open].
-
Click [Calculate] in the displayed window.
-
When the following window appears, click [Close].
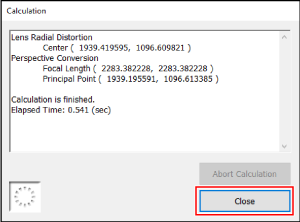
-
Click [Apply] then [OK] in the Marker Tool window.