Trying Out MREAL
The procedure for a simple MREAL experience using MREAL X1 is as follows. (The assumption is that you have completed connection of the MREAL X1 and PC, installation of the driver for the MREAL X1, and installation and license activation of MREAL Platform.)
-
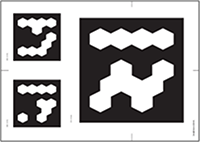
Place a separately sold Default Marker (MB-3A is recommended) at the center of the location (e.g., conference room) to be used as the MREAL space.
-
Launch MREAL Platform.
-
Double-click the MREAL Platform icon on the desktop.

-
The MRP Configuration Tool window and Preview Tool window appear.
-
-
Click [
 ] in the Preview Tool window.
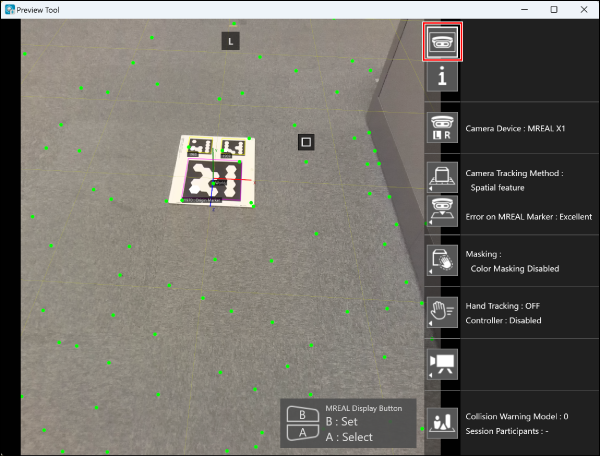
- The real image is displayed.
-
Put on the MREAL X1 and look at the Default Marker.
- The MREAL image with the world coordinate system information added to the real image is displayed in the MREAL Display.

-
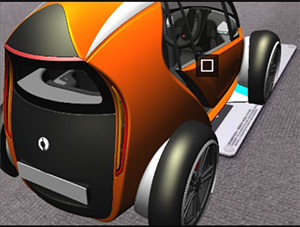
Launch the MREAL linked application.
- The 3D CG is added to the MREAL image.
Note
- For how to connect the MREAL X1 to a PC, how to use the MREAL X1, and other instructions, refer to the MREAL X1 instruction manual.
- For how to install MREAL Platform, see “Installing/Uninstalling MREAL Platform”.
- MREAL images can be shared in a Microsoft Teams meeting. For details, see “Sharing MREAL Images in Microsoft Teams” ().