Movie ISO Speed Settings
 Max for Auto
In [ ] or [
 ] mode, you can set the ISO speed manually. You can also select ISO Auto.
Setting with a dial
-
Set the ISO speed.
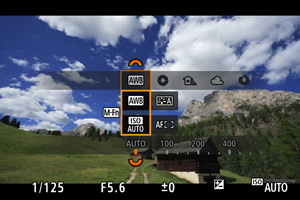
- With an image displayed, press the
 button to select the ISO speed item, then set it with the
  dial.
dial. - Select [AUTO] to set the ISO speed automatically.
- When [AUTO] is selected, pressing the shutter button halfway displays the ISO speed actually set.
- For details on the ISO Auto range, see ISO speed (recommended exposure index) in movie recording.
- With an image displayed, press the
Setting from a screen of ISO speed options
-
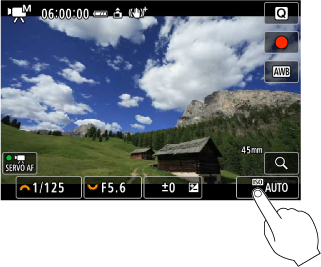
Tap the ISO speed display.
-
Set the ISO speed.
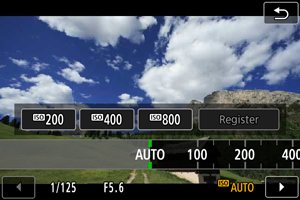
- Turn the dial or press
 left or right to select an ISO speed. Registered values are also available.
 - You can register frequently used ISO speed setting values by specifying an option other than [AUTO] and selecting [Register].
- Turn the
Note
- Can also be set from [ISO speed] in [
 :
:  ISO speed settings].
 -
Can also be set to [AUTO] by pressing the
 button on the [ISO speed] screen.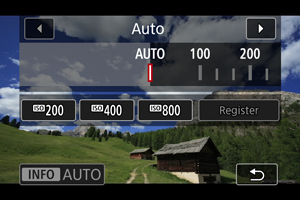
ISO speed guide
- Low ISO speeds reduce image noise but may increase the risk of camera shake and subject blur or reduce the area in focus (shallower depth of field), in some shooting conditions.
- High ISO speeds enable low-light shooting and a larger area in focus (deeper depth of field) but may increase image noise.
Note
Caution
- Image noise (dots of light or banding) and irregular colors may increase and apparent resolution may decrease at H (equivalent to ISO 102400), because this is an expanded ISO speed.
- Image noise (such as graininess, dots of light, or banding), irregular colors, or color shift may be noticeable at high ISO speeds, in high temperatures, or with long exposures.
- Normal image recording may not be possible under conditions that cause excessive noise, such as a combination of high ISO speed, high temperature, and long exposure.
- For precautions on high ISO speed, see General Movie Recording Precautions.
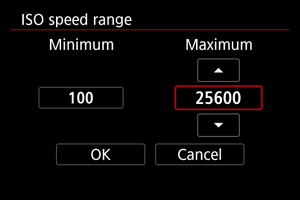
ISO Speed Range When Set Manually
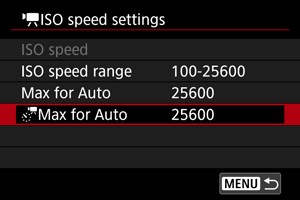
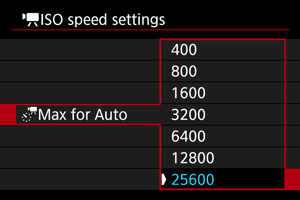
You can set the manual ISO speed setting range (minimum and maximum limits).
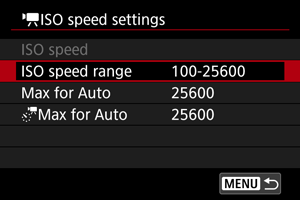
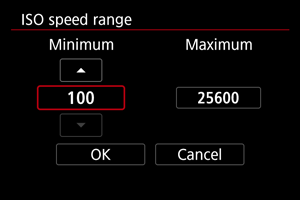

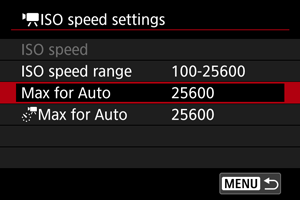
Max for Auto
You can set the maximum ISO speed in movie recording in [], [ ], [
], [ ], [
], [ ], [
], [ ], or [
 ] mode, or in [] or [] mode with ISO Auto.
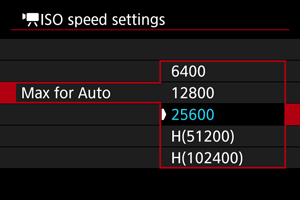
 Max for Auto
You can set the maximum ISO speed in 4K time-lapse/Full HD time-lapse movie recording in [], [], or [] mode or in [] mode with ISO Auto.