Connecting to a Printer via Wi-Fi
This section describes how to print images by establishing a direct Wi-Fi connection with a printer that can print over Wi-Fi. For printer operating instructions, refer to the printer user manual.
-
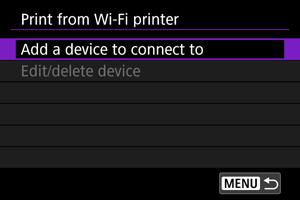
Select [Add a device to connect to].
-
Check the SSID (network name) and password.
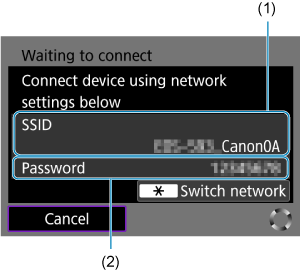
- Check the SSID (1) and Password (2) displayed on the camera screen.
- To establish a Wi-Fi connection using an access point, press the
 button.
 - For instructions on configuring the communication functions, see here.
-
Set up the printer.
-
Select the printer.
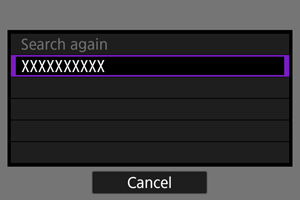
- In the list of detected printers, select the printer to connect to via Wi-Fi.
- If your preferred printer is not listed, selecting [Search again] may enable the camera to find and display it.
Image Printing
Printing images individually
-
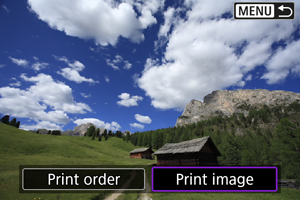
Select the image to print.
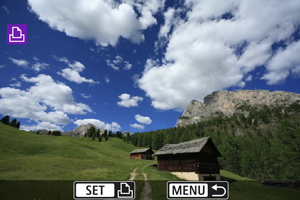
- Turn the
 dial to select an image to print and press
  .
. - Operate the zoom lever to select the image from the index display.
- Turn the
-
Select [Print image].
-
Set the printing options.
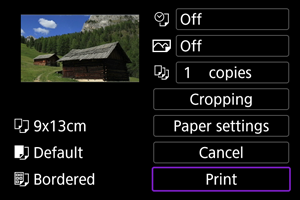
- For the print setting procedures, see Print Settings.
- Select [Print], then [OK] to start printing.
-
Select [Print].
-
Print the image.
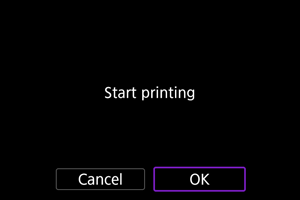
- When [OK] is selected, printing starts.
Printing according to specified image options
-
Press
.
-
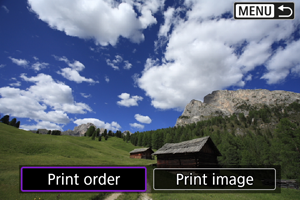
Select [Print order].
-
Set the printing options.
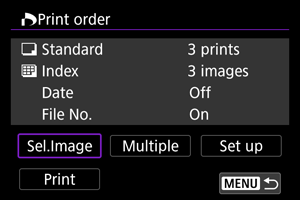
- For the print setting procedures, see Print Ordering (DPOF).
-
Select [Print].
- [Print] can be selected only when an image is selected and the printer is ready to print.
-
Print the image.
- When [OK] is selected, printing starts.
Caution
- Shooting is not possible while connected to a printer via Wi-Fi.
- RAW images, HEIF images, and movies cannot be printed.
- Before printing, be sure to set the paper size.
- File number printing may not be supported by certain printers.
- Dates may be printed on the border by certain printers when [Bordered] is set.
- Depending on the printer, the date may appear faint if it is printed on a bright background or on the border.
Note
- Use a fully charged battery.
- It may take some time until printing starts after you select [Print], depending on file size and image quality.
- To stop printing, press while [Cancel] is displayed and select [OK].
- When printing with [Print order], you can select [Resume] to continue printing the remaining images if you have stopped printing in progress. Note that printing will not resume if any of the following occurs.
- You change the print order or delete any of the specified images before resuming printing.
- When index is set and you change the paper setting before resuming printing.
- If a problem occurs during printing, see Note.
Print Settings
The screen display and setting options vary depending on the printer. Also, certain settings may not be available. For details, refer to the printer's instruction manual.
Print settings screen
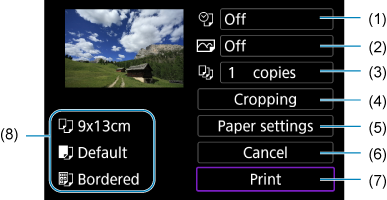
- Depending on the printer, certain settings may not be selectable.
Paper settings
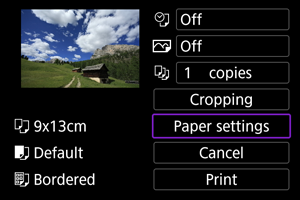
- Select [Paper settings].
[ ] Setting the paper size
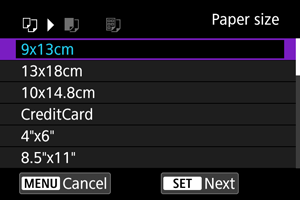
- Select the size of the paper in the printer.
[ ] Setting the paper type
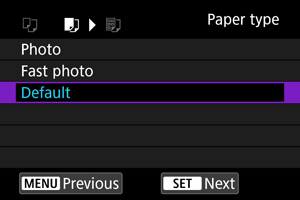
- Select the type of the paper in the printer.
[ ] Setting the page layout
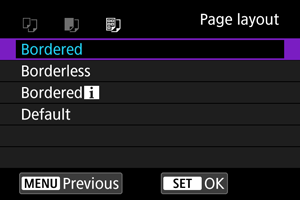
- Select the page layout.
Caution
- If the image's aspect ratio is different from the printing paper's aspect ratio, the image may be cropped significantly when you print it as a borderless print. Images may also be printed at lower resolution.
[ ] Setting printing of the date/file number
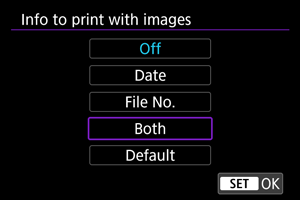
- Select [].
- Select what to print.
[ ] Setting printing effects (image optimization)
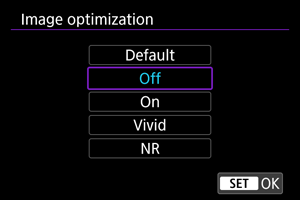
- Select [].
- Select printing effects.
Caution
- ISO speeds may be misidentified in shooting information printed for images shot at an expanded ISO speed (H).
- [Default] in printing effects and other options refers to default settings determined by the printer manufacturer. For [Default] details, refer to the printer instruction manual.
[ ] Setting the number of copies
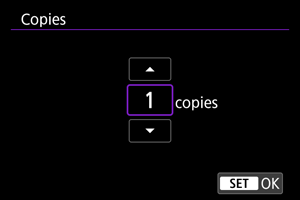
- Select [].
- Select the number of copies to print.
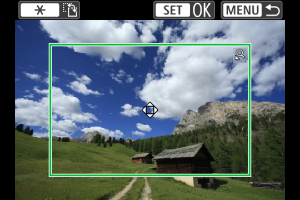
Cropping the image
Set cropping immediately before printing. Changing other print settings after you crop images may require you to crop the images again.
-
Select [Cropping] on the print setting screen.
-
Set the cropping frame size, position, and orientation.
- The image area within the cropping frame will be printed. The shape of the frame (aspect ratio) can be changed in [Paper settings].
Resizing the cropping frame size
Operate the zoom lever to resize the cropping frame.
Moving the cropping frame
Press the


 keys to move the frame vertically or horizontally.
Switching the orientation of the cropping frame
Pressing the
button will toggle the cropping frame between the vertical and horizontal orientations. -
Press
to exit cropping.- You can check the cropped image area in the upper left of the print setting screen.
Caution
- Depending on the printer, the cropped image area may not be printed as you specified.
- The smaller the cropping frame, the lower the resolution at which images are printed.
Note
-
Handling printer errors
- If printing does not resume after you resolve a printer error (such as no ink or paper) and select [Continue], use buttons on the printer. For details on resuming printing, refer to the printer's instruction manual.
-
Error messages
- If a problem occurs during printing, an error message will appear on the camera screen. After fixing the problem, resume printing. For details on how to fix a printing problem, refer to the printer's instruction manual.
-
Paper error
- Confirm that paper is loaded correctly.
-
Ink error
- Check the printer's ink level and the waste ink tank.
-
Hardware error
- Check for any printer problems other than paper and ink problems.
-
File error
- The selected image cannot be printed. Images taken with a different camera or images edited with a computer may not be printable.