Displaying Browser Remote
Log in to "Browser Remote" on the camera from a web browser. Connect the camera to a computer, smartphone, etc., via LAN in advance.
Checking the Camera's IP Address
To access the camera from a web browser, the camera's IP address displayed in step 5 must be entered in the address field of the web browser.
-
Select [
: Network settings].
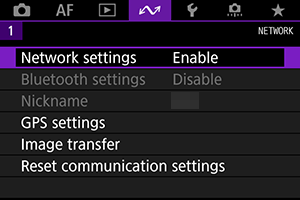
-
Select [Connection settings].
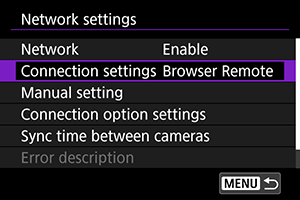
-
Select [SET* Browser Remote].
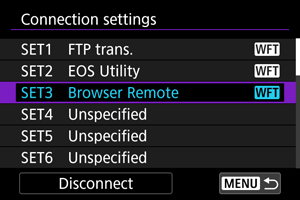
-
Select [Confirm settings].
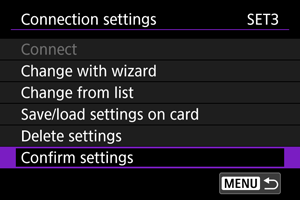
- The settings are displayed.
-
Check the settings.
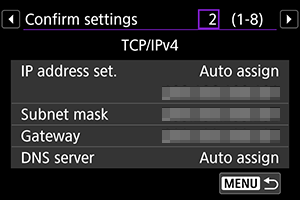
- Use
to display other screens.
- Write down the IP address.
- After checking it, press the
button to exit the confirmation dialog.
- Use
Logging in to Browser Remote
-
Start the web browser.
- Start the web browser on the computer, smartphone, etc.
-
Enter the URL.

- In the address field, enter the IP address you wrote down in step 5.
- Press the Enter key.
-
Enter the [Login name] and [Password].
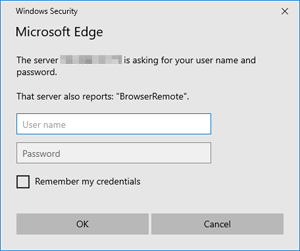
- Enter the [Login name] (user name) and [Password] that you set in Configuring Browser Remote Connection Settings.
- Press [OK] to display the Browser Remote top menu screen.
-
Configure default settings as required.
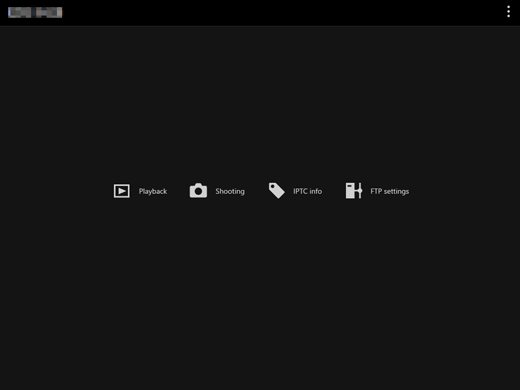
-
Select [
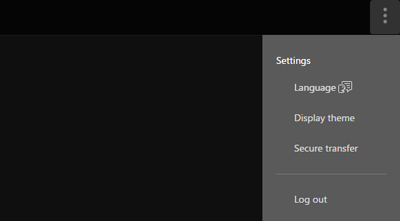
 ] to display the menu.
-
Language
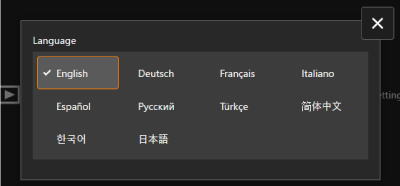
You can select the display language.
-
Display theme
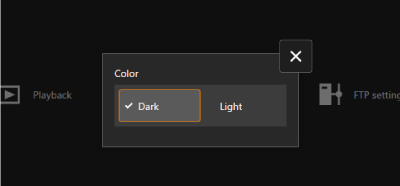
You can set the background color for Browser Remote.
-
AF for still photo shooting
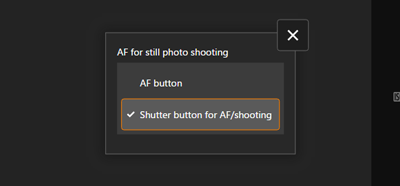
This is displayed when [Shooting] is selected in step 9.
You can specify how to operate auto focus during still photo shooting.
-
Shutter mode
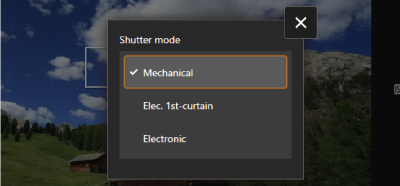
This is displayed when [Shooting] is selected in step 9.
You can set the shutter method for shooting still images.
-
Secure transfer
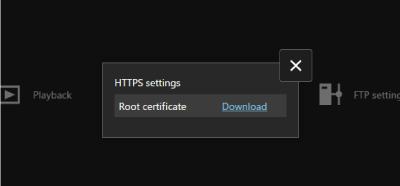
When connecting to an FTP server using HTTPS communication, you can download a root certificate or confirm access to the FTP server.
-
Log out
Press this to terminate the connection to Browser Remote.
-
-
Caution
- Browser Remote cannot be used unless the web browser supports JavaScript.
- While connected, some menu items are unavailable.